Dear Parents,
We have had a great start to the new school year as every student had a smooth transition to Indigo, especially since nearly everyone attended the summer program next door at Wonderland Arts. Indigo teachers had the chance to visit returning students and meet new children at the end of summer camp, giving each child a chance to familiarize with their Indigo teachers. Needless to say, keeping your children socially active this summer truly paid off as our students were ready to be productive and to work as a team at Indigo. While the pandemic has not been ideal for anyone, we have all seen firsthand some of the negative effects that isolation has had on children and teens, and we feel good about choosing the in-person educational path for our young developing students as we focus on their mental health, cognitive development, social skills, and beyond. We couldn’t have stayed afloat if it weren’t for all of you, so thank you all for believing in Montessori Education and for supporting our school all along.
Beginning-of-the-Year Lessons
We have begun the school year with an overview of the studio, covering “ground rules,” classroom safety, Montessori basics, material reviews, and lessons around grace and courtesy. While this all sounds simple enough, the details involved in each presentation are very thorough to help our children build attention to detail, maintain information, seek interest in the materials around them, and discover new concepts through exploratory materials.
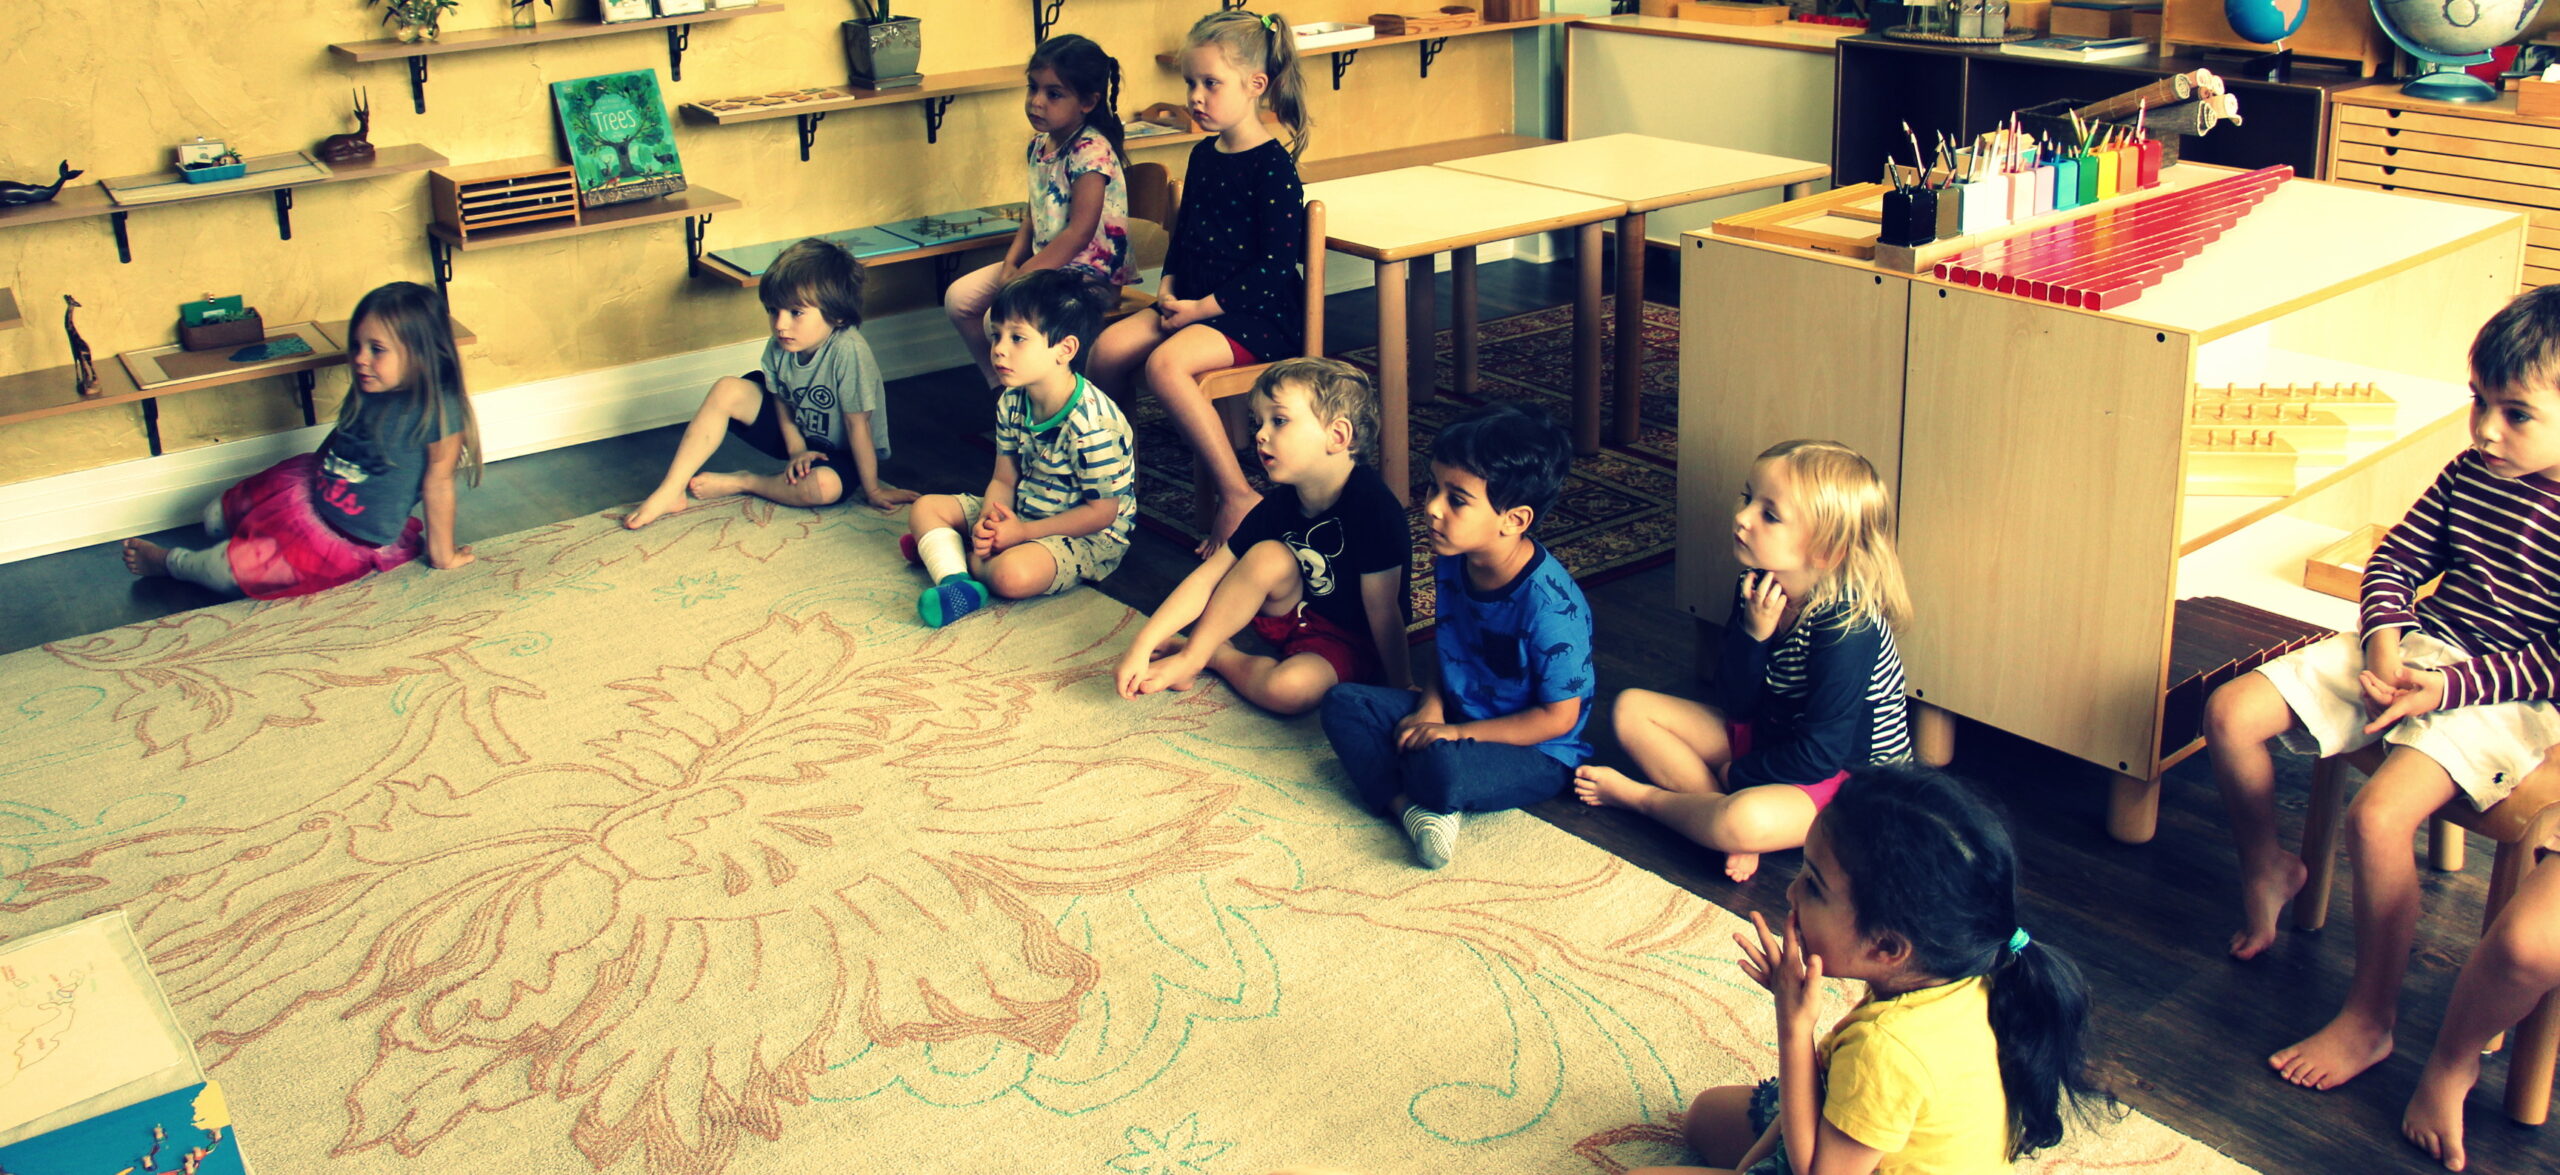
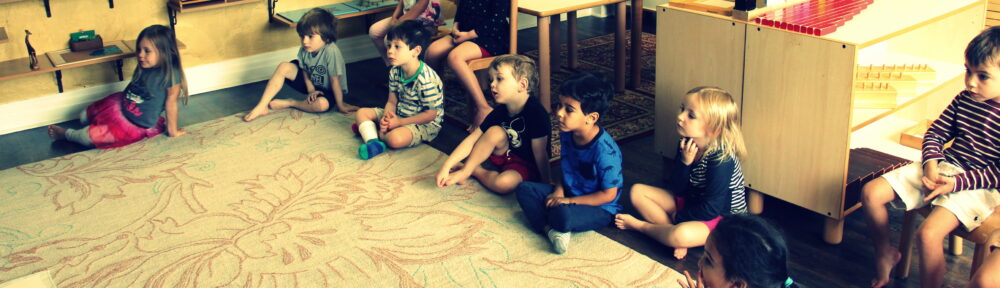
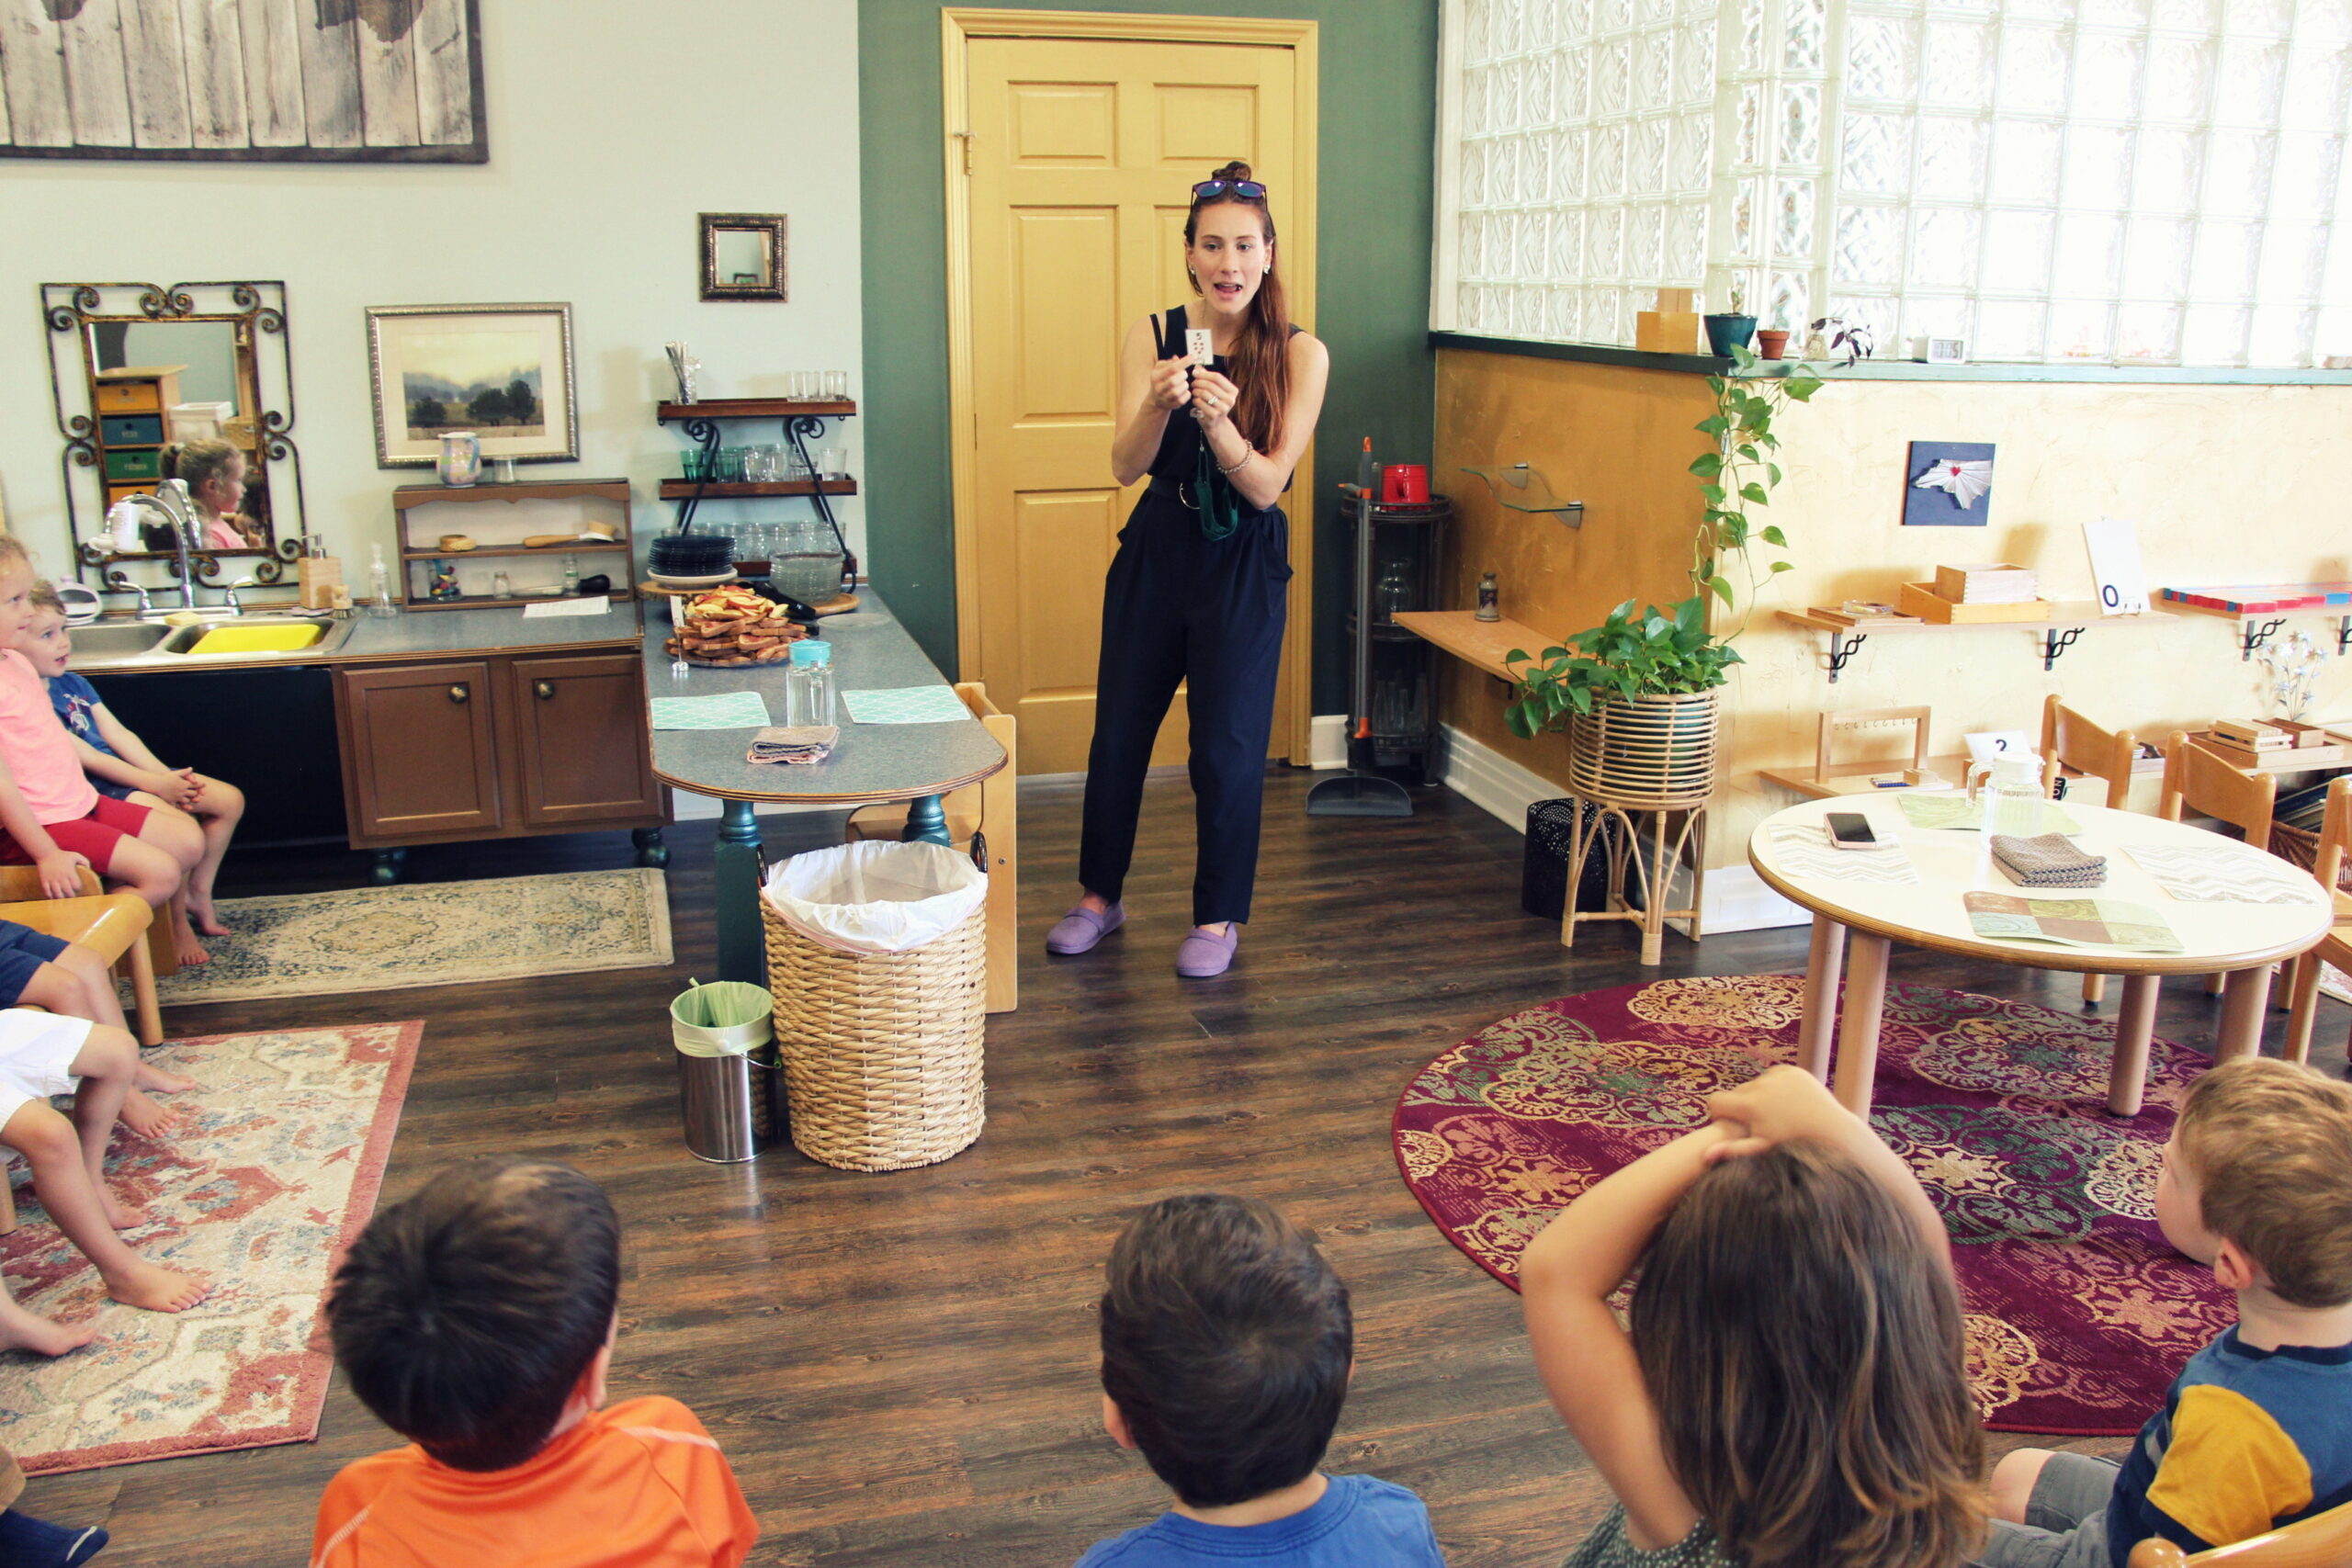
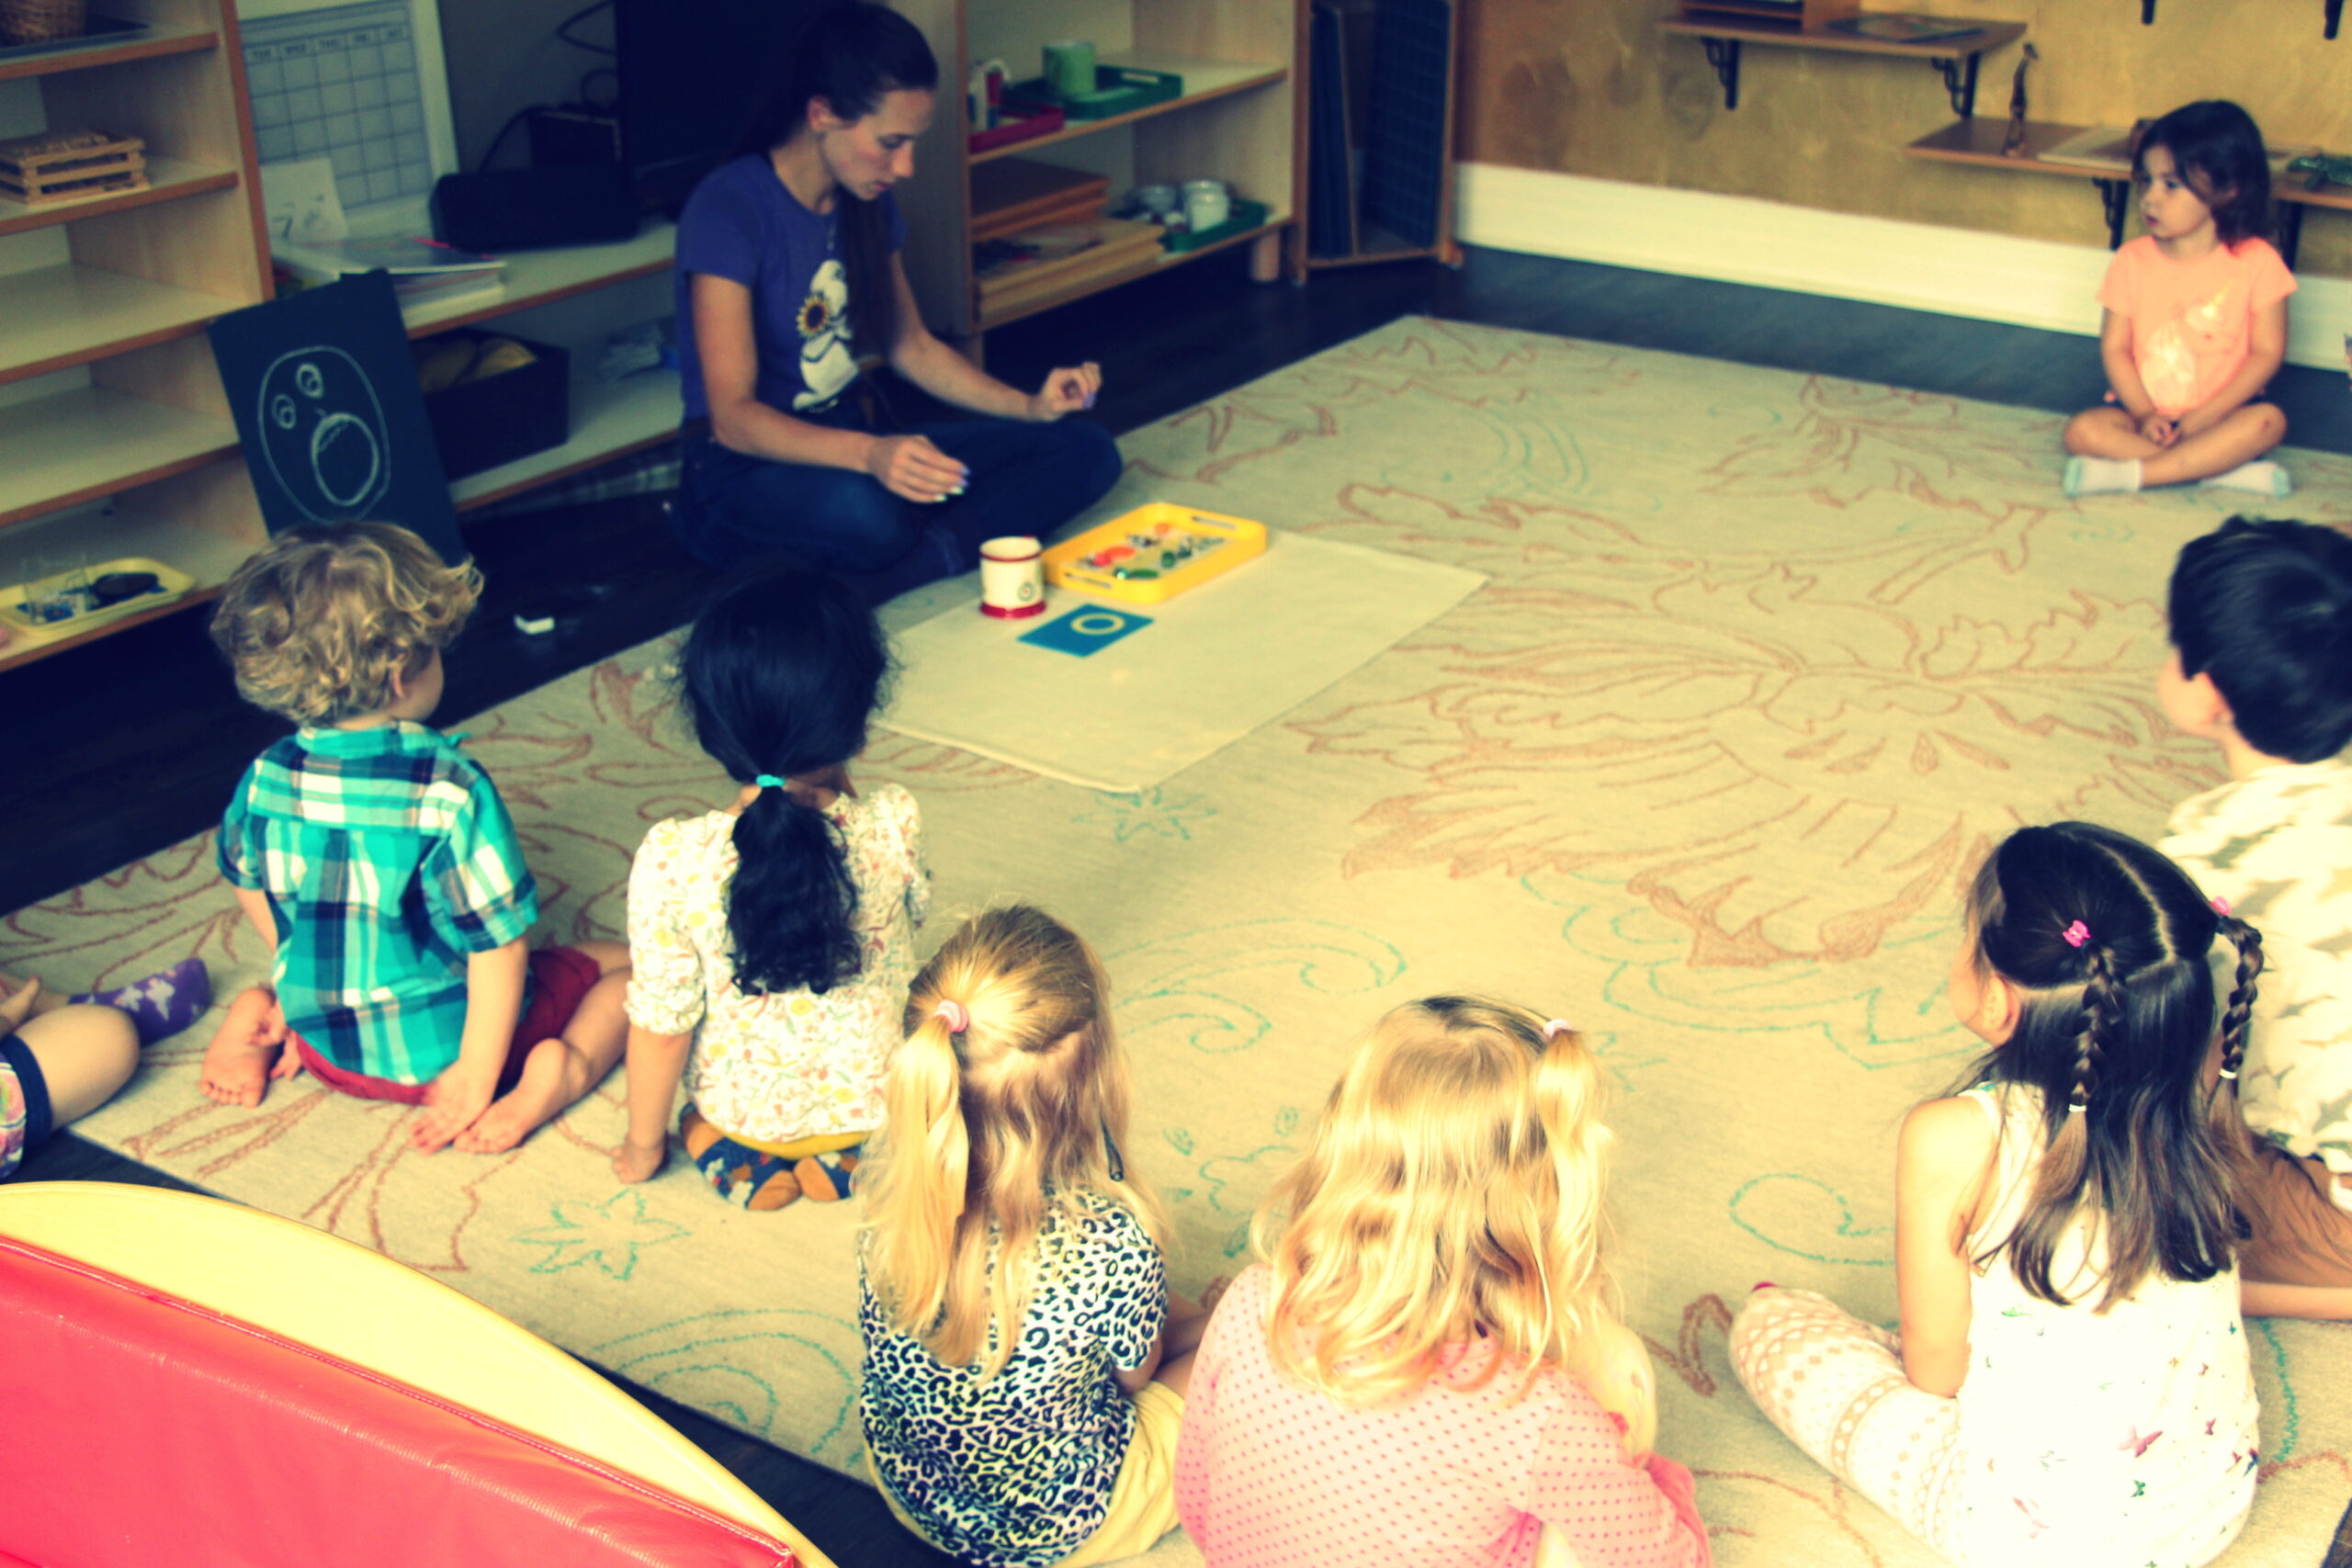
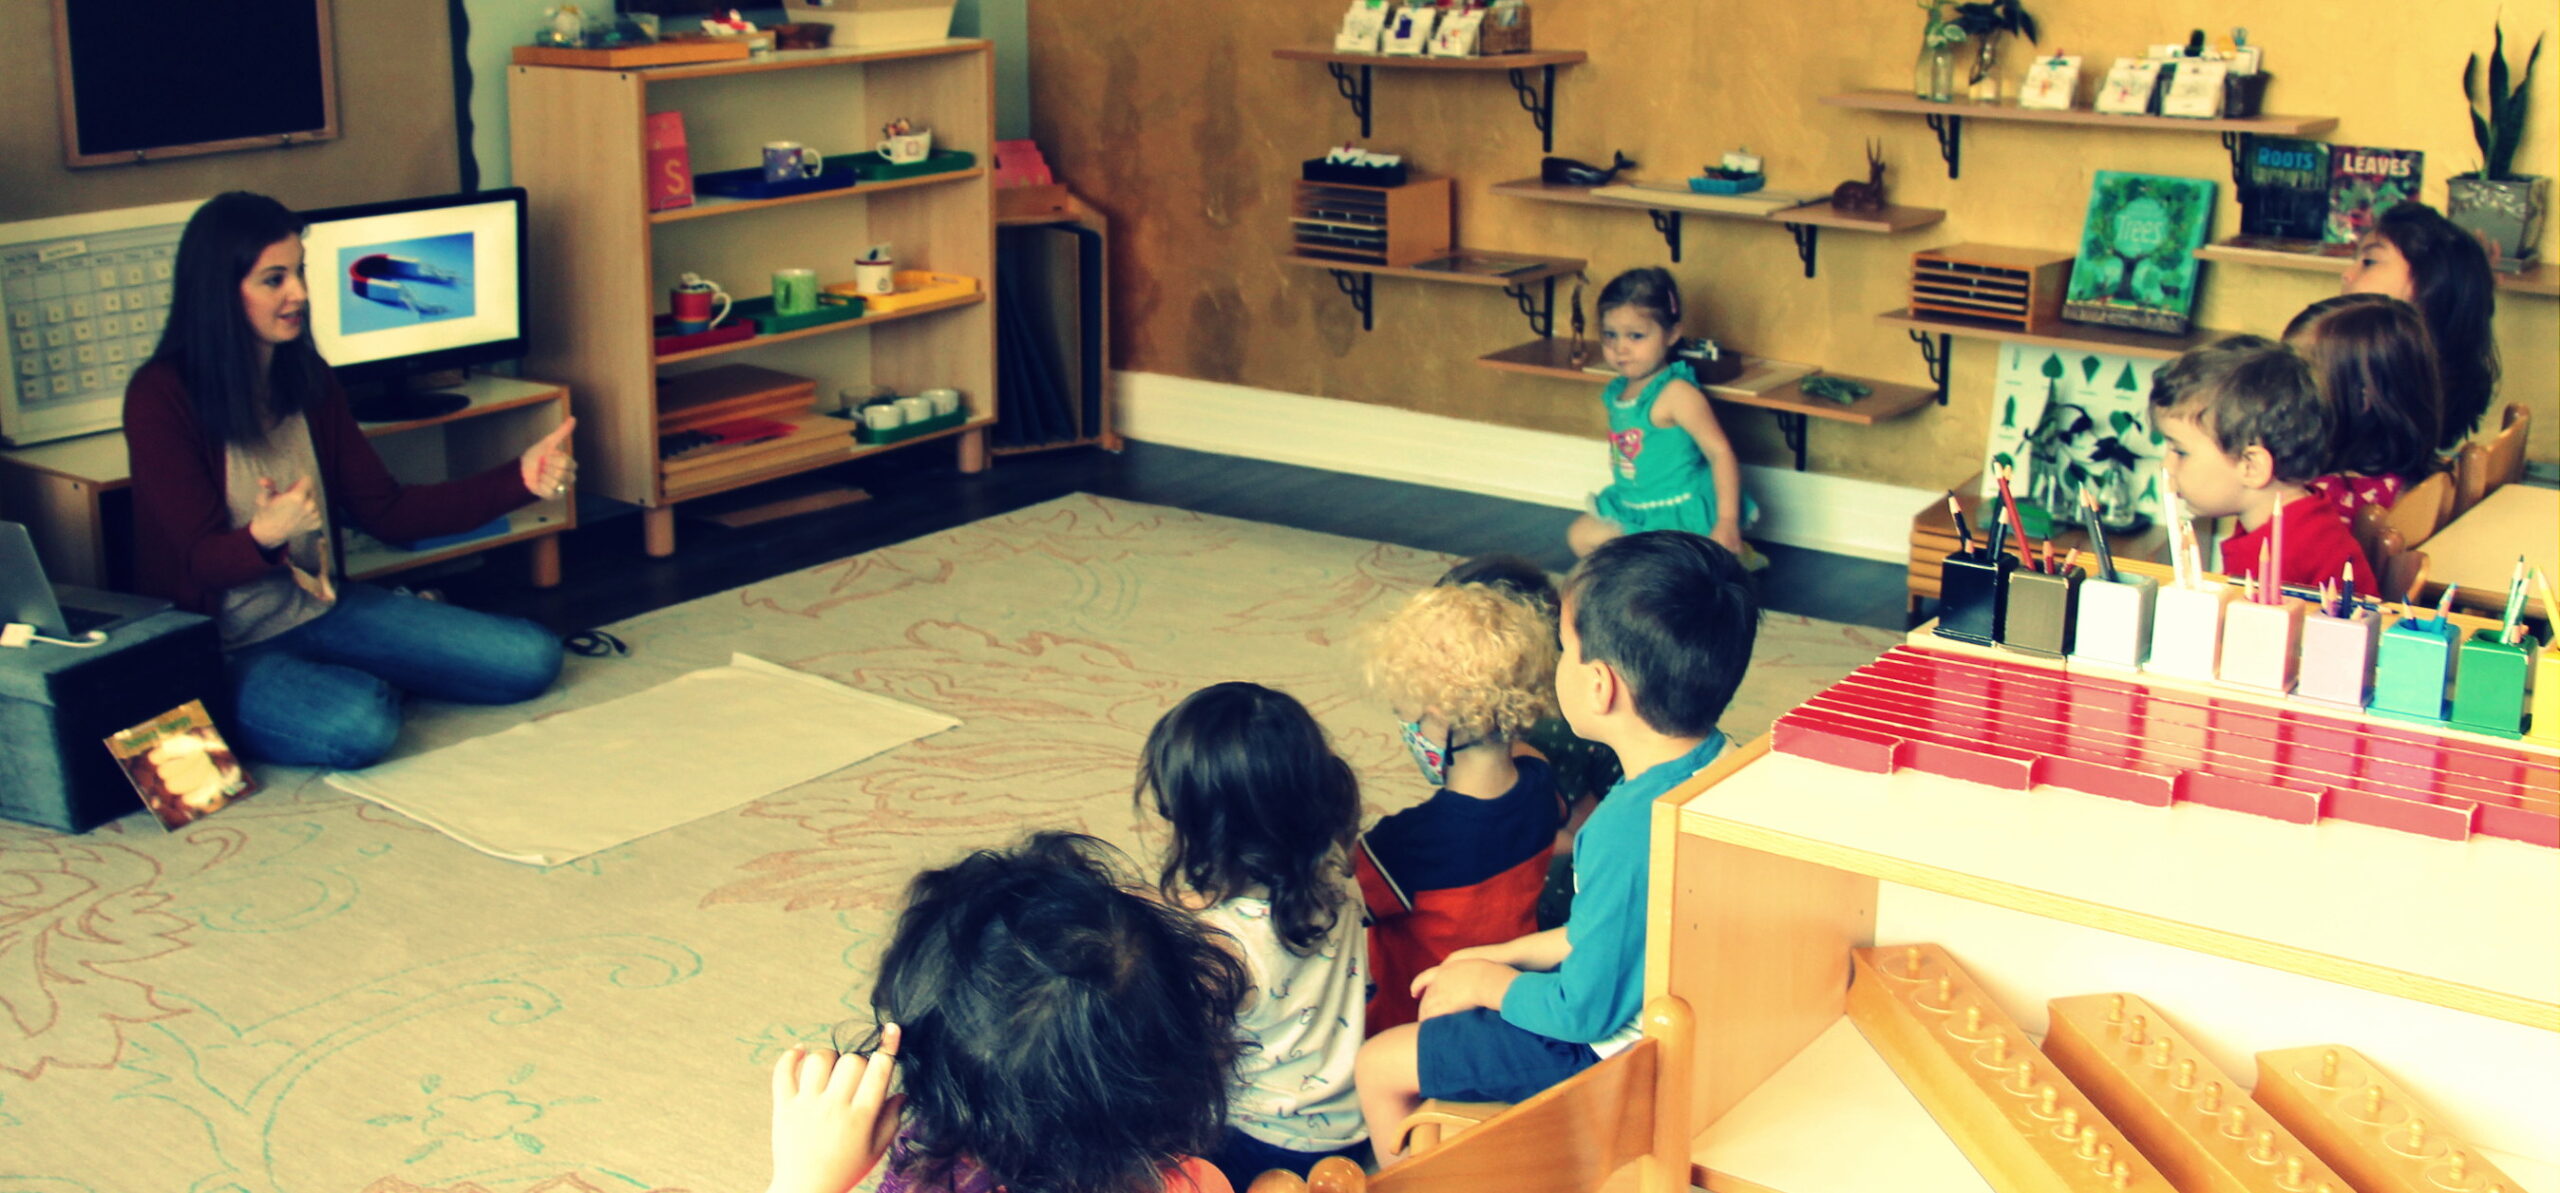
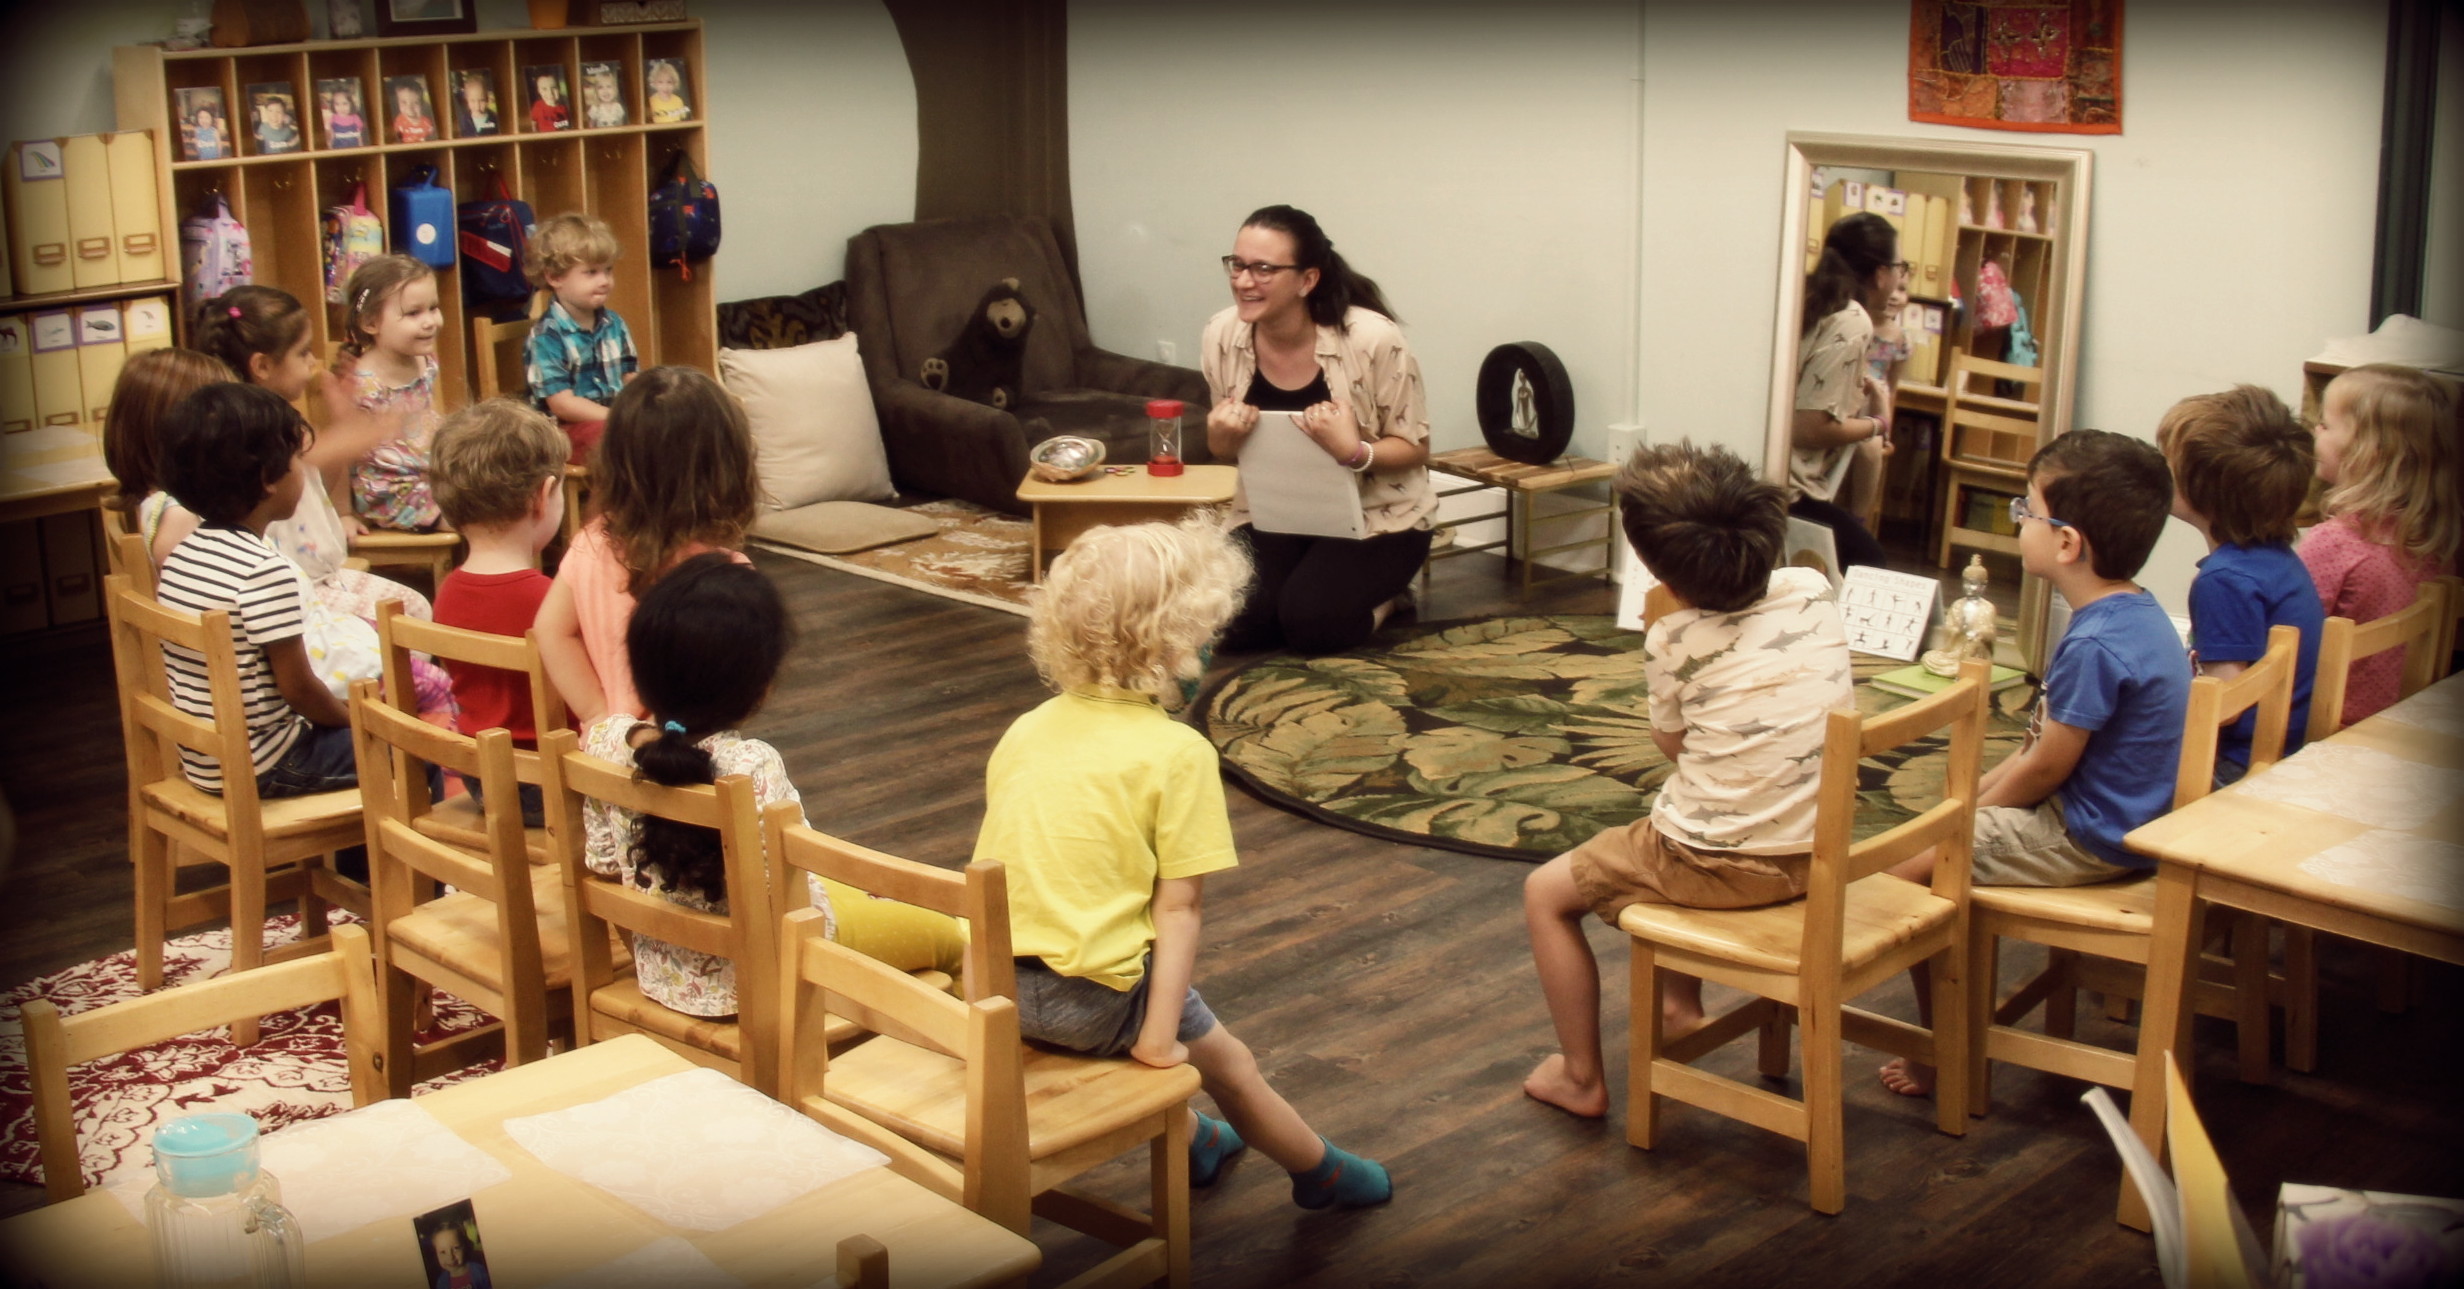
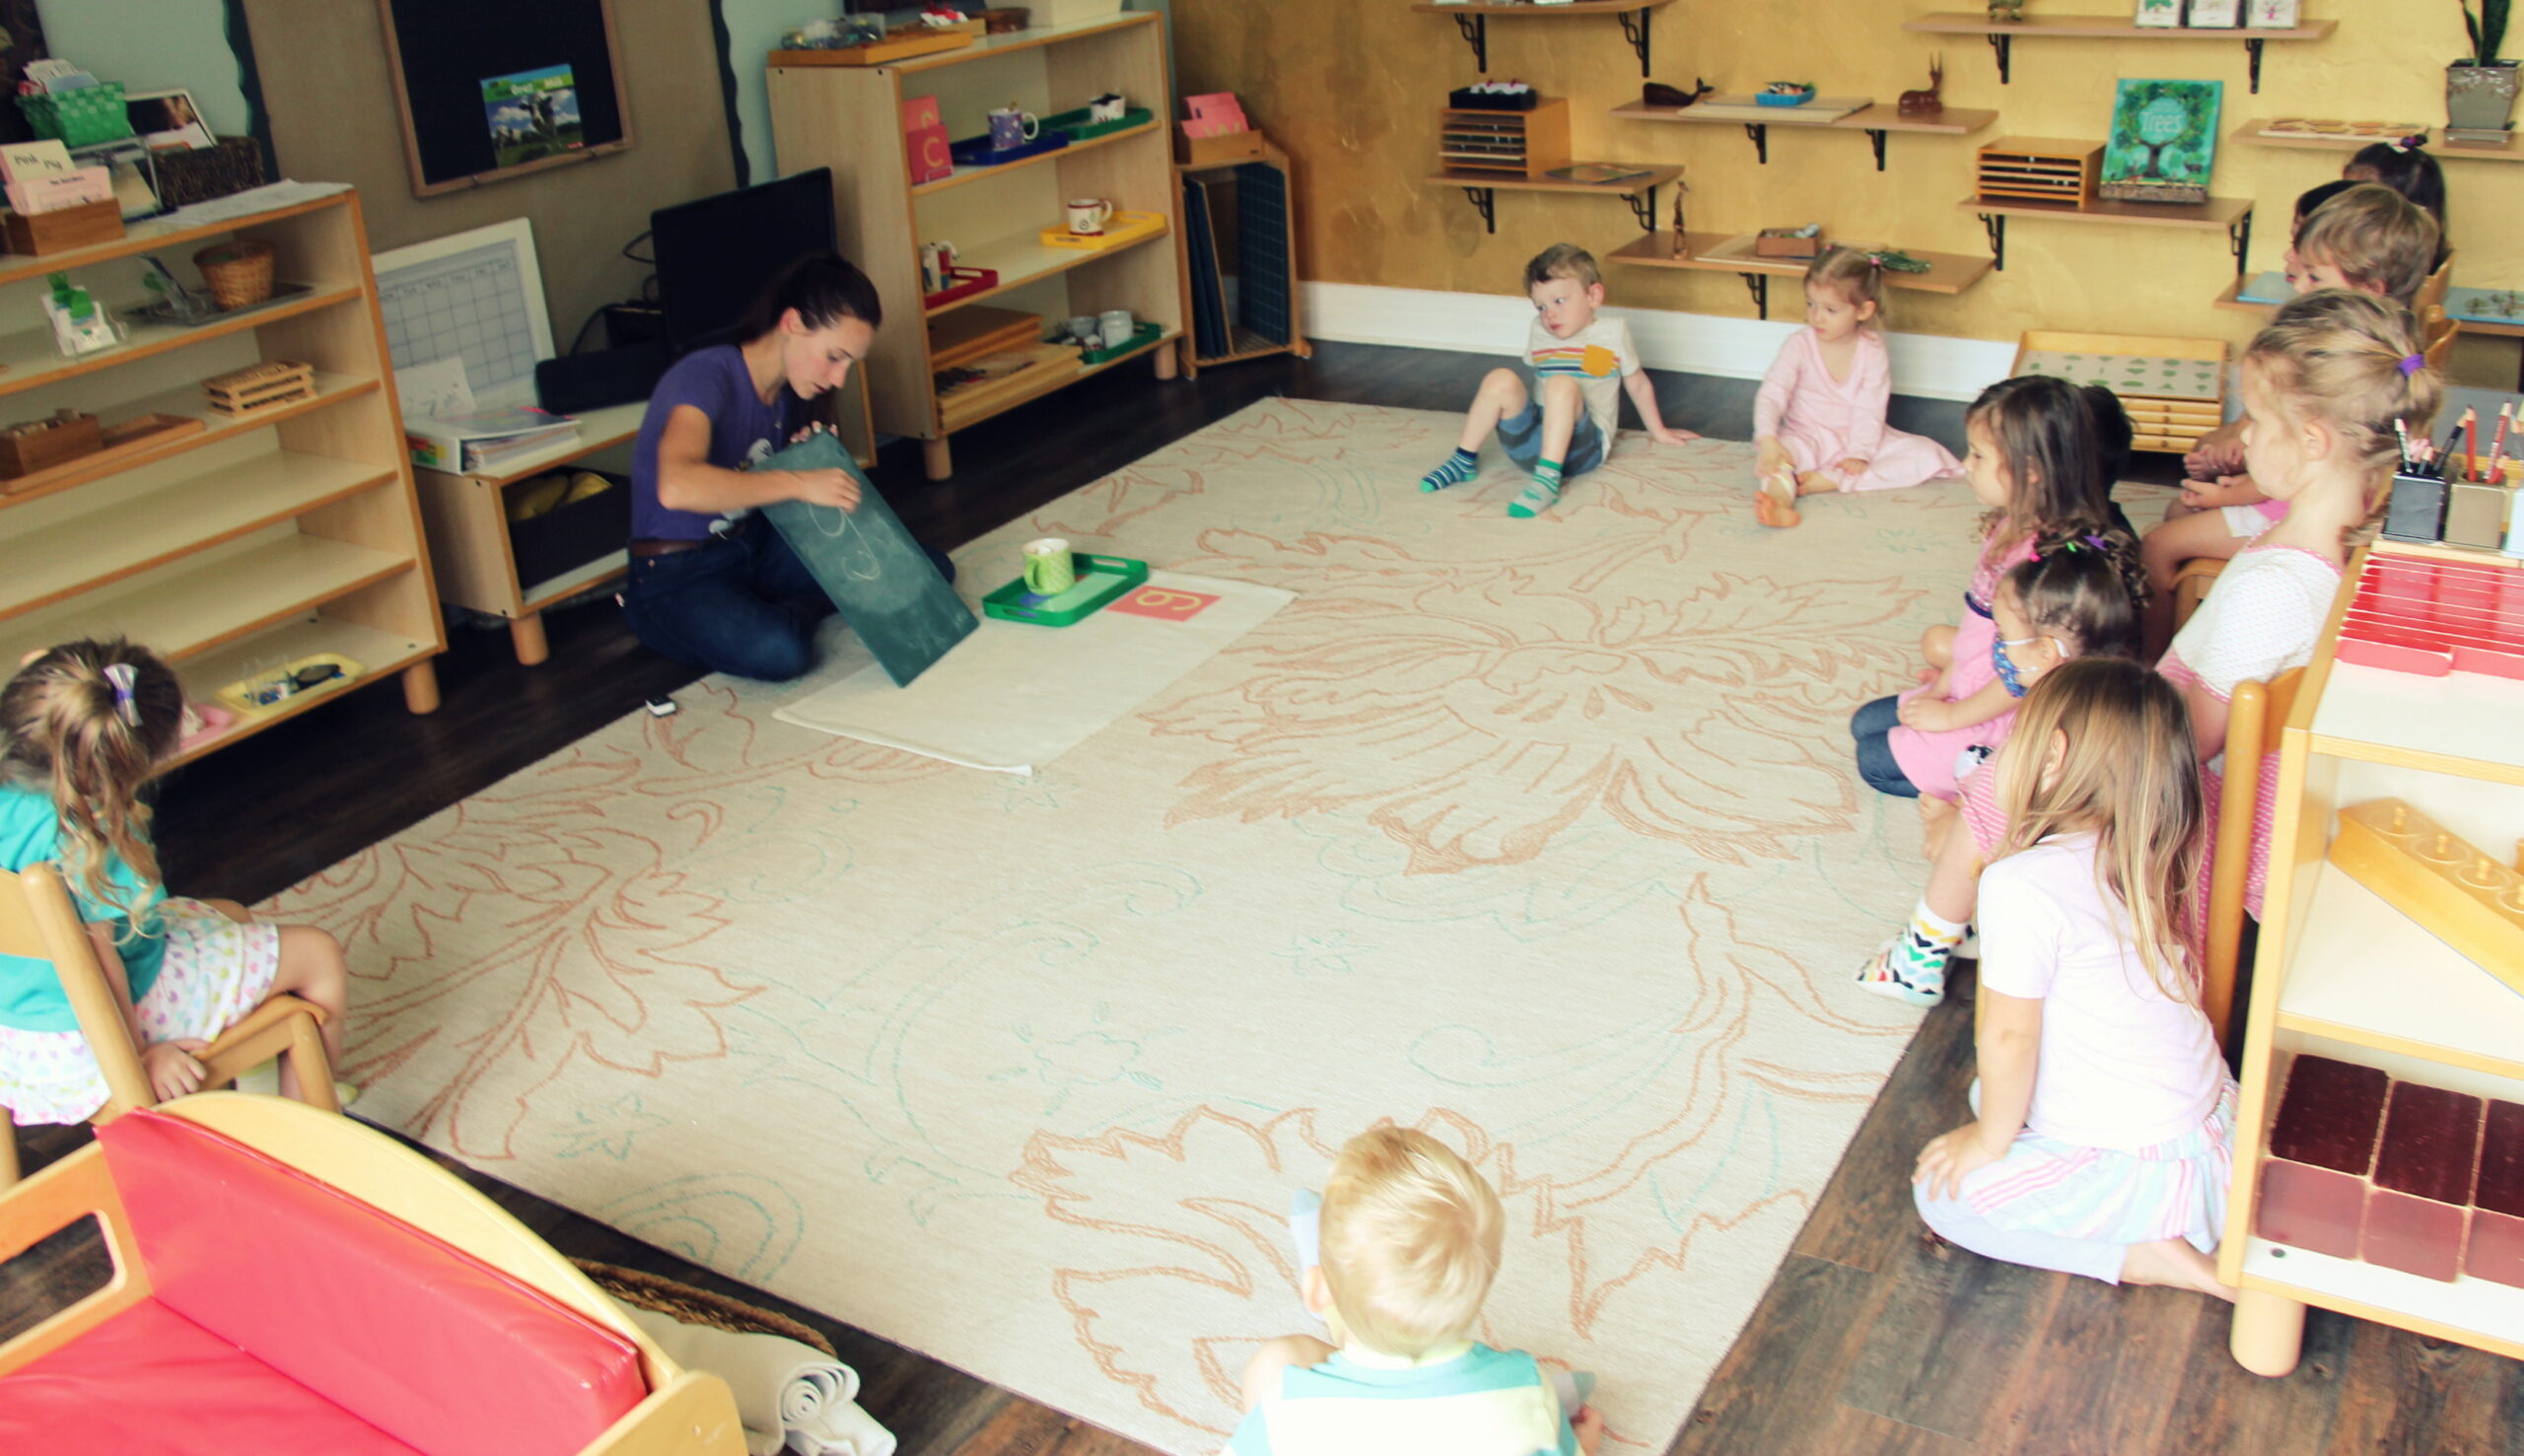
For a better visual into our world, we would like to share with you some specific lessons, presentations, and activities that everyone has been working on over the past 6 weeks. For those of you who are just learning about how our classroom works, we like to explain how many of the lessons are taught by lead teachers Ms. Lauren and Ms. Angelique. We divide the students into two groups, sending each group to opposite ends of the classroom, so that we can teach on different subject areas of the room at the same time. After each teacher has presented the materials to their group in their section of the studio, the children are excused to stand up, line up, and switch locations. Ms. Lauren and Ms. Angelique stay in their places and repeat the lessons for the new groups. Making this switch is a great way to keep the interest fresh for our students as they get to see both teachers in different settings for early morning lessons. Students are then released into a long work cycle after they have seen all lessons. Ms. Rachael is also helping in this rotation when it comes to particular lessons, and we will share more about her areas of expertise later.


Lessons on Respect for Self, Others, & the Environment
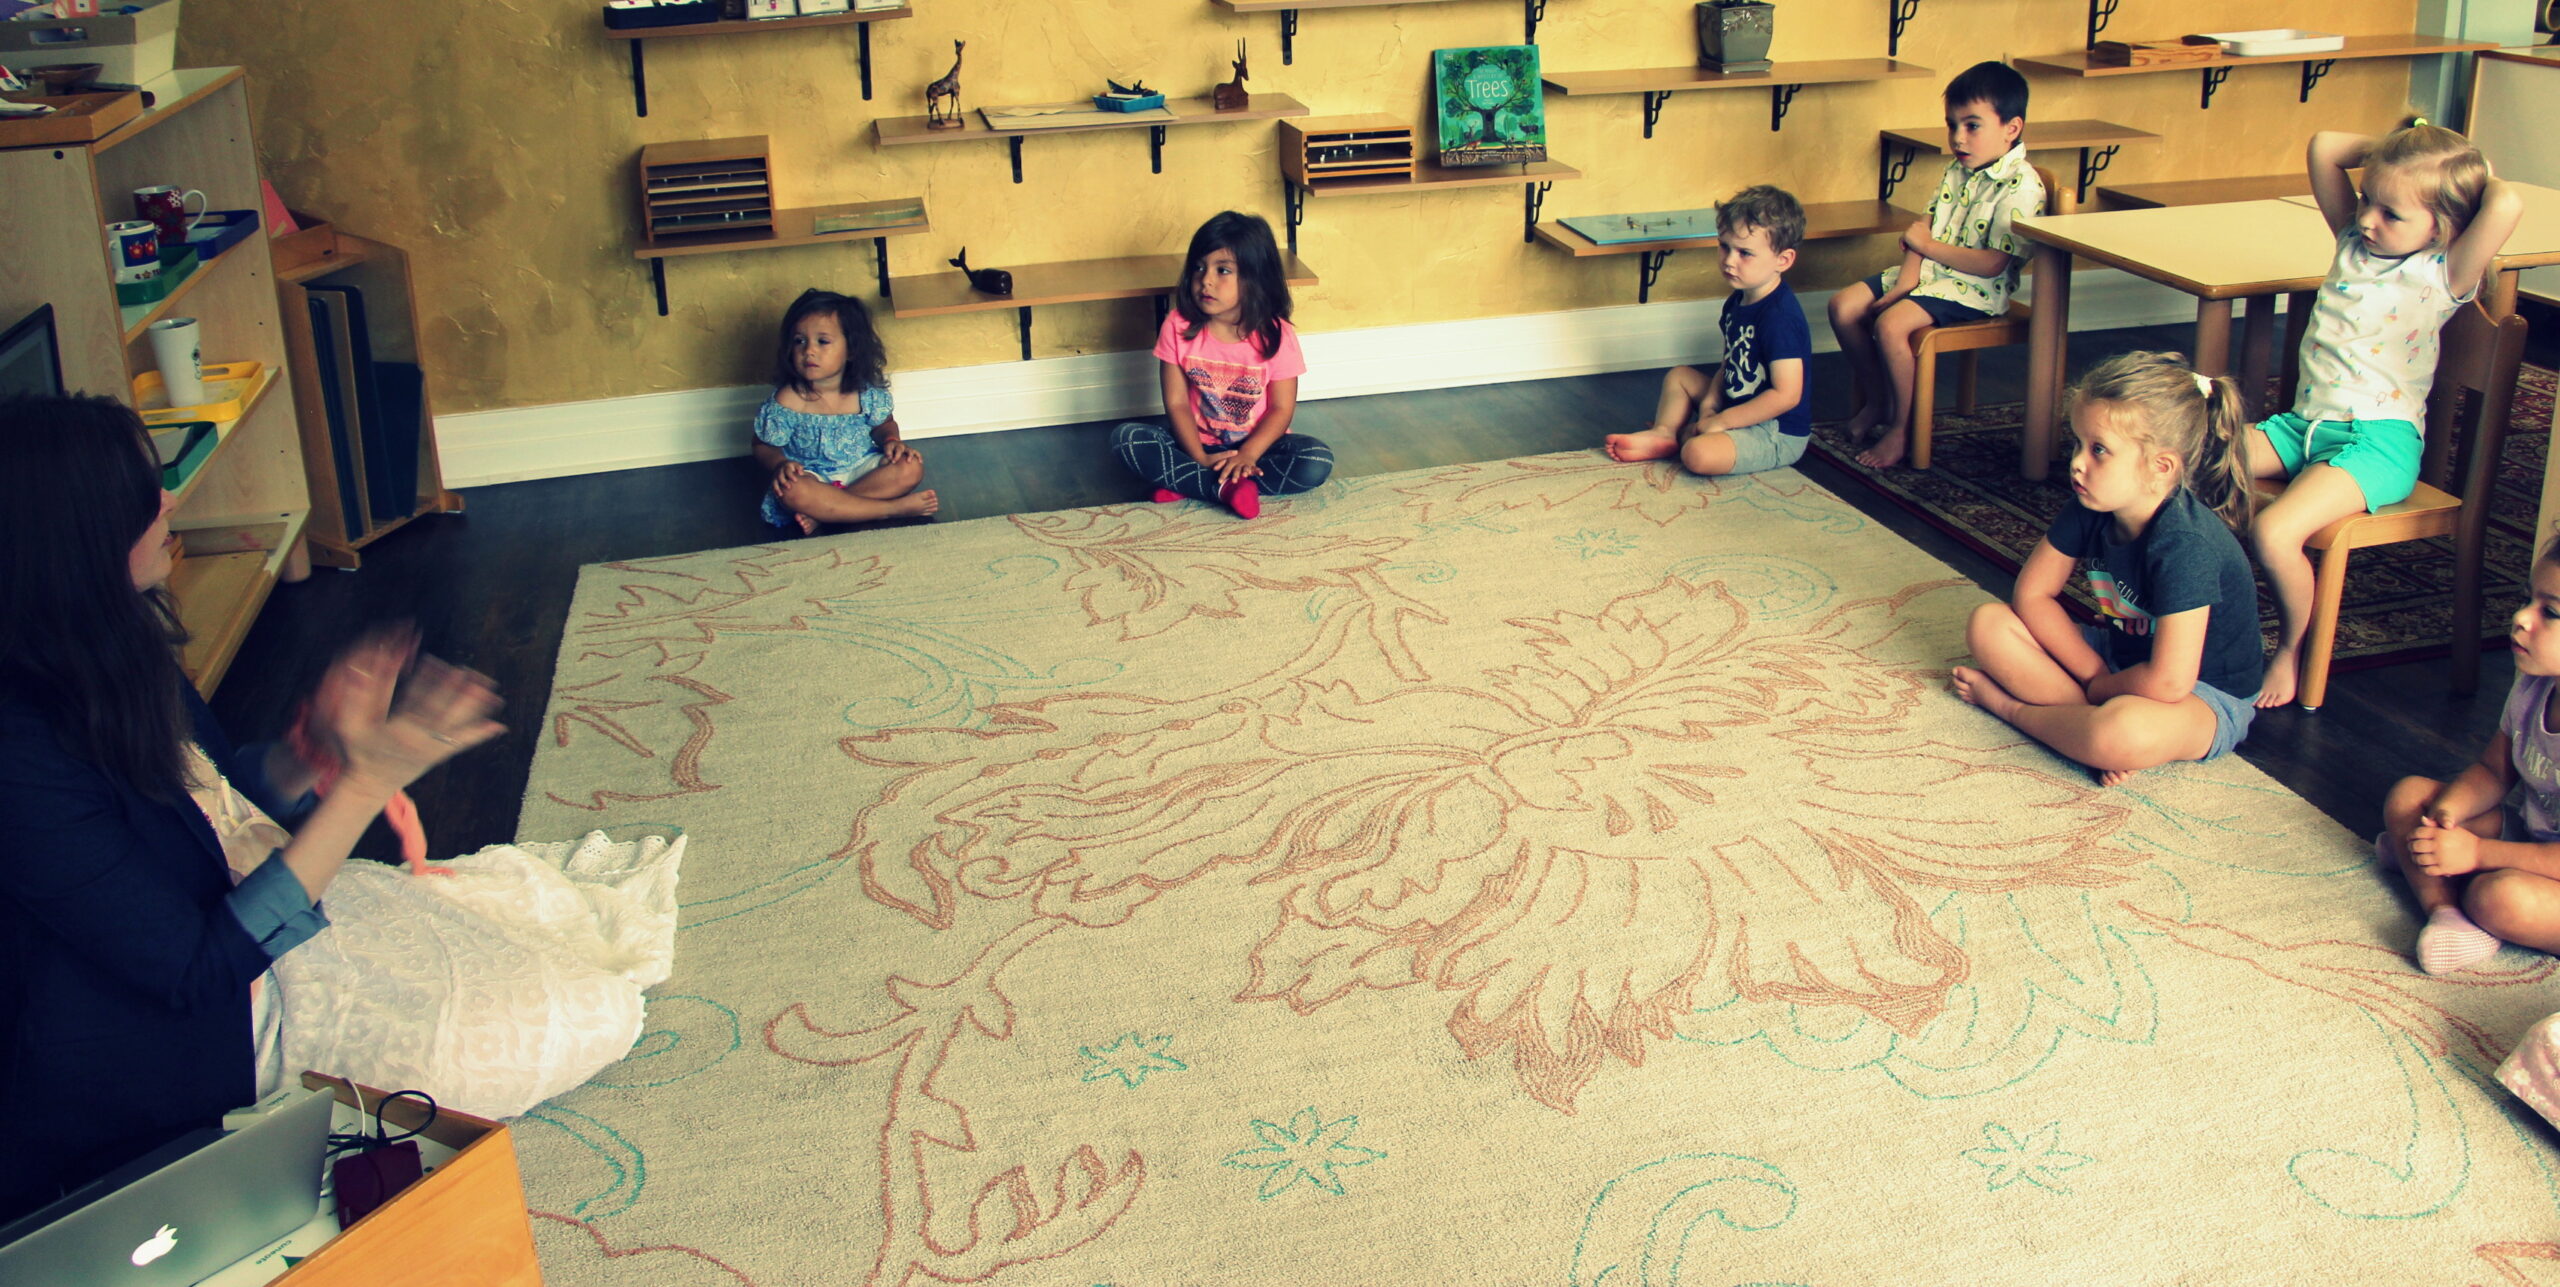
Classic Montessori lessons around respect focus on “care of self, others, and the environment.” We regularly discuss “classroom ground rules,” covering topics around classroom safety, manners and etiquette, grace and courtesy, conflict resolution, managing emotions, and more. We teach these topics in a variety of ways, such as through role play, PowerPoint visuals, and class discussions. We later return to the same topics by adding new examples, scenarios, approaches, materials and terminology. As we get more in depth throughout the year, children become more thoughtful about their role in the classroom, taking pride in being responsible and respectable pupils.
So far, we have had lessons on the following topics over the course of 5 weeks:
Classroom Safety and Etiquette. Ways to carefully handle glass, mirrors, ceramics, and delicate objects. Dangers & potential consequences discussed around making unsafe choices.

Rules and Examples of Being a Leader for Returning Friends: PowerPoint lessons with Ms. Angelique for returning students, including discussion around imagery of children setting positive examples in a classroom.
“Yucky” vs. “Nice” Ways to Talk to Friends. Teacher role-play with Ms. Lauren & Ms. Rachael to demonstrate examples of ways to work through altercations with peers by considering “tone of voice & word choice,” so that ultimately both parties feel better and at peace to move forward and continue on with their day in a positive light.
Learning about Jealousy. What it means to have jealousy and how to manage these emotions.
Safe Choices when Managing our Energy Levels. Physical activities, ways to use gross motor skills in the classroom, and utilizing the cozy area to find peace within.
Lunch Rules & Manners. Sitting in a chair safely, cup placement on table mats, handling glass, cleaning up after oneself, and table manners.
Managing Emotions in the Cozy Area. Emotions vocabulary to express ourselves and calming ways to manage those emotions.

Lessons in the Practical Life Area.
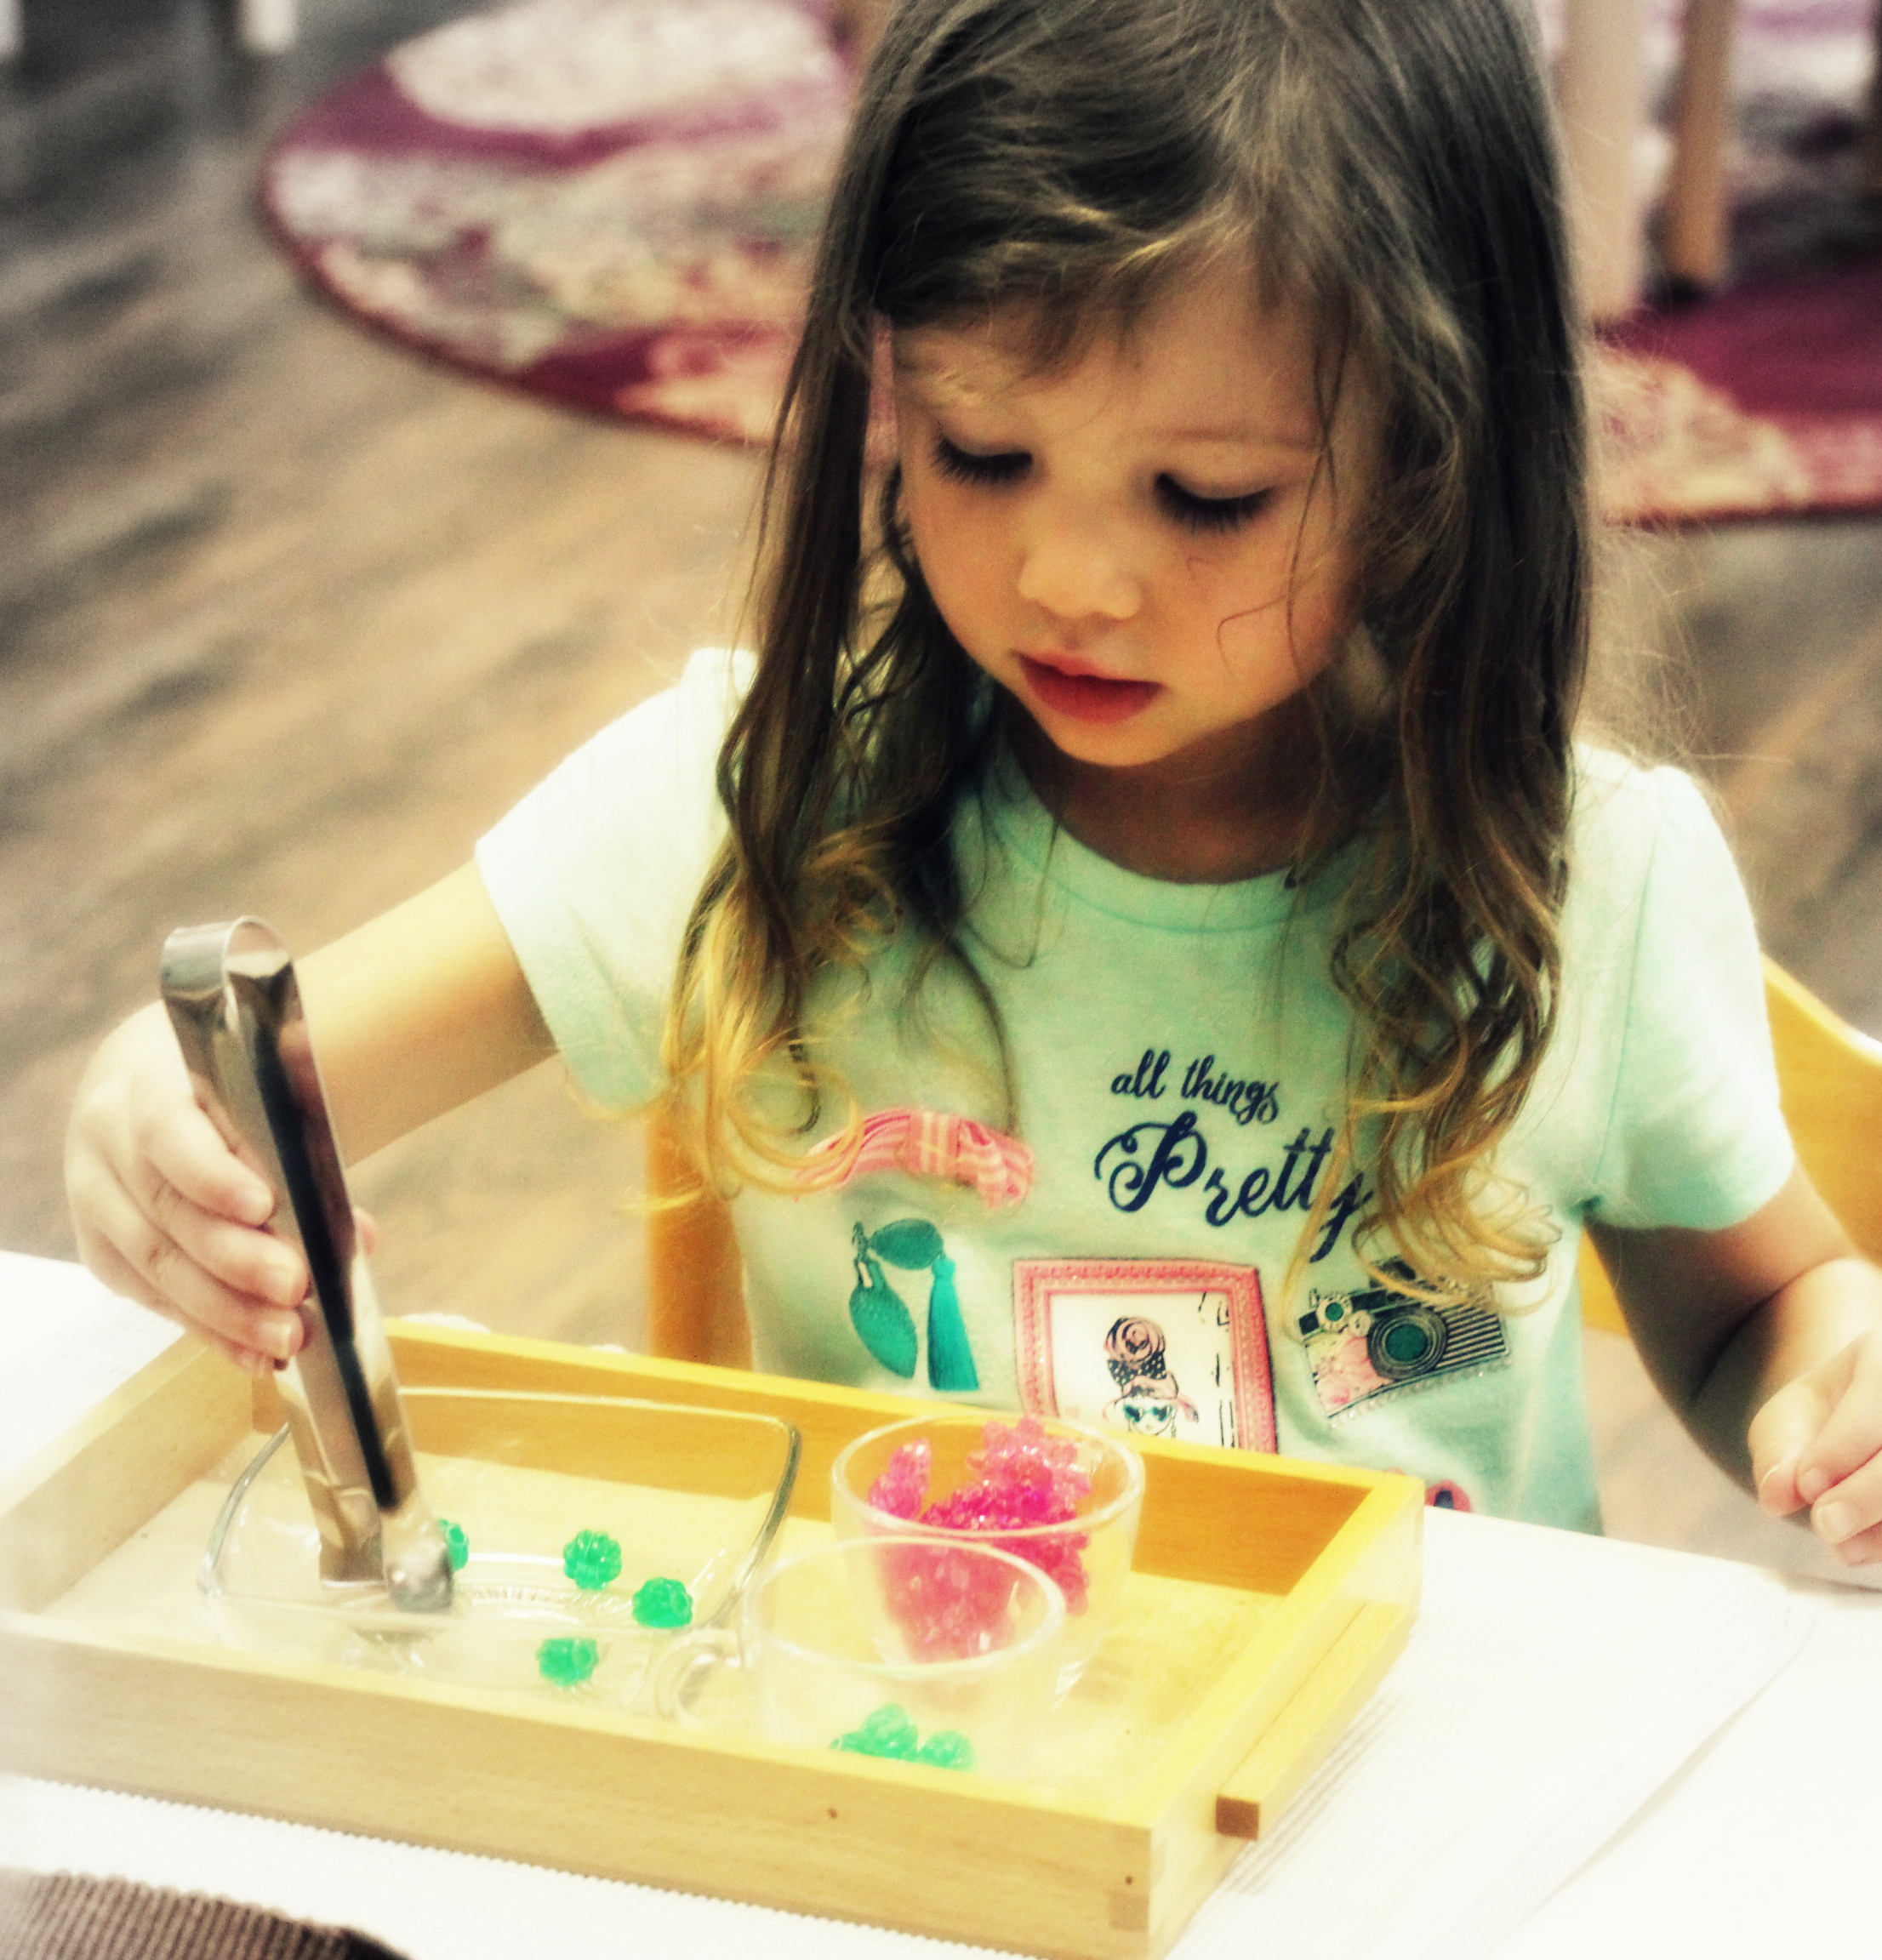
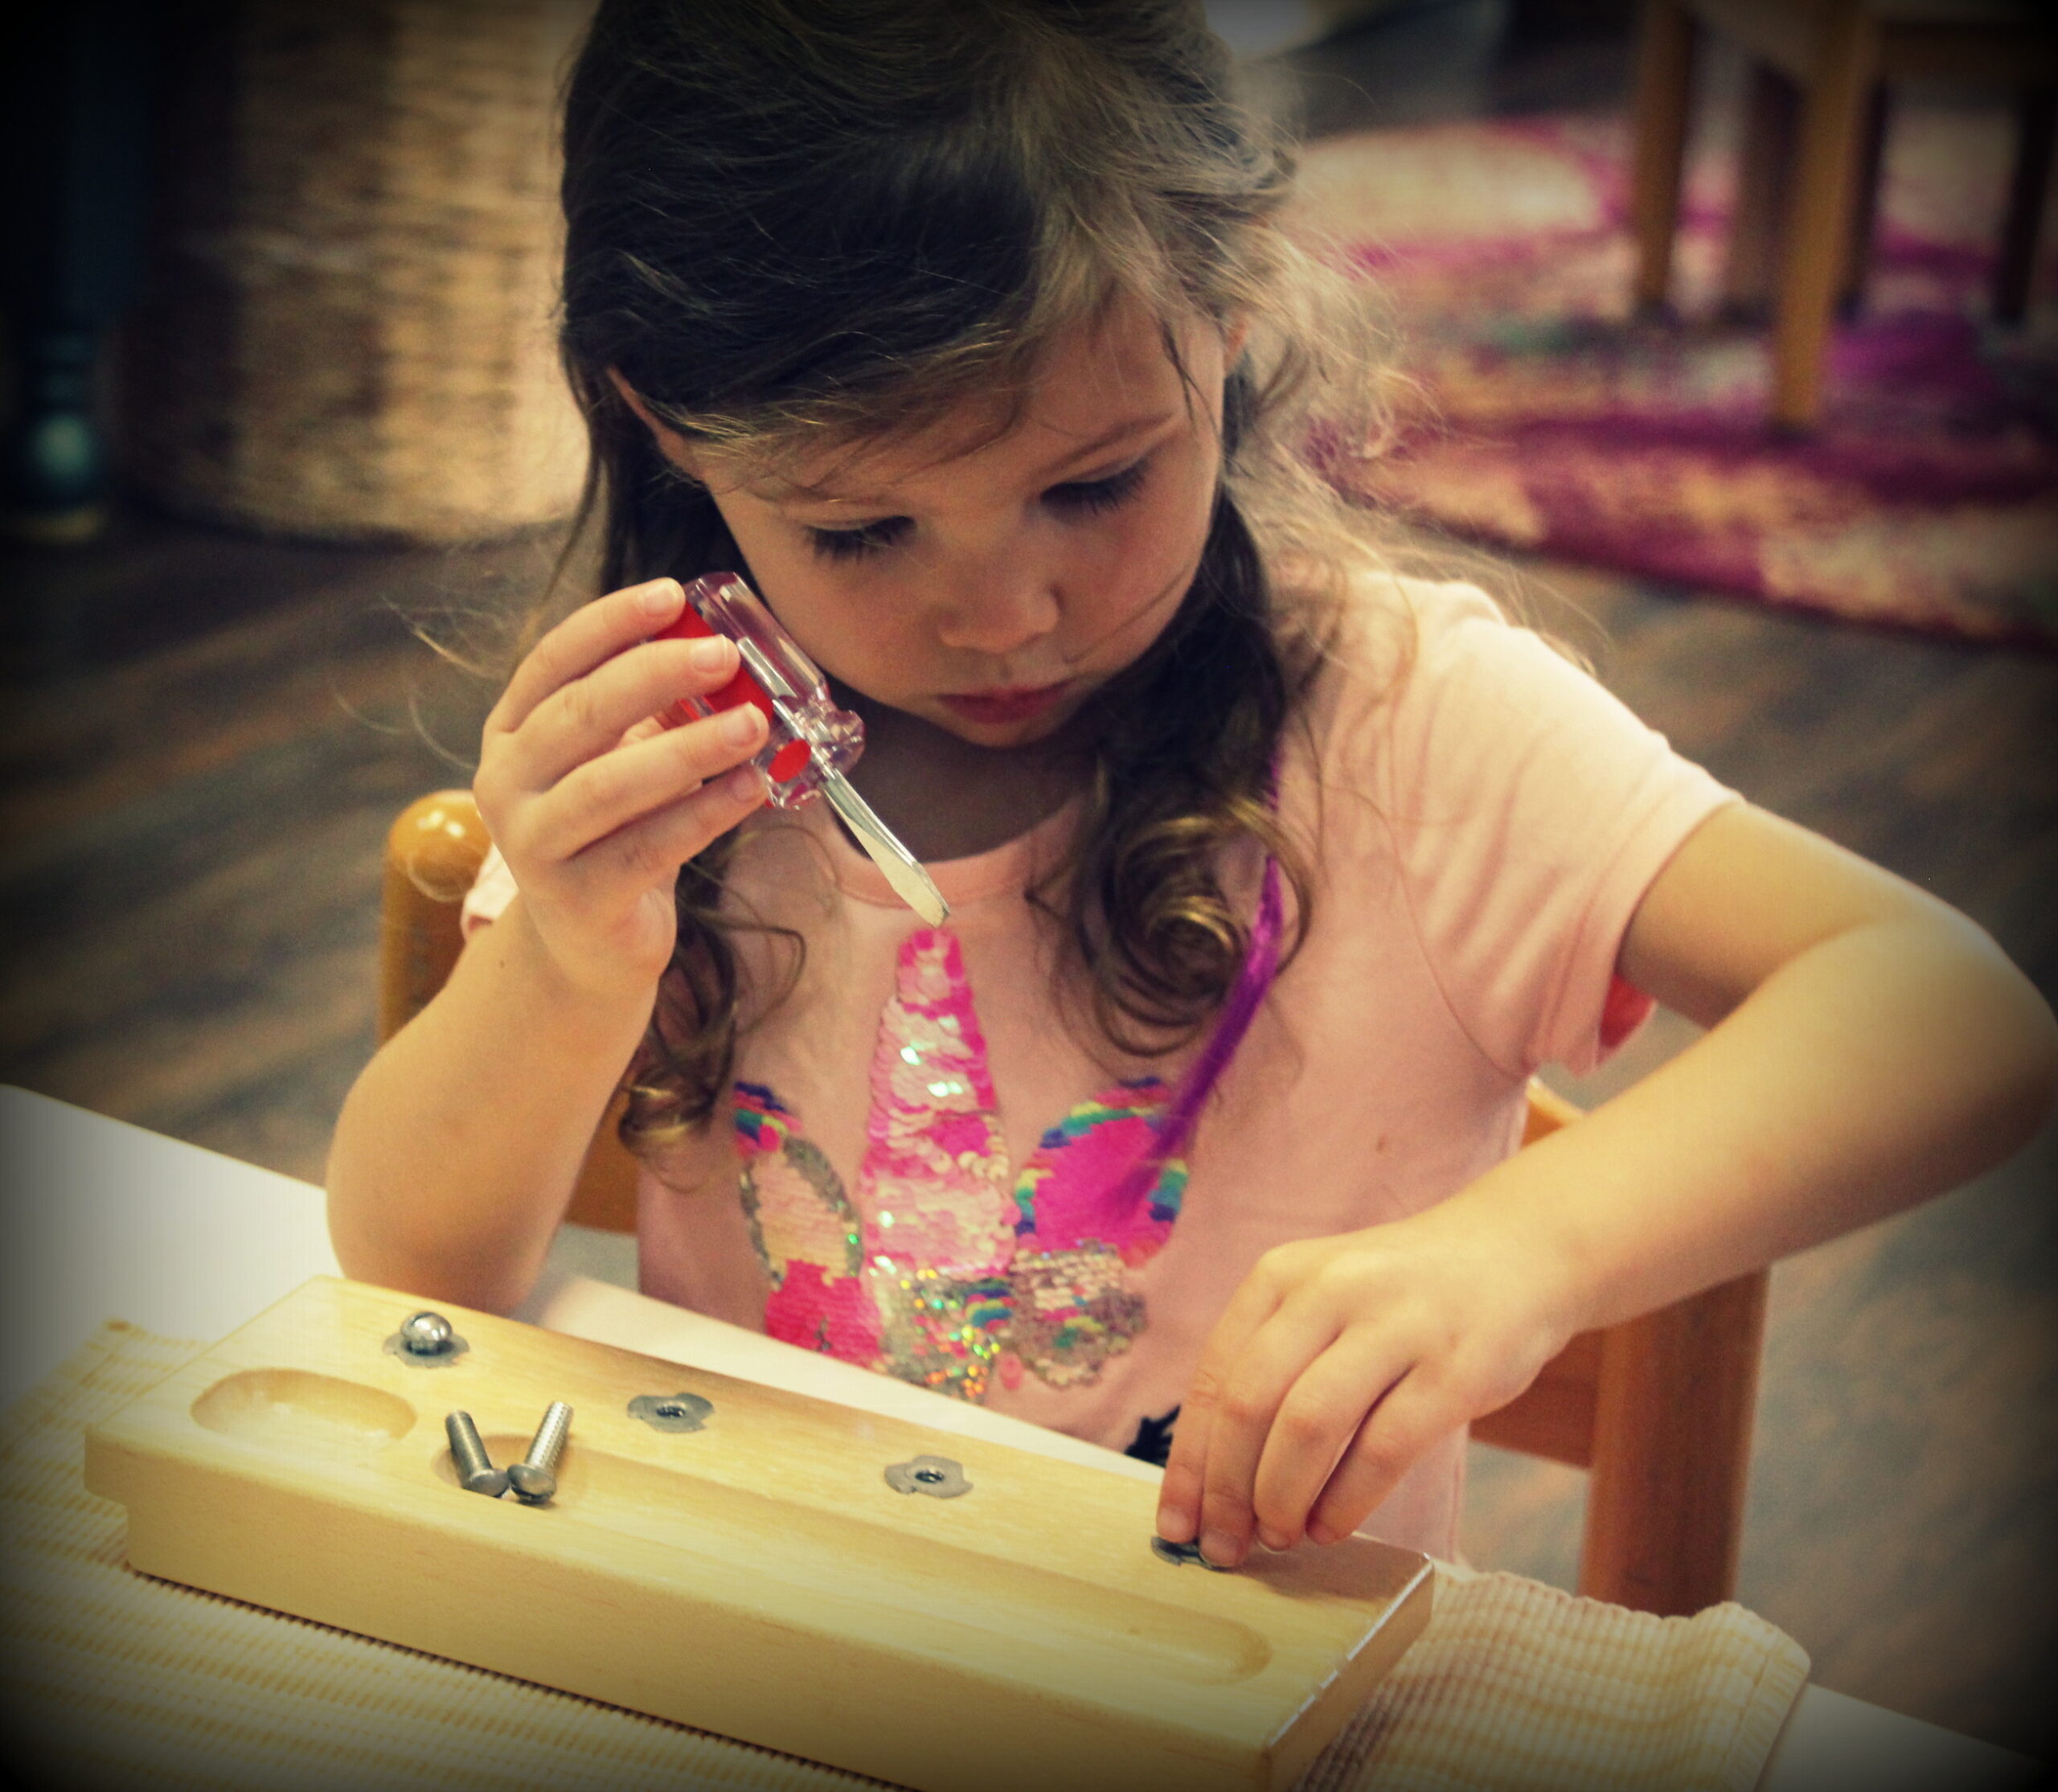
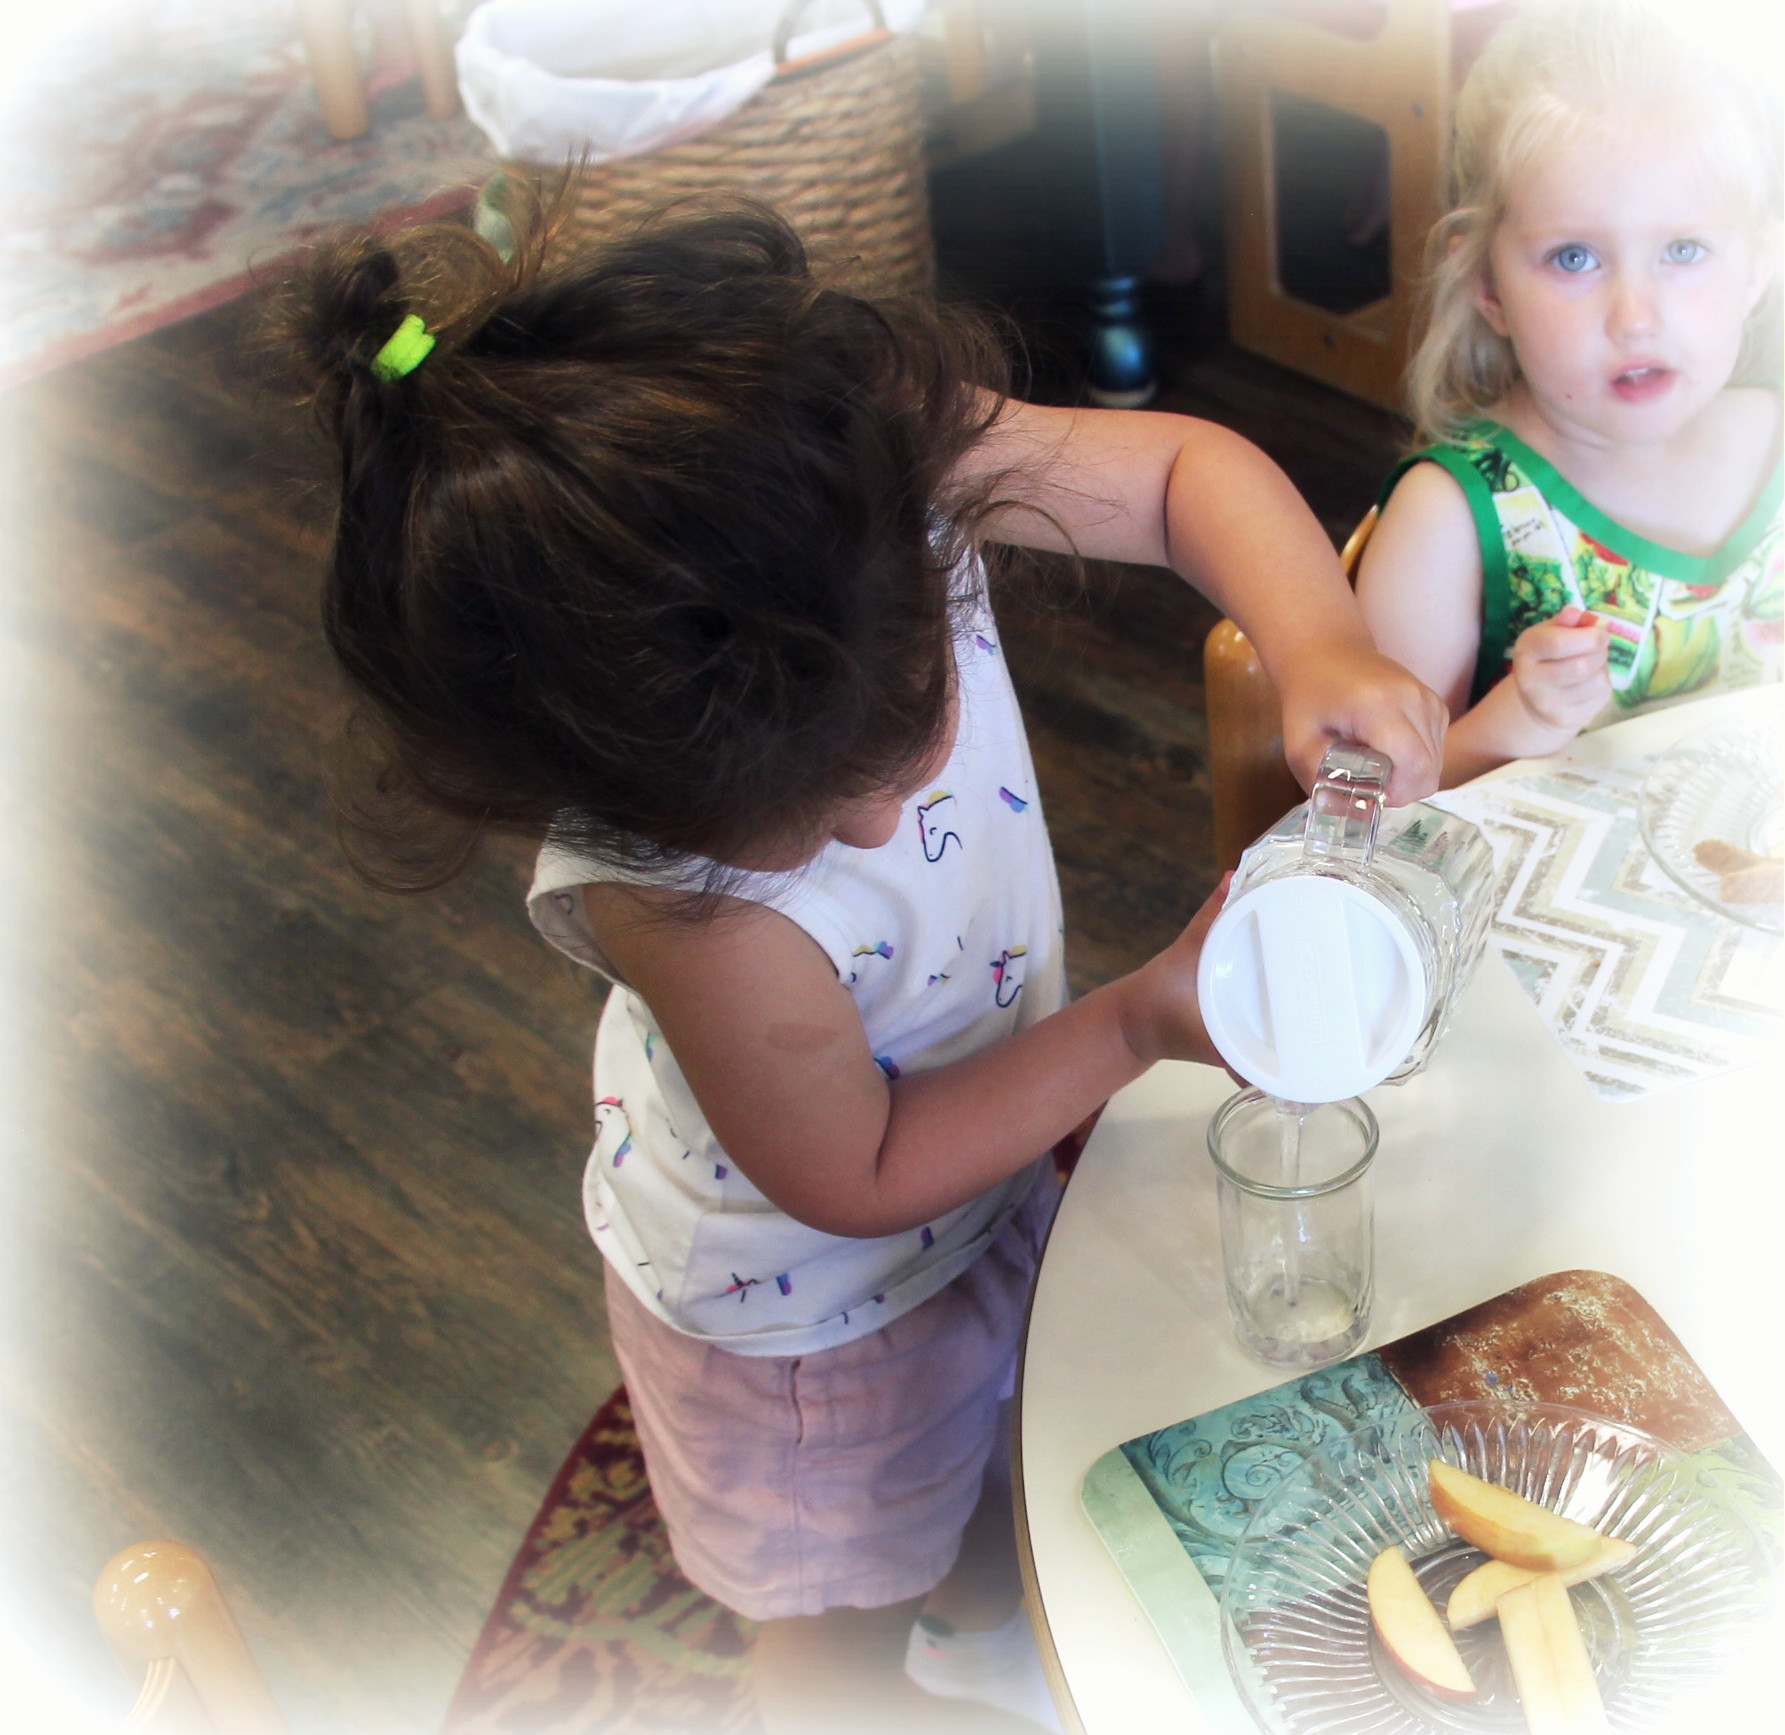
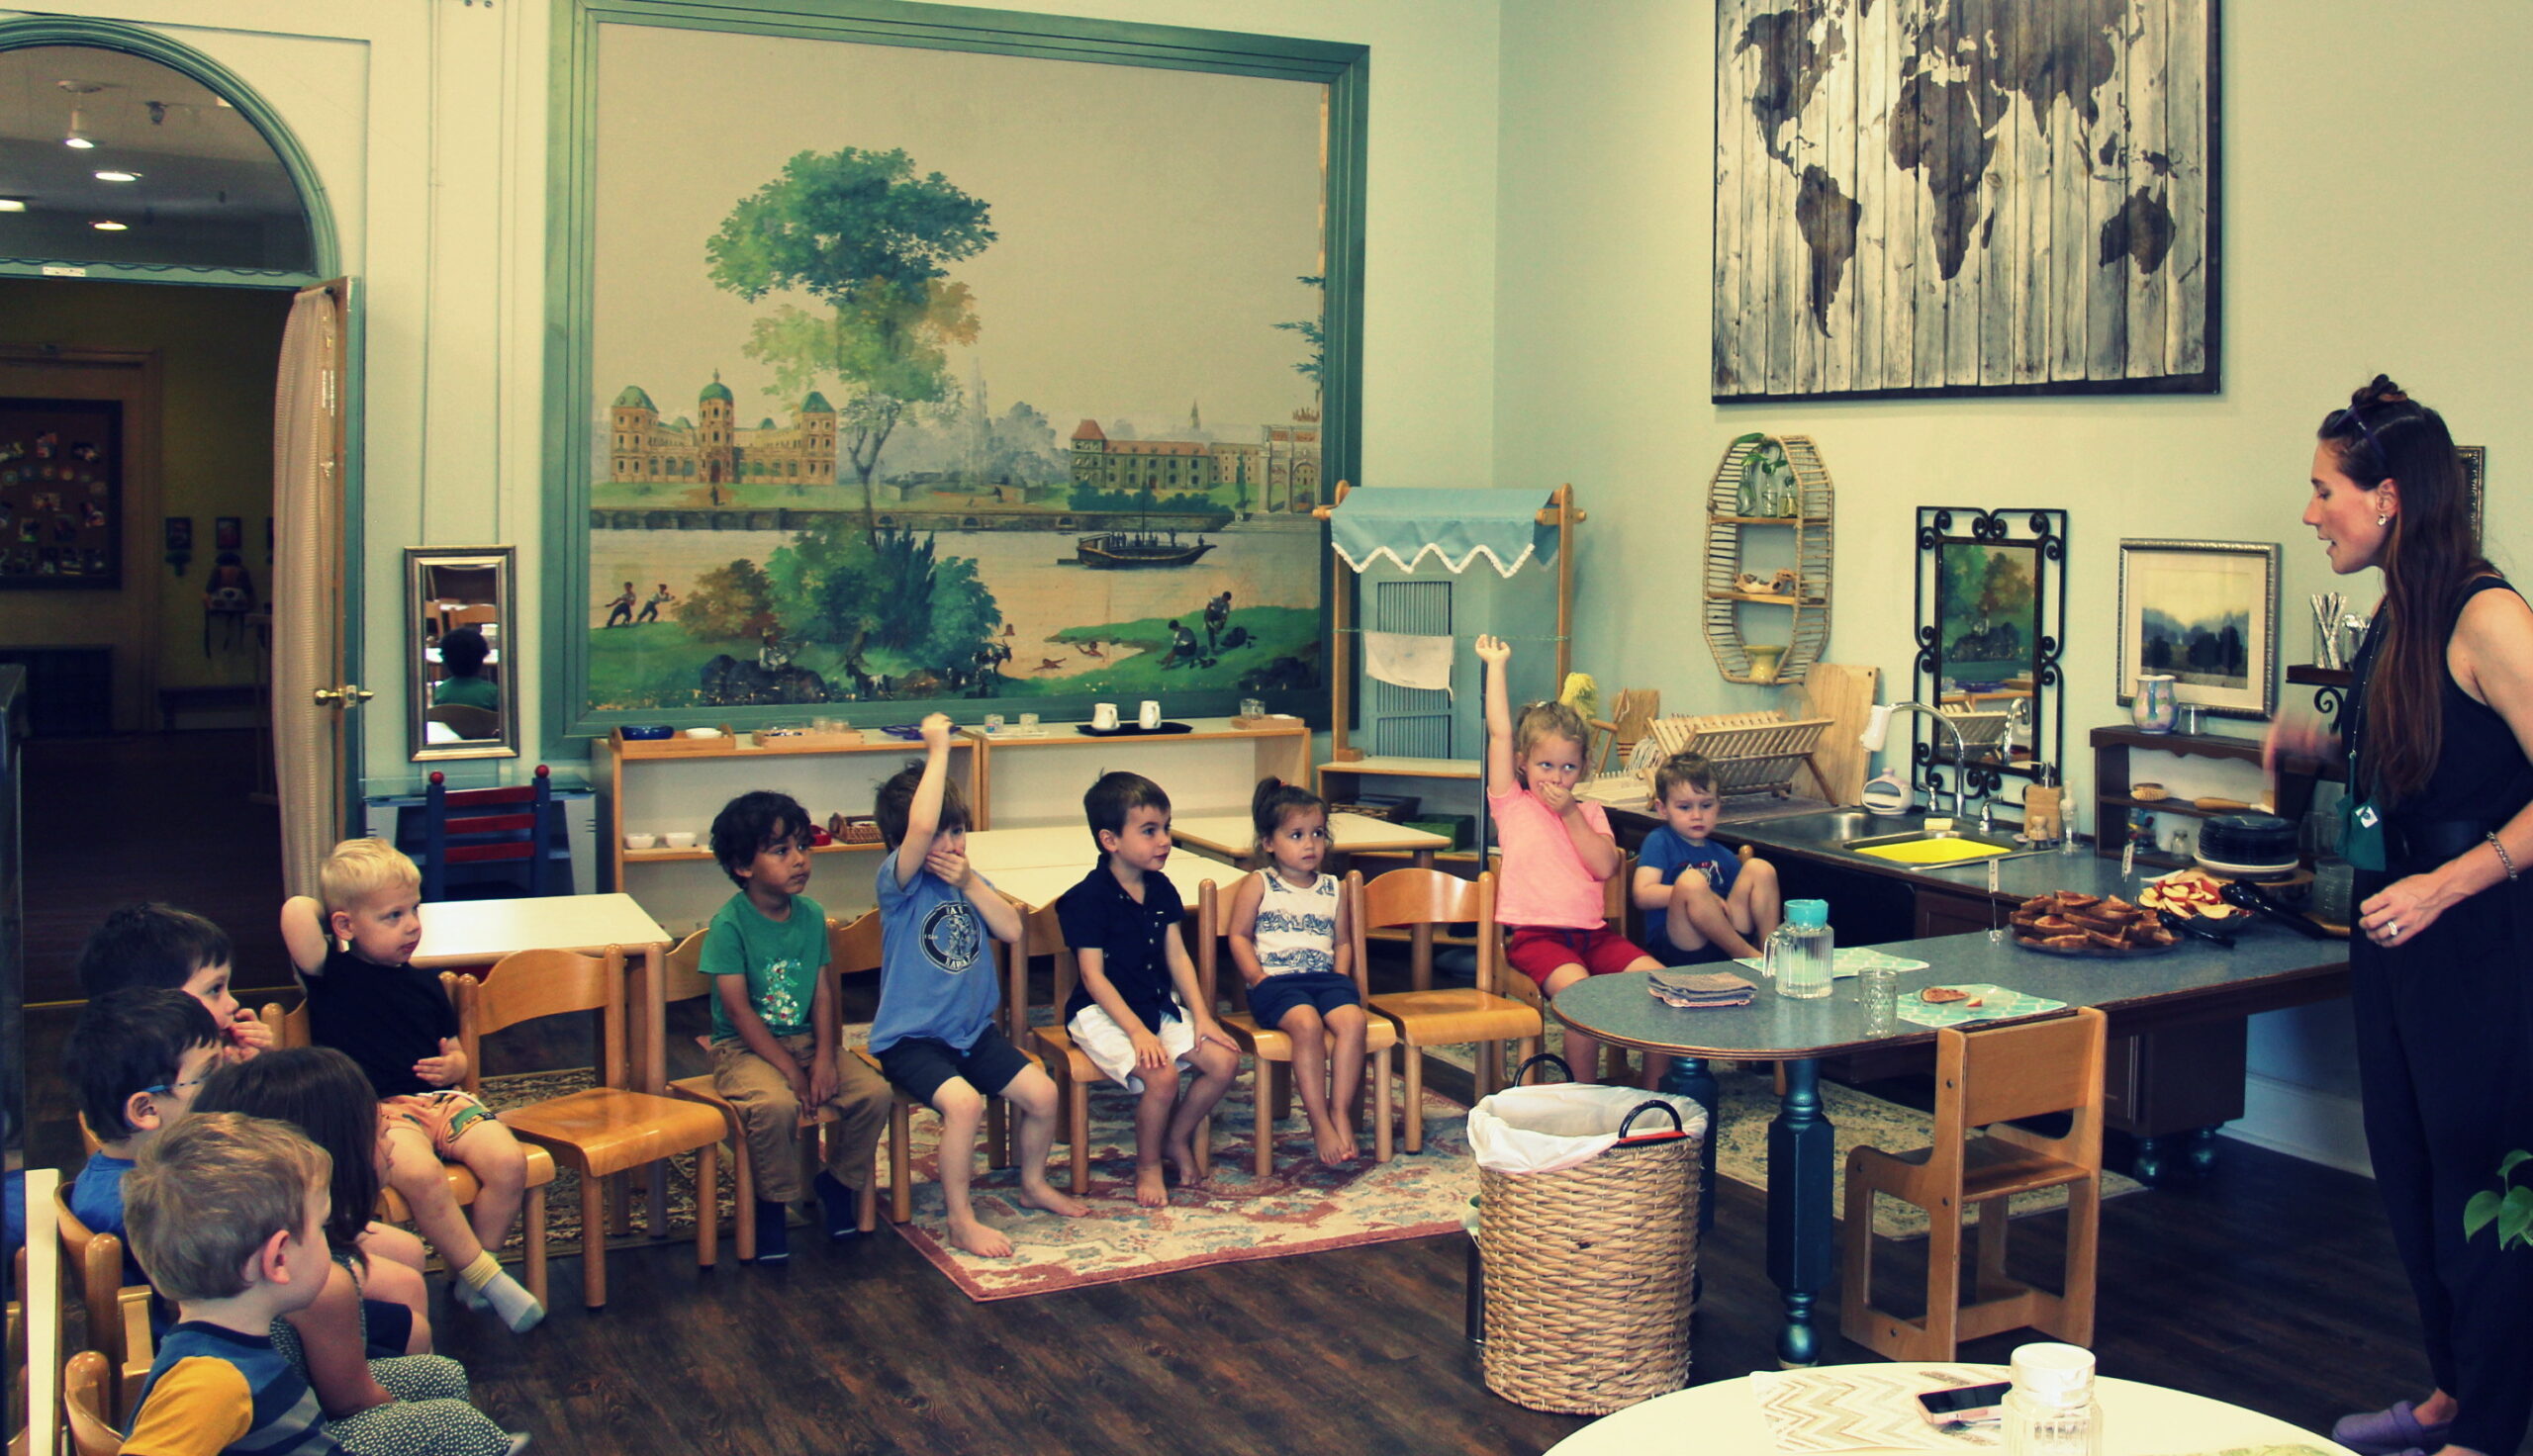
This area offers purposeful activities where a child learns to care for themself and the environment. On our “Practical Life Shelves,” works are available for children to care and handle delicate materials, developing fine motor control, coordination, and attention to detail. Our students are also building independence as they practice activities such as partaking in our self-serve snack station, pouring their own water, composting, and washing dishes. The exercises and materials offered in our Practical Life Area are continuously refreshed as “works” are rotated out on a biweekly basis to draw children in and challenge them in new ways.
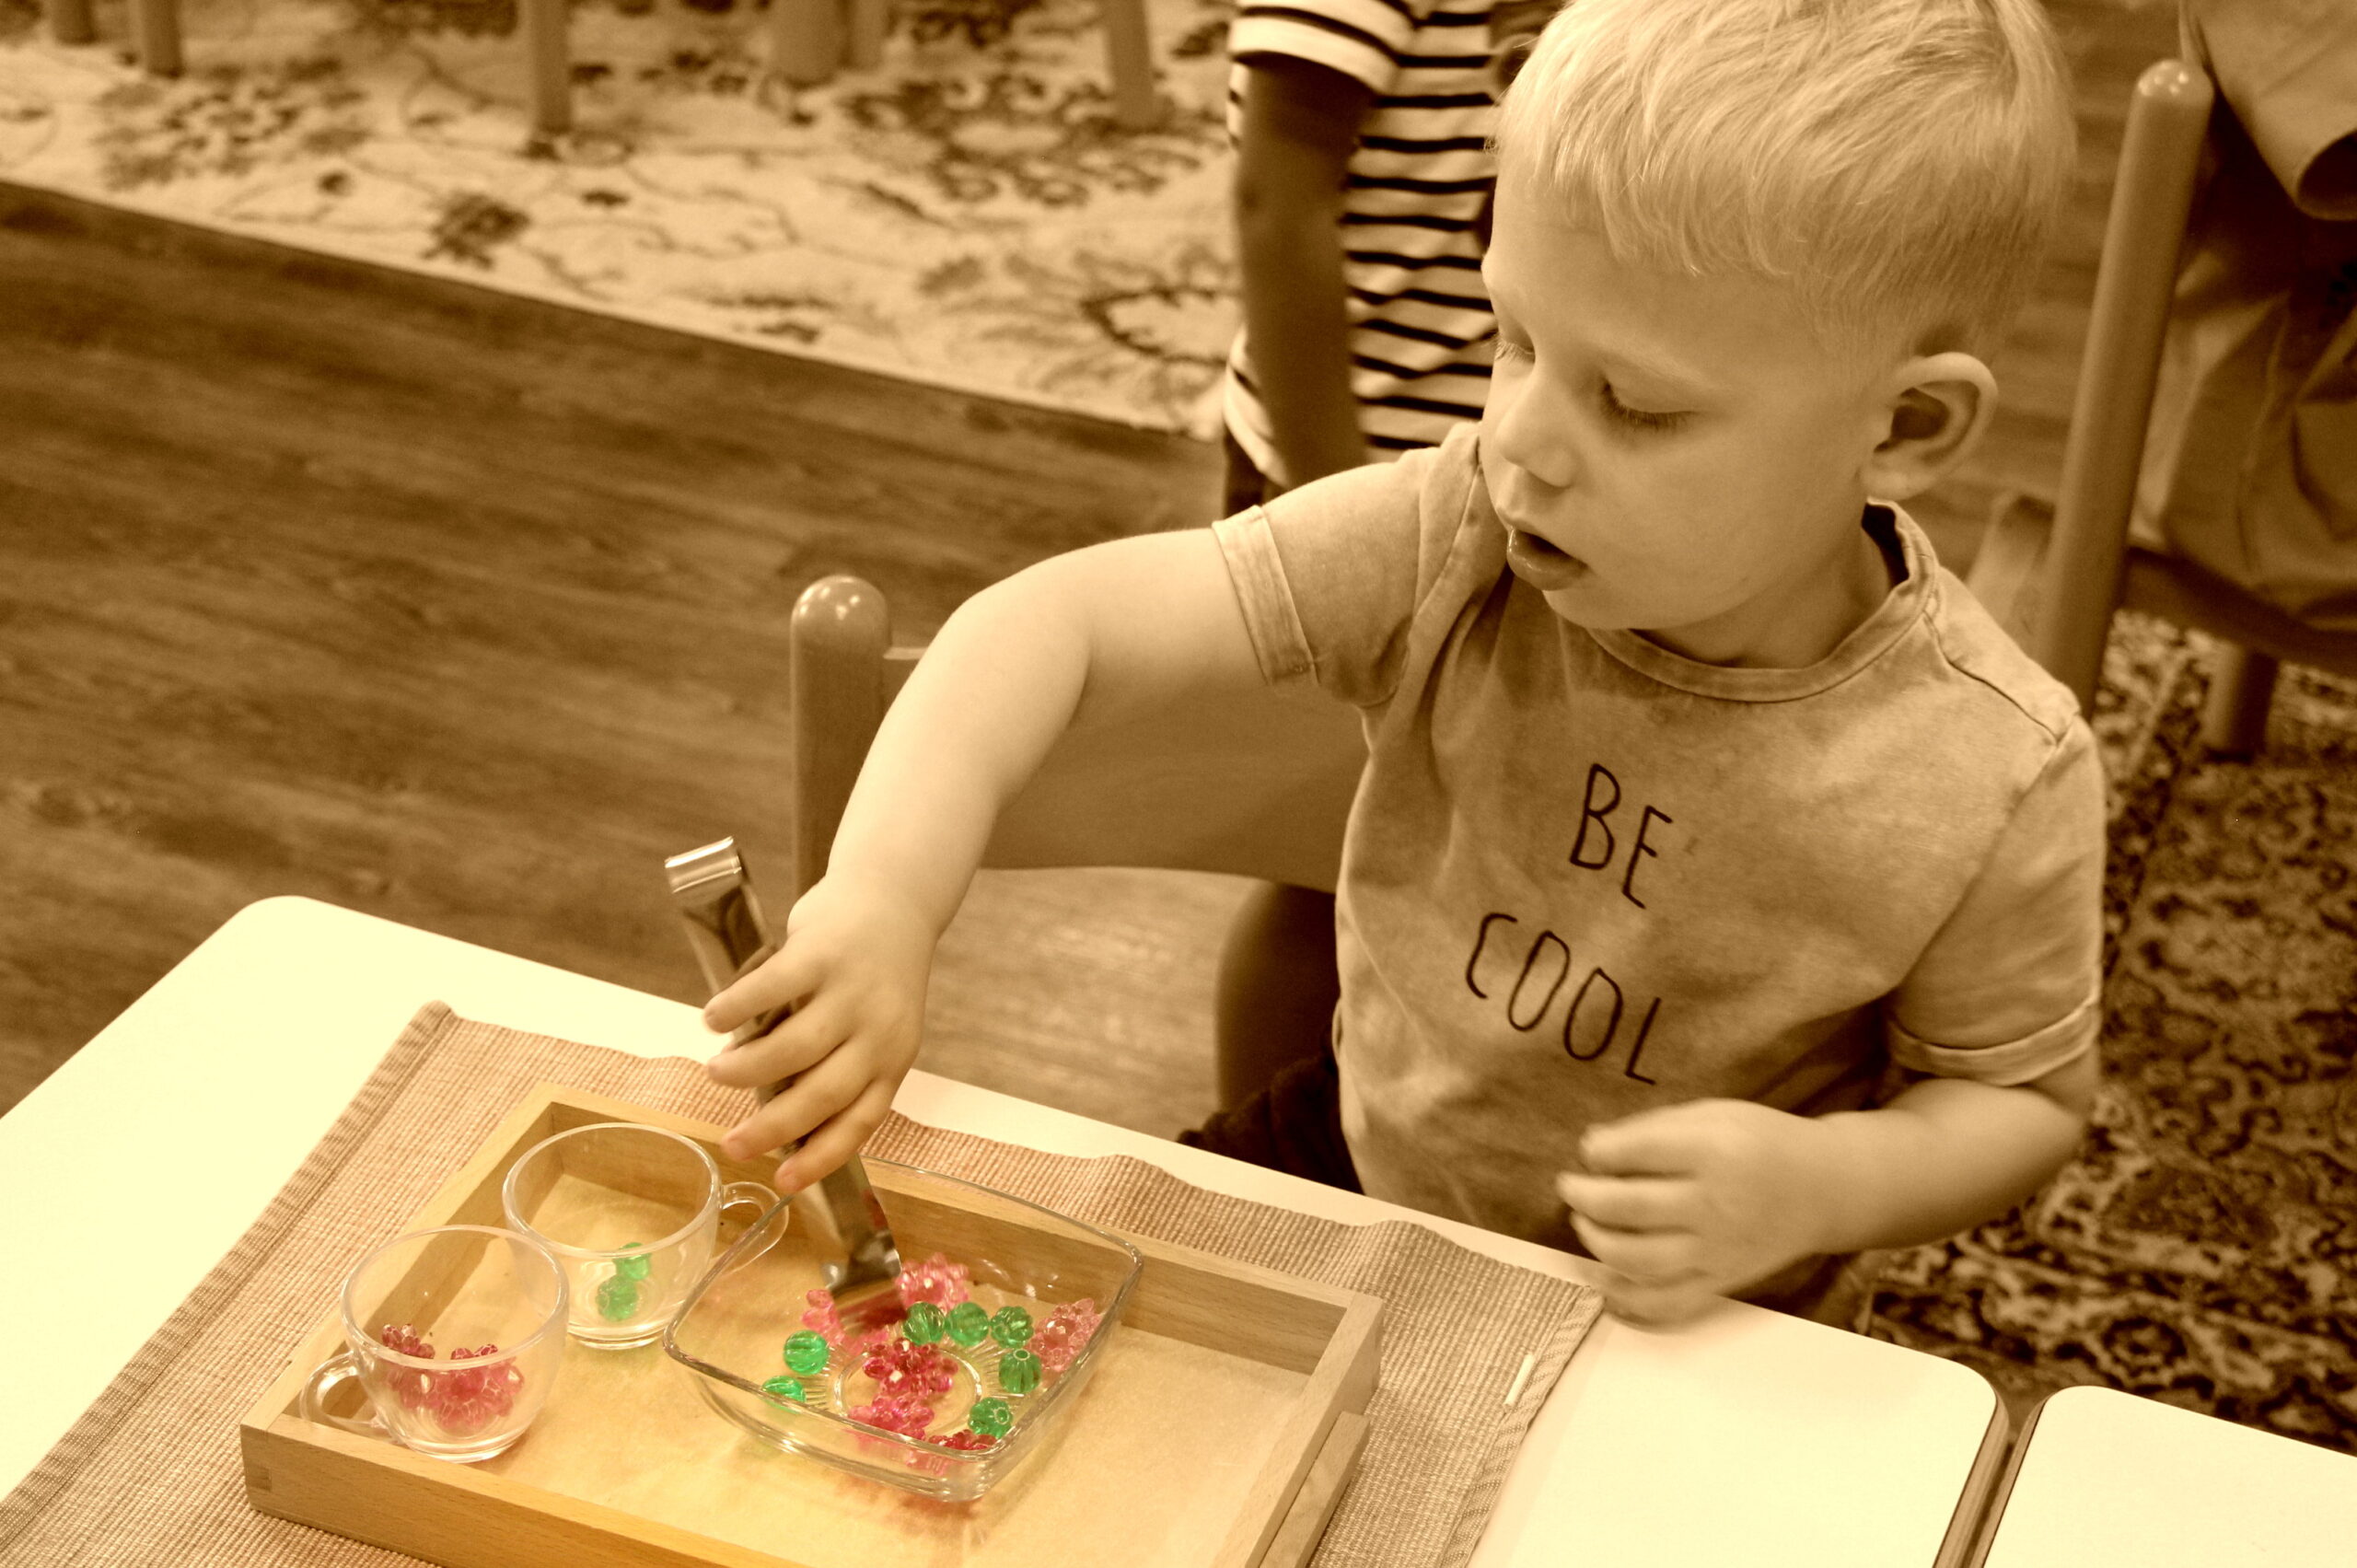
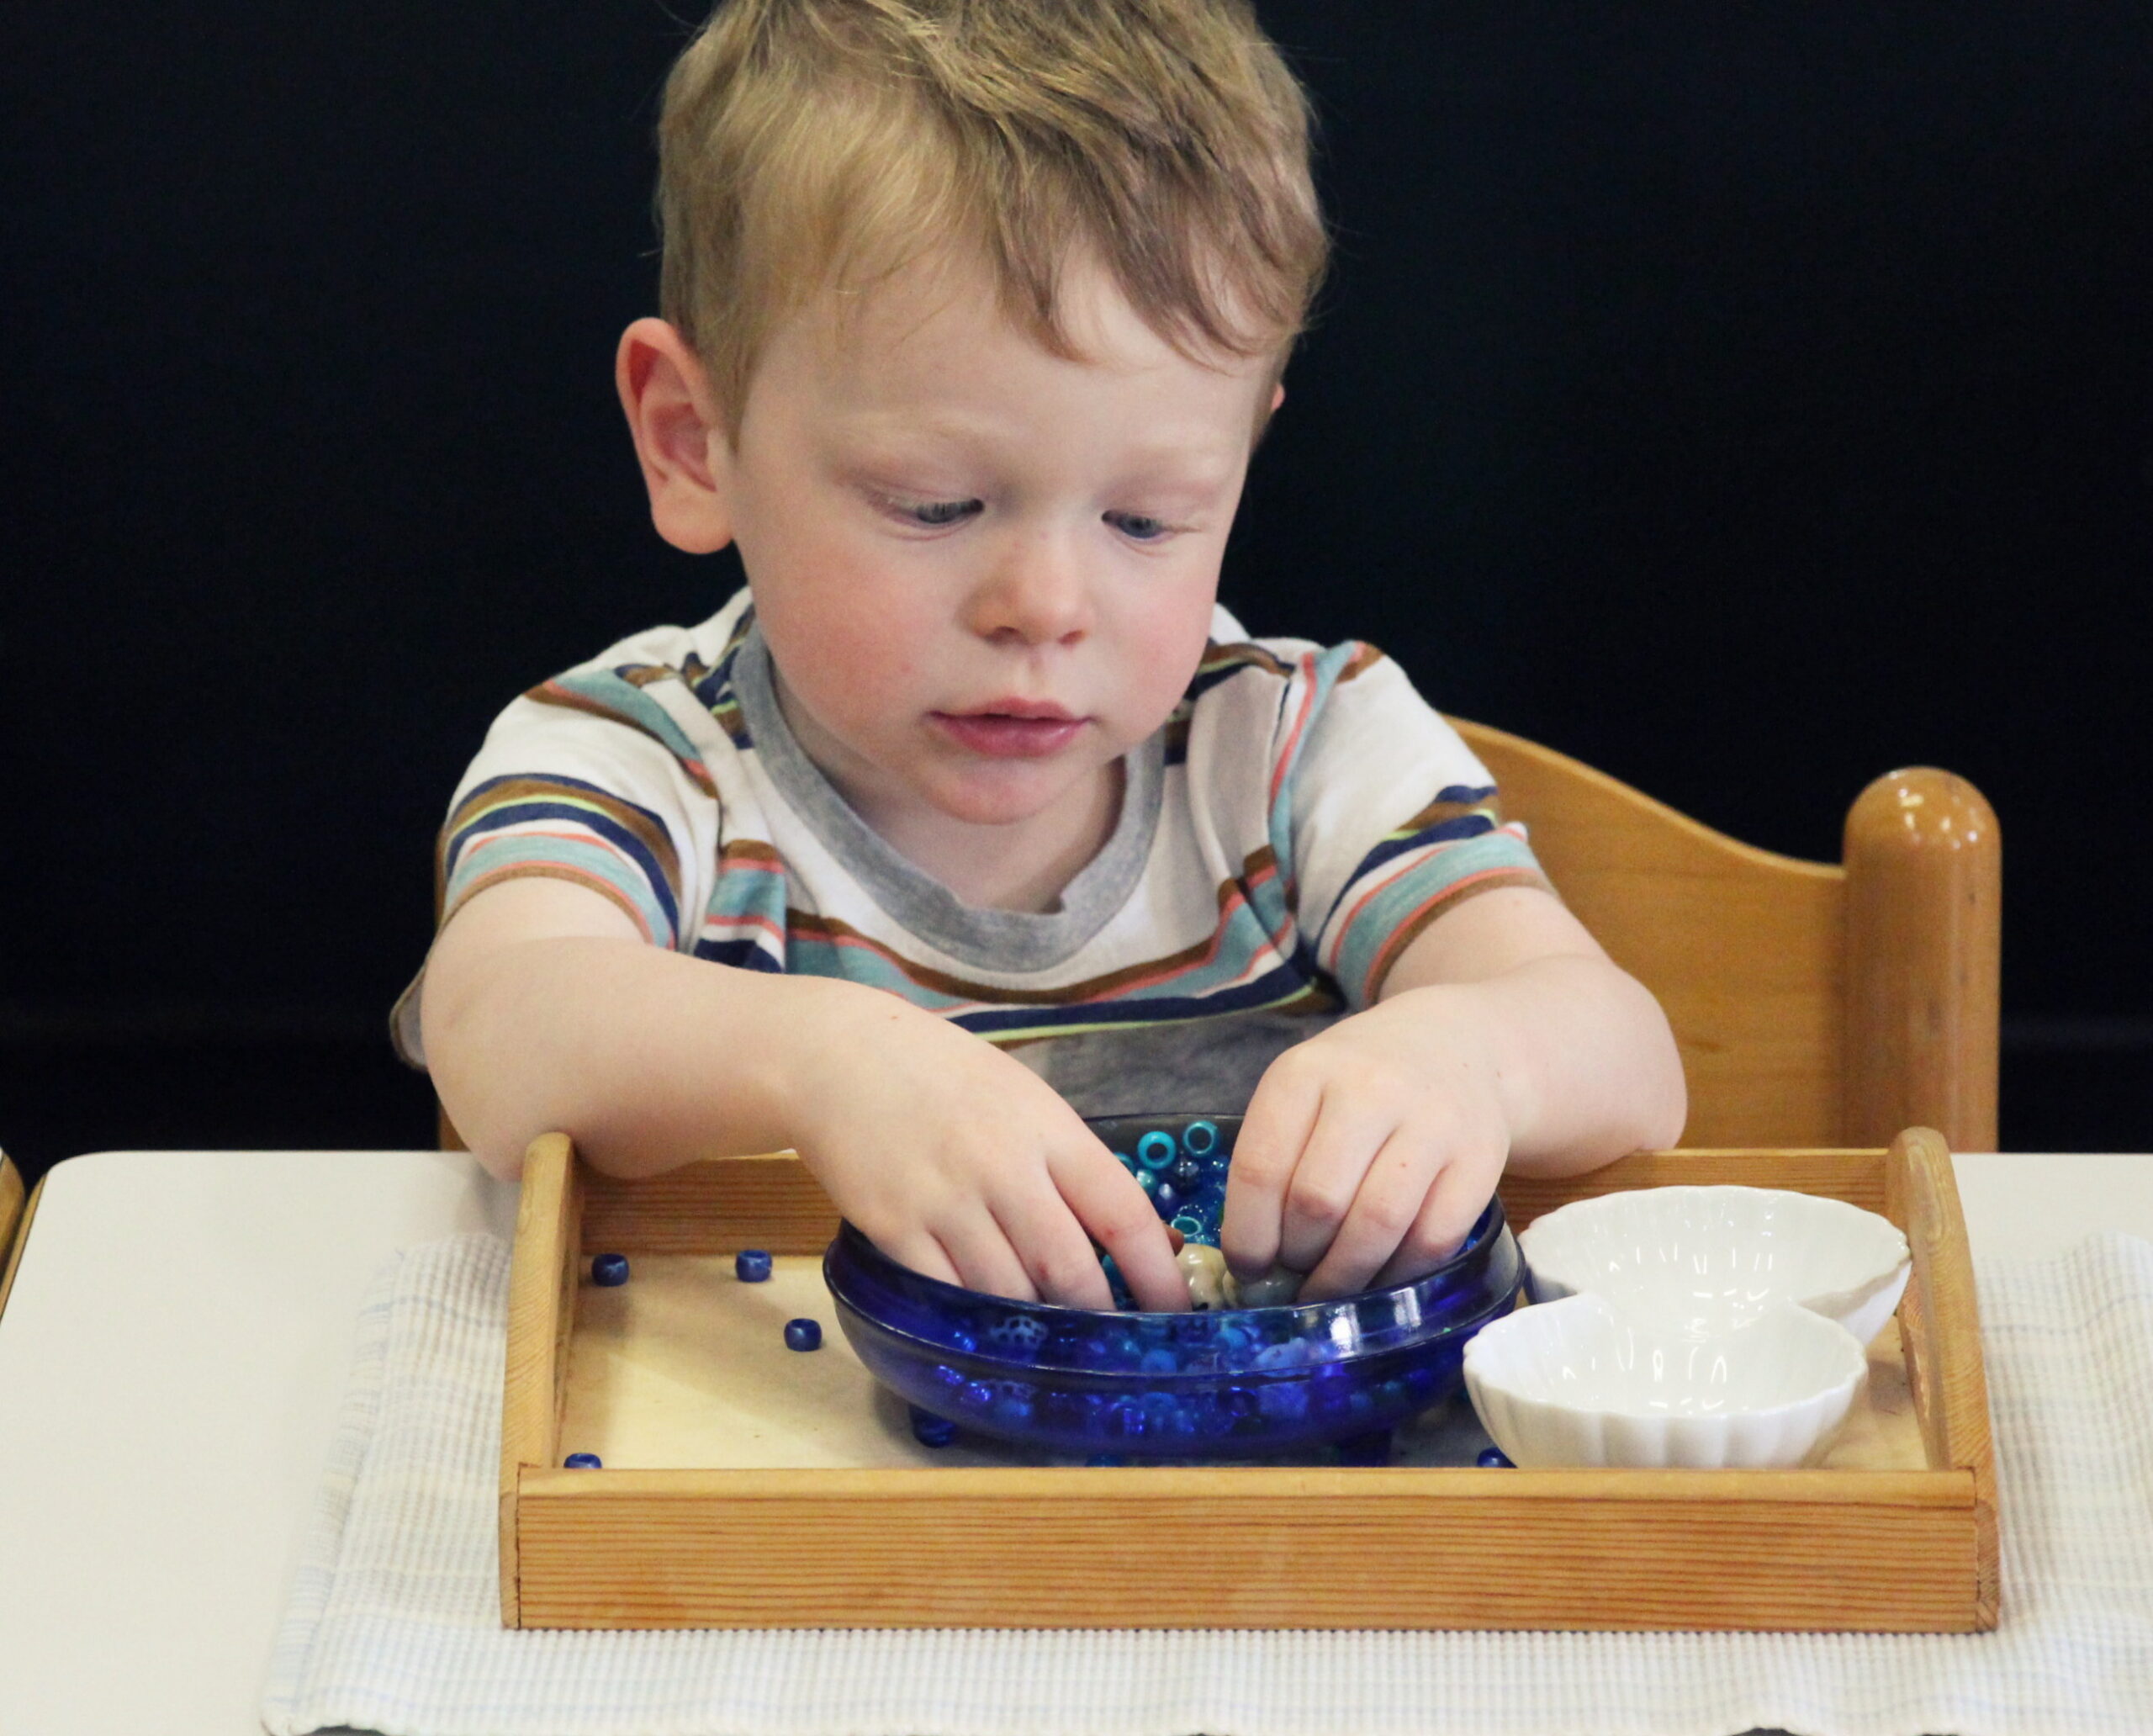
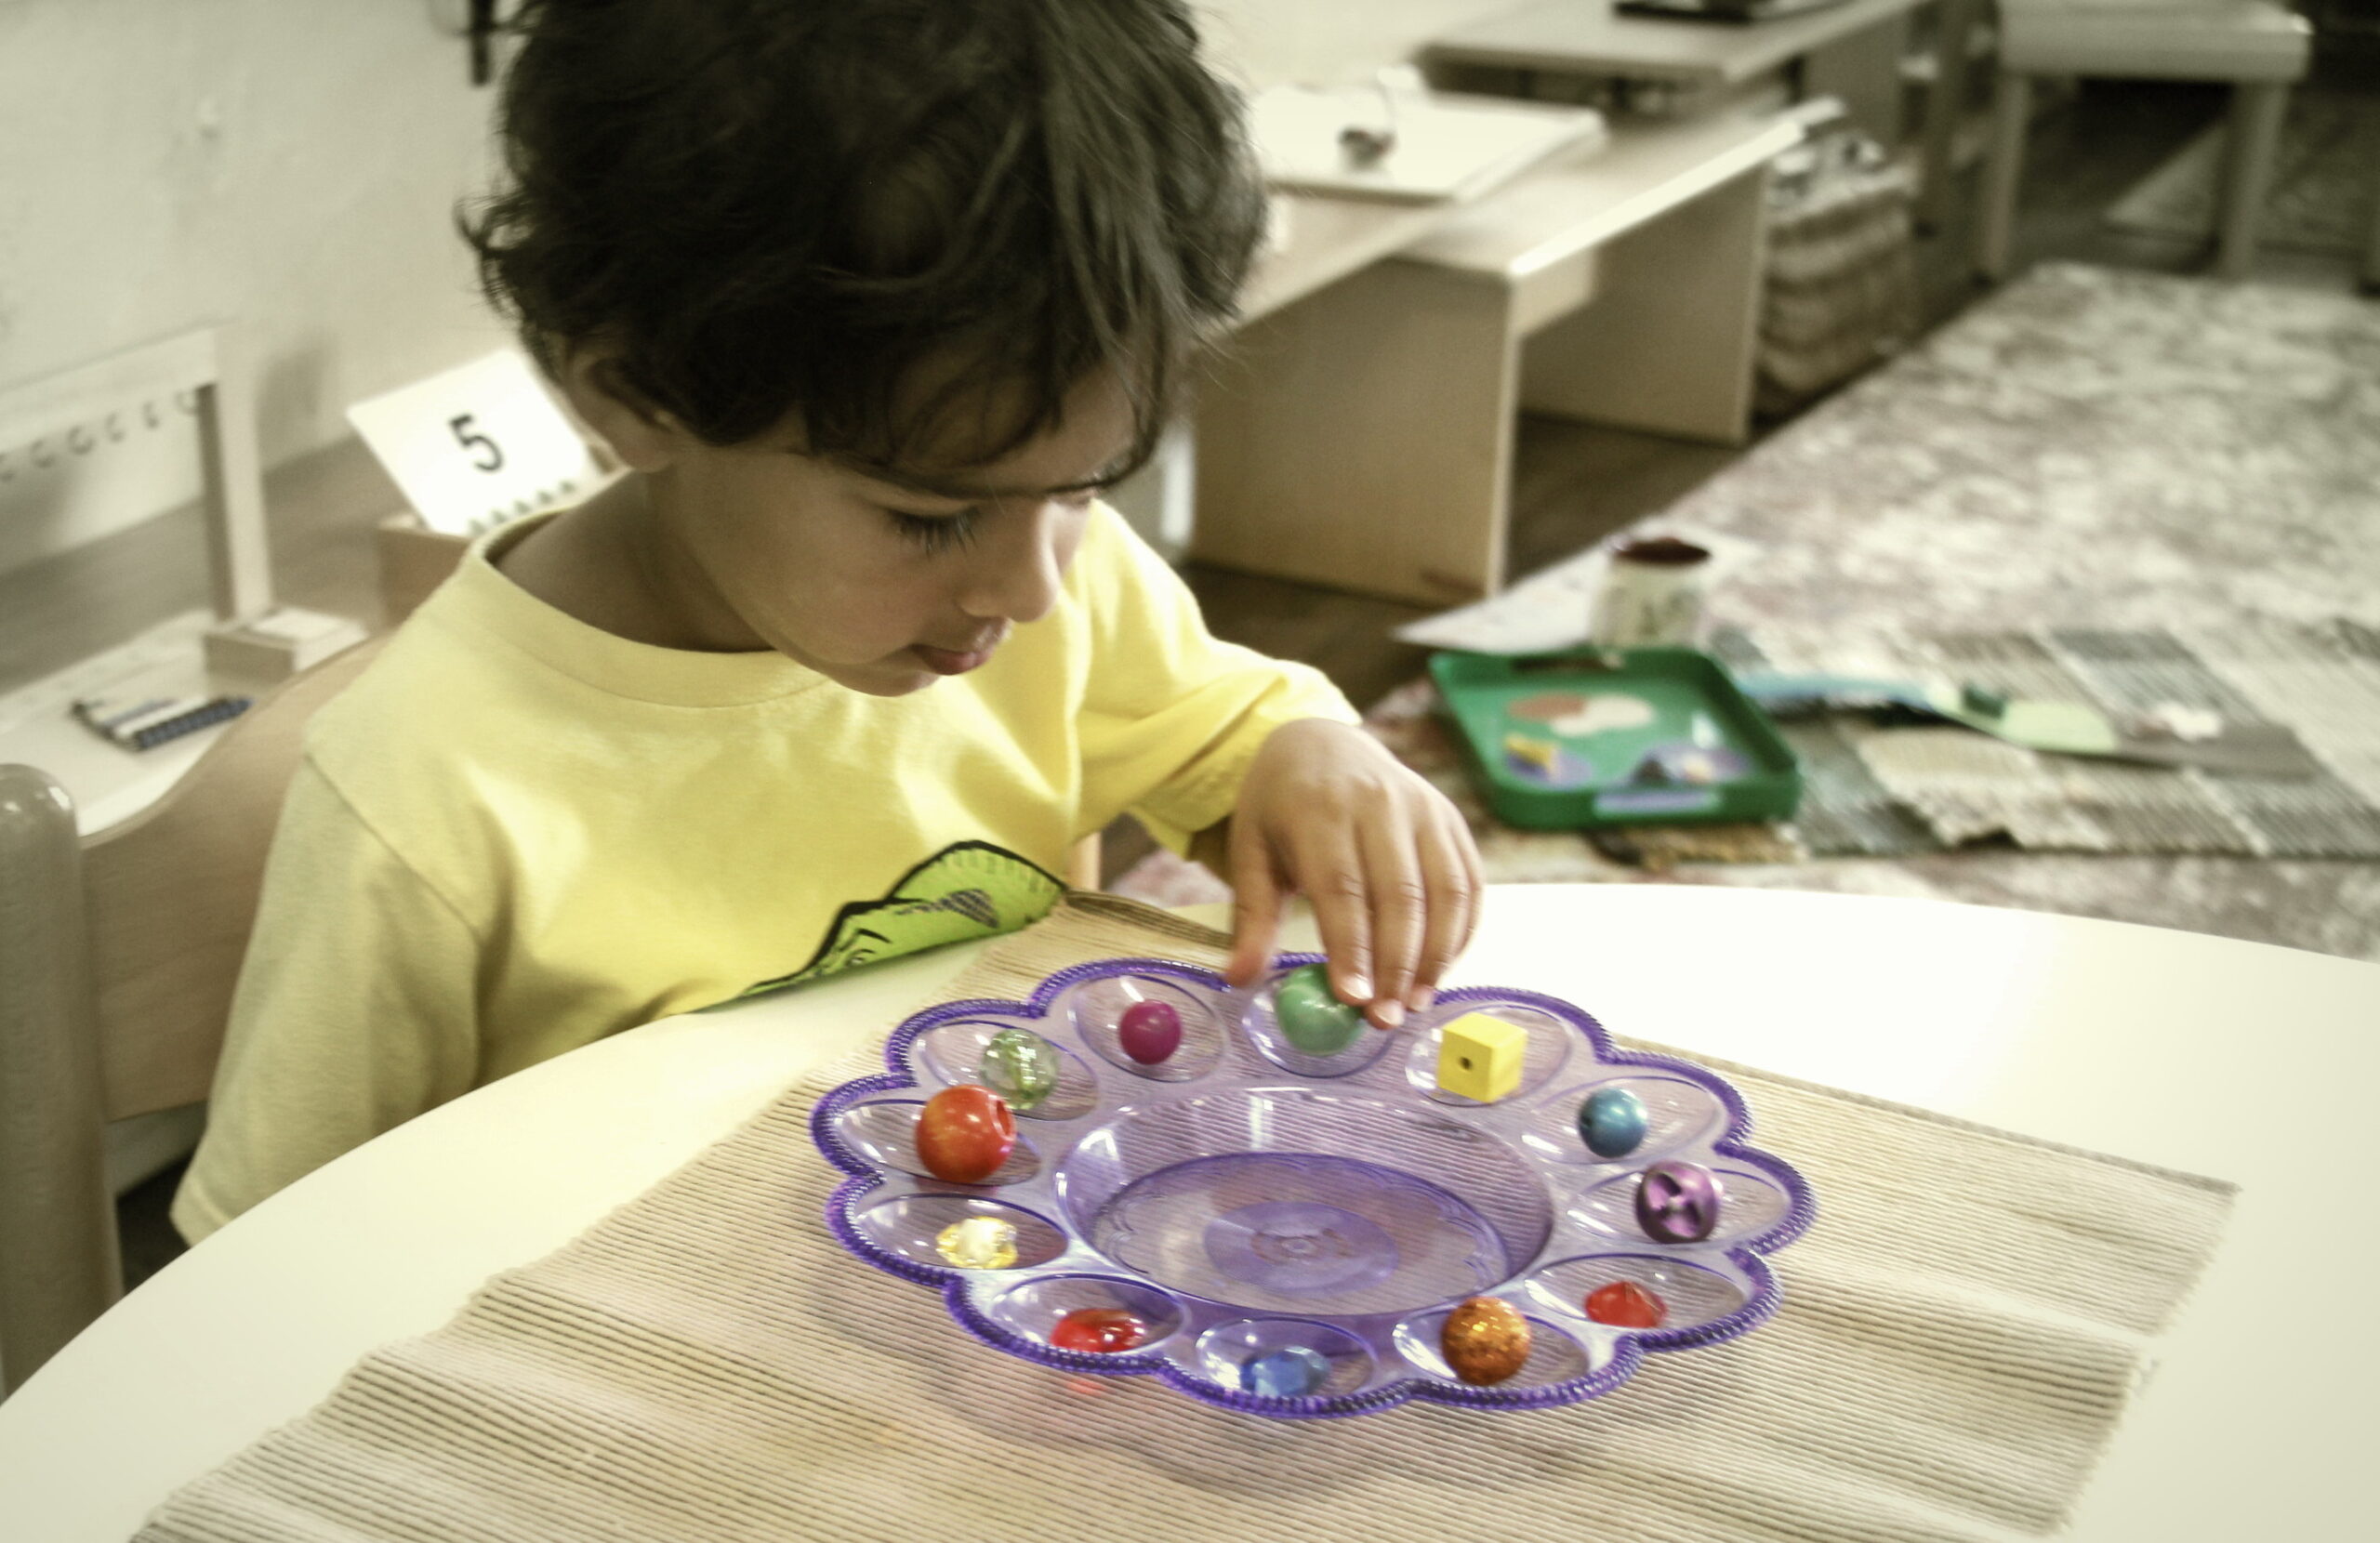
Lessons on Shelf Organization. Each work has a “special place” on the shelf, depending on the subject area and purpose. Names of shelves reviewed: the grasping shelf, spooning shelf, tong shelf, dry pouring shelf, art shelf, cleaning shelf, & the miscellaneous shelf. Brief demonstrations were given for works on each shelf to allow quick access for all students during work cycle. Thorough reviews to follow throughout each week. During our reviews, we focus on handling materials with the pincer grip, demonstrate the steps we take to transfer materials, express the delicacy and fragility of each object, and point out interesting details such as translucency or the sounds heard during a transfer (e.g., the high pitched ting when plastic beads hit the bottom of a glass bowl). Pointing out such details is a regular Montessori practice that not only keeps students focused during lessons, but it encourages them to recognize, appreciate and respect the quality of the materials. So far, thorough lessons have been given on the following materials:
Velcro & Snaps Dressing Frames. Montessori dressing frames offer fine-motor skill practice for a child to become more independent in the process of dressing themself.
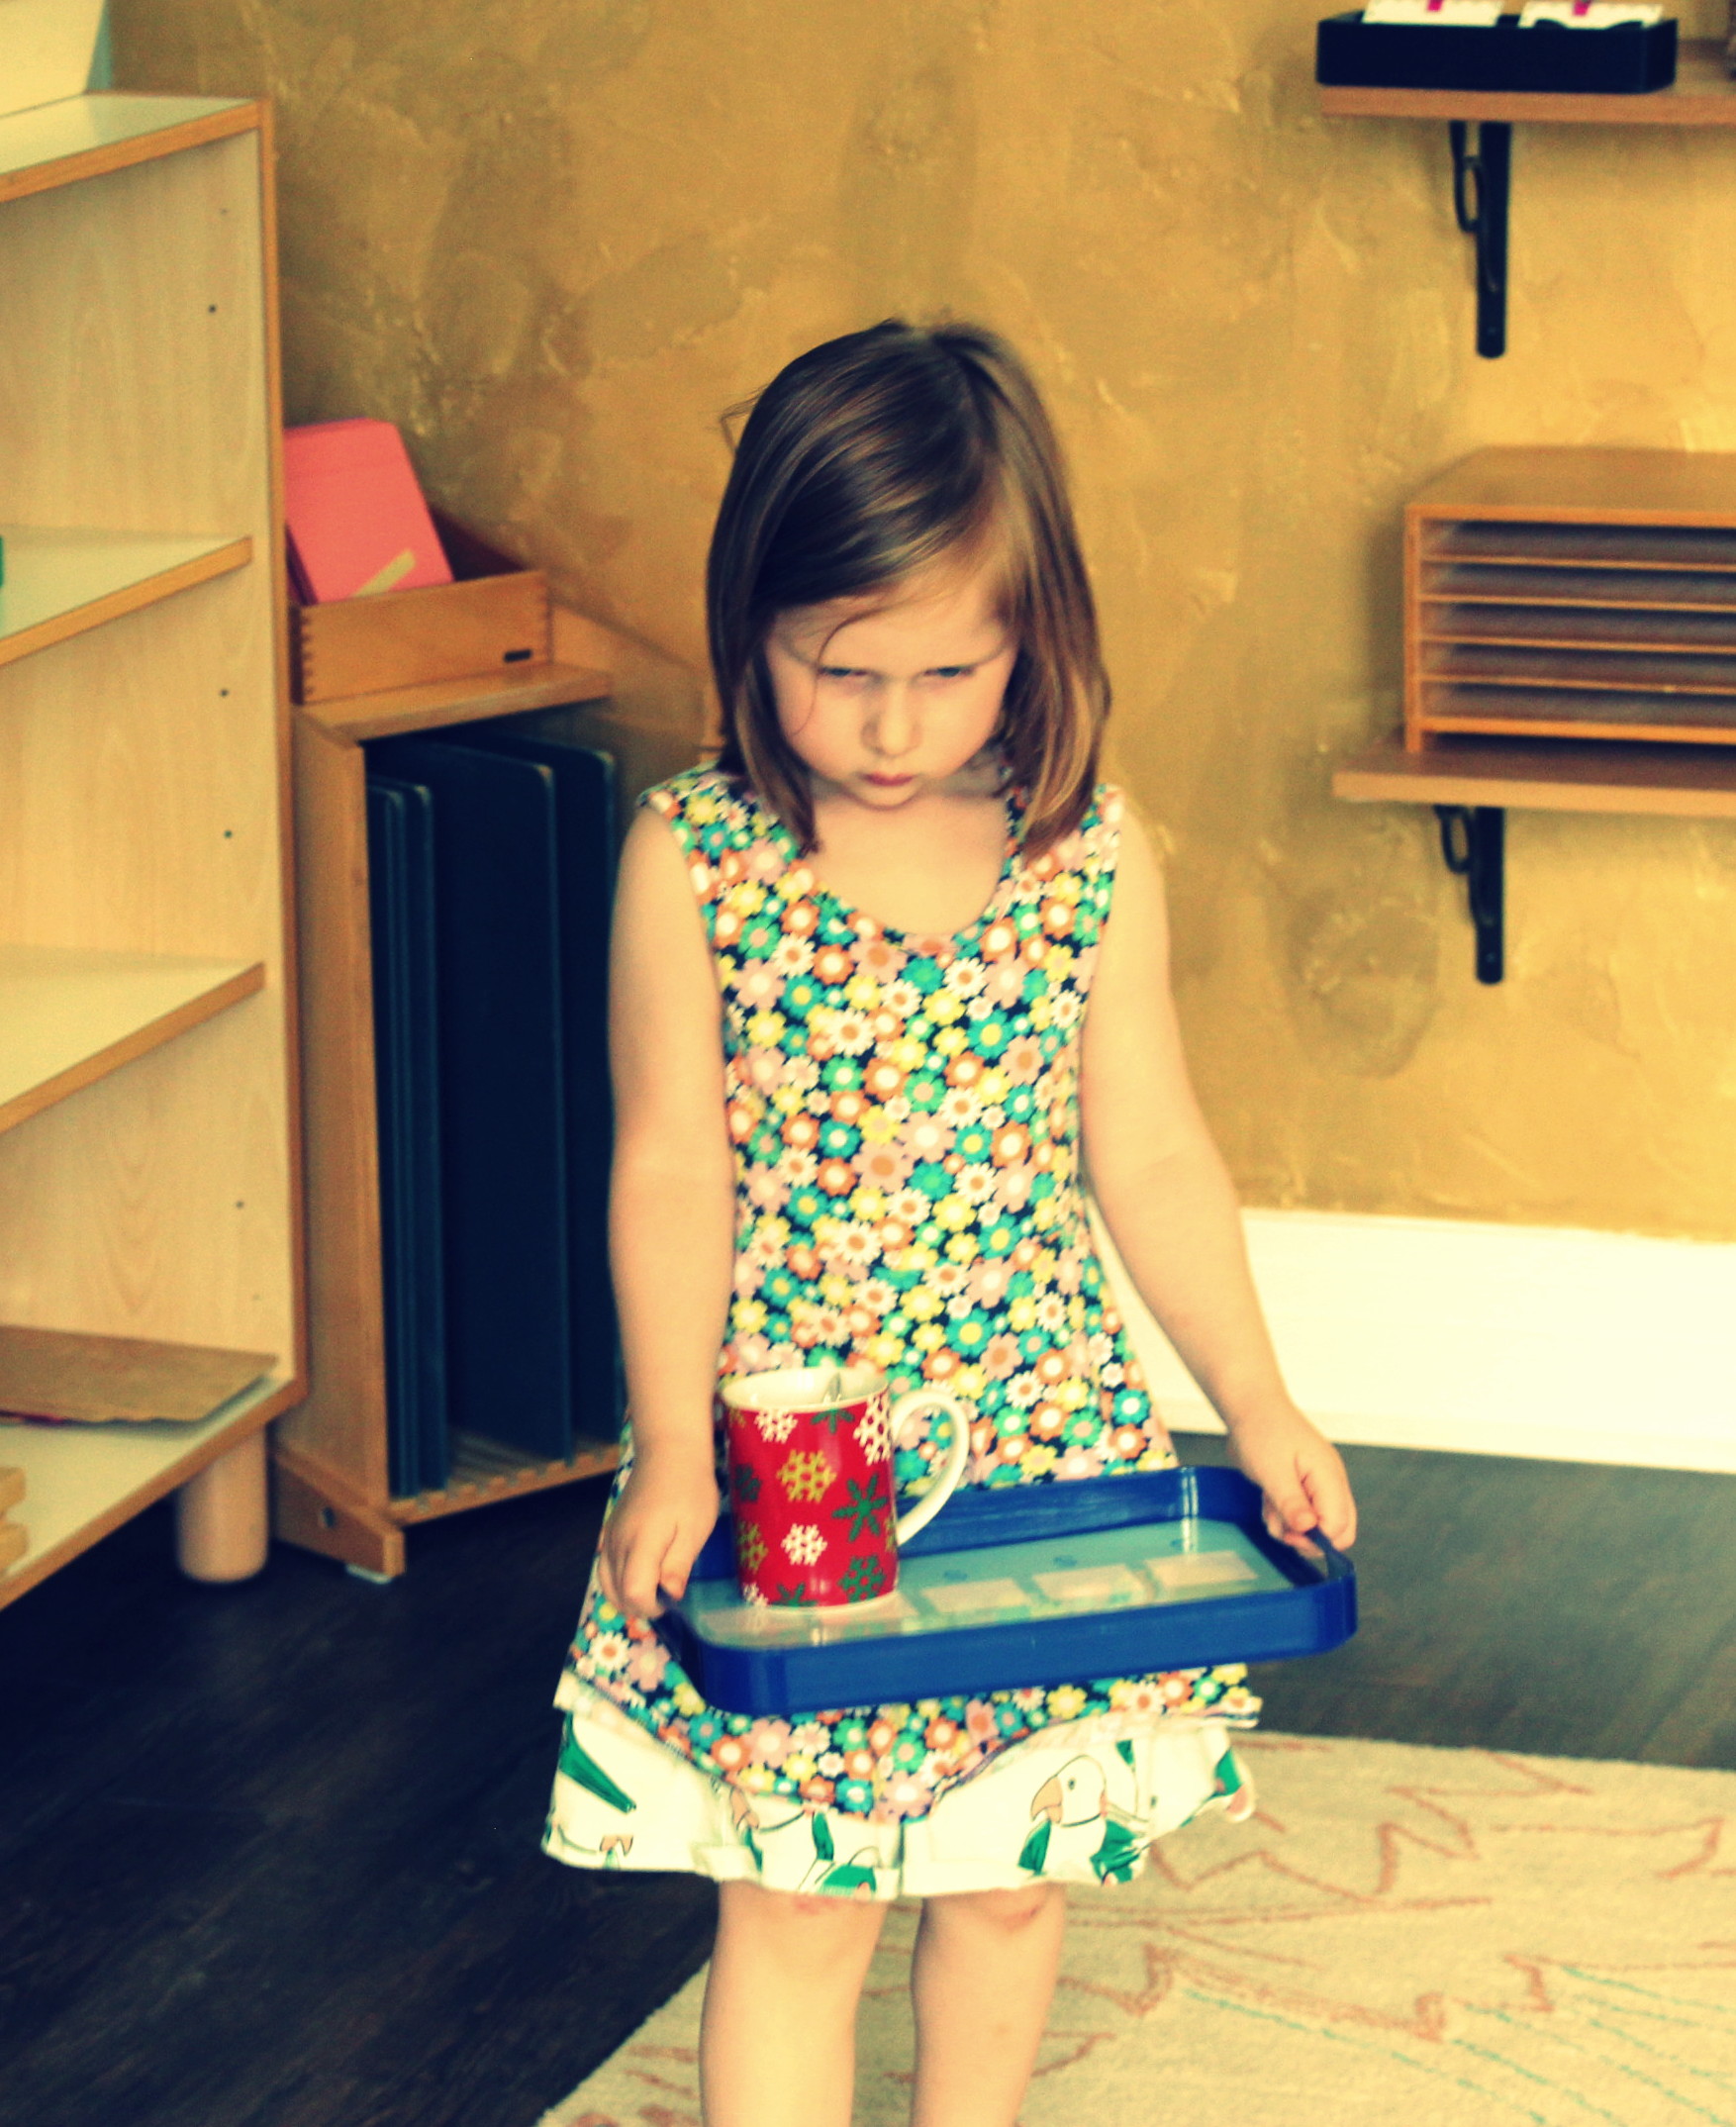
Self Serve Snack Station. Lessons around our self-serve snack area for children to take turns enjoying a snack during the work cycle. They learn to count out quantities of foods available at the buffet area with the use of spoons or tongs, followed by carefully carrying their plates and dishes to their table, and eventually composting and/or washing dishes.

Sweeping Discovery Work. Learning to sweep up dried beans spilt on a tray with the use of a hand-held broom. Colorful imagery is hidden beneath the beans for children to discover while sweeping.
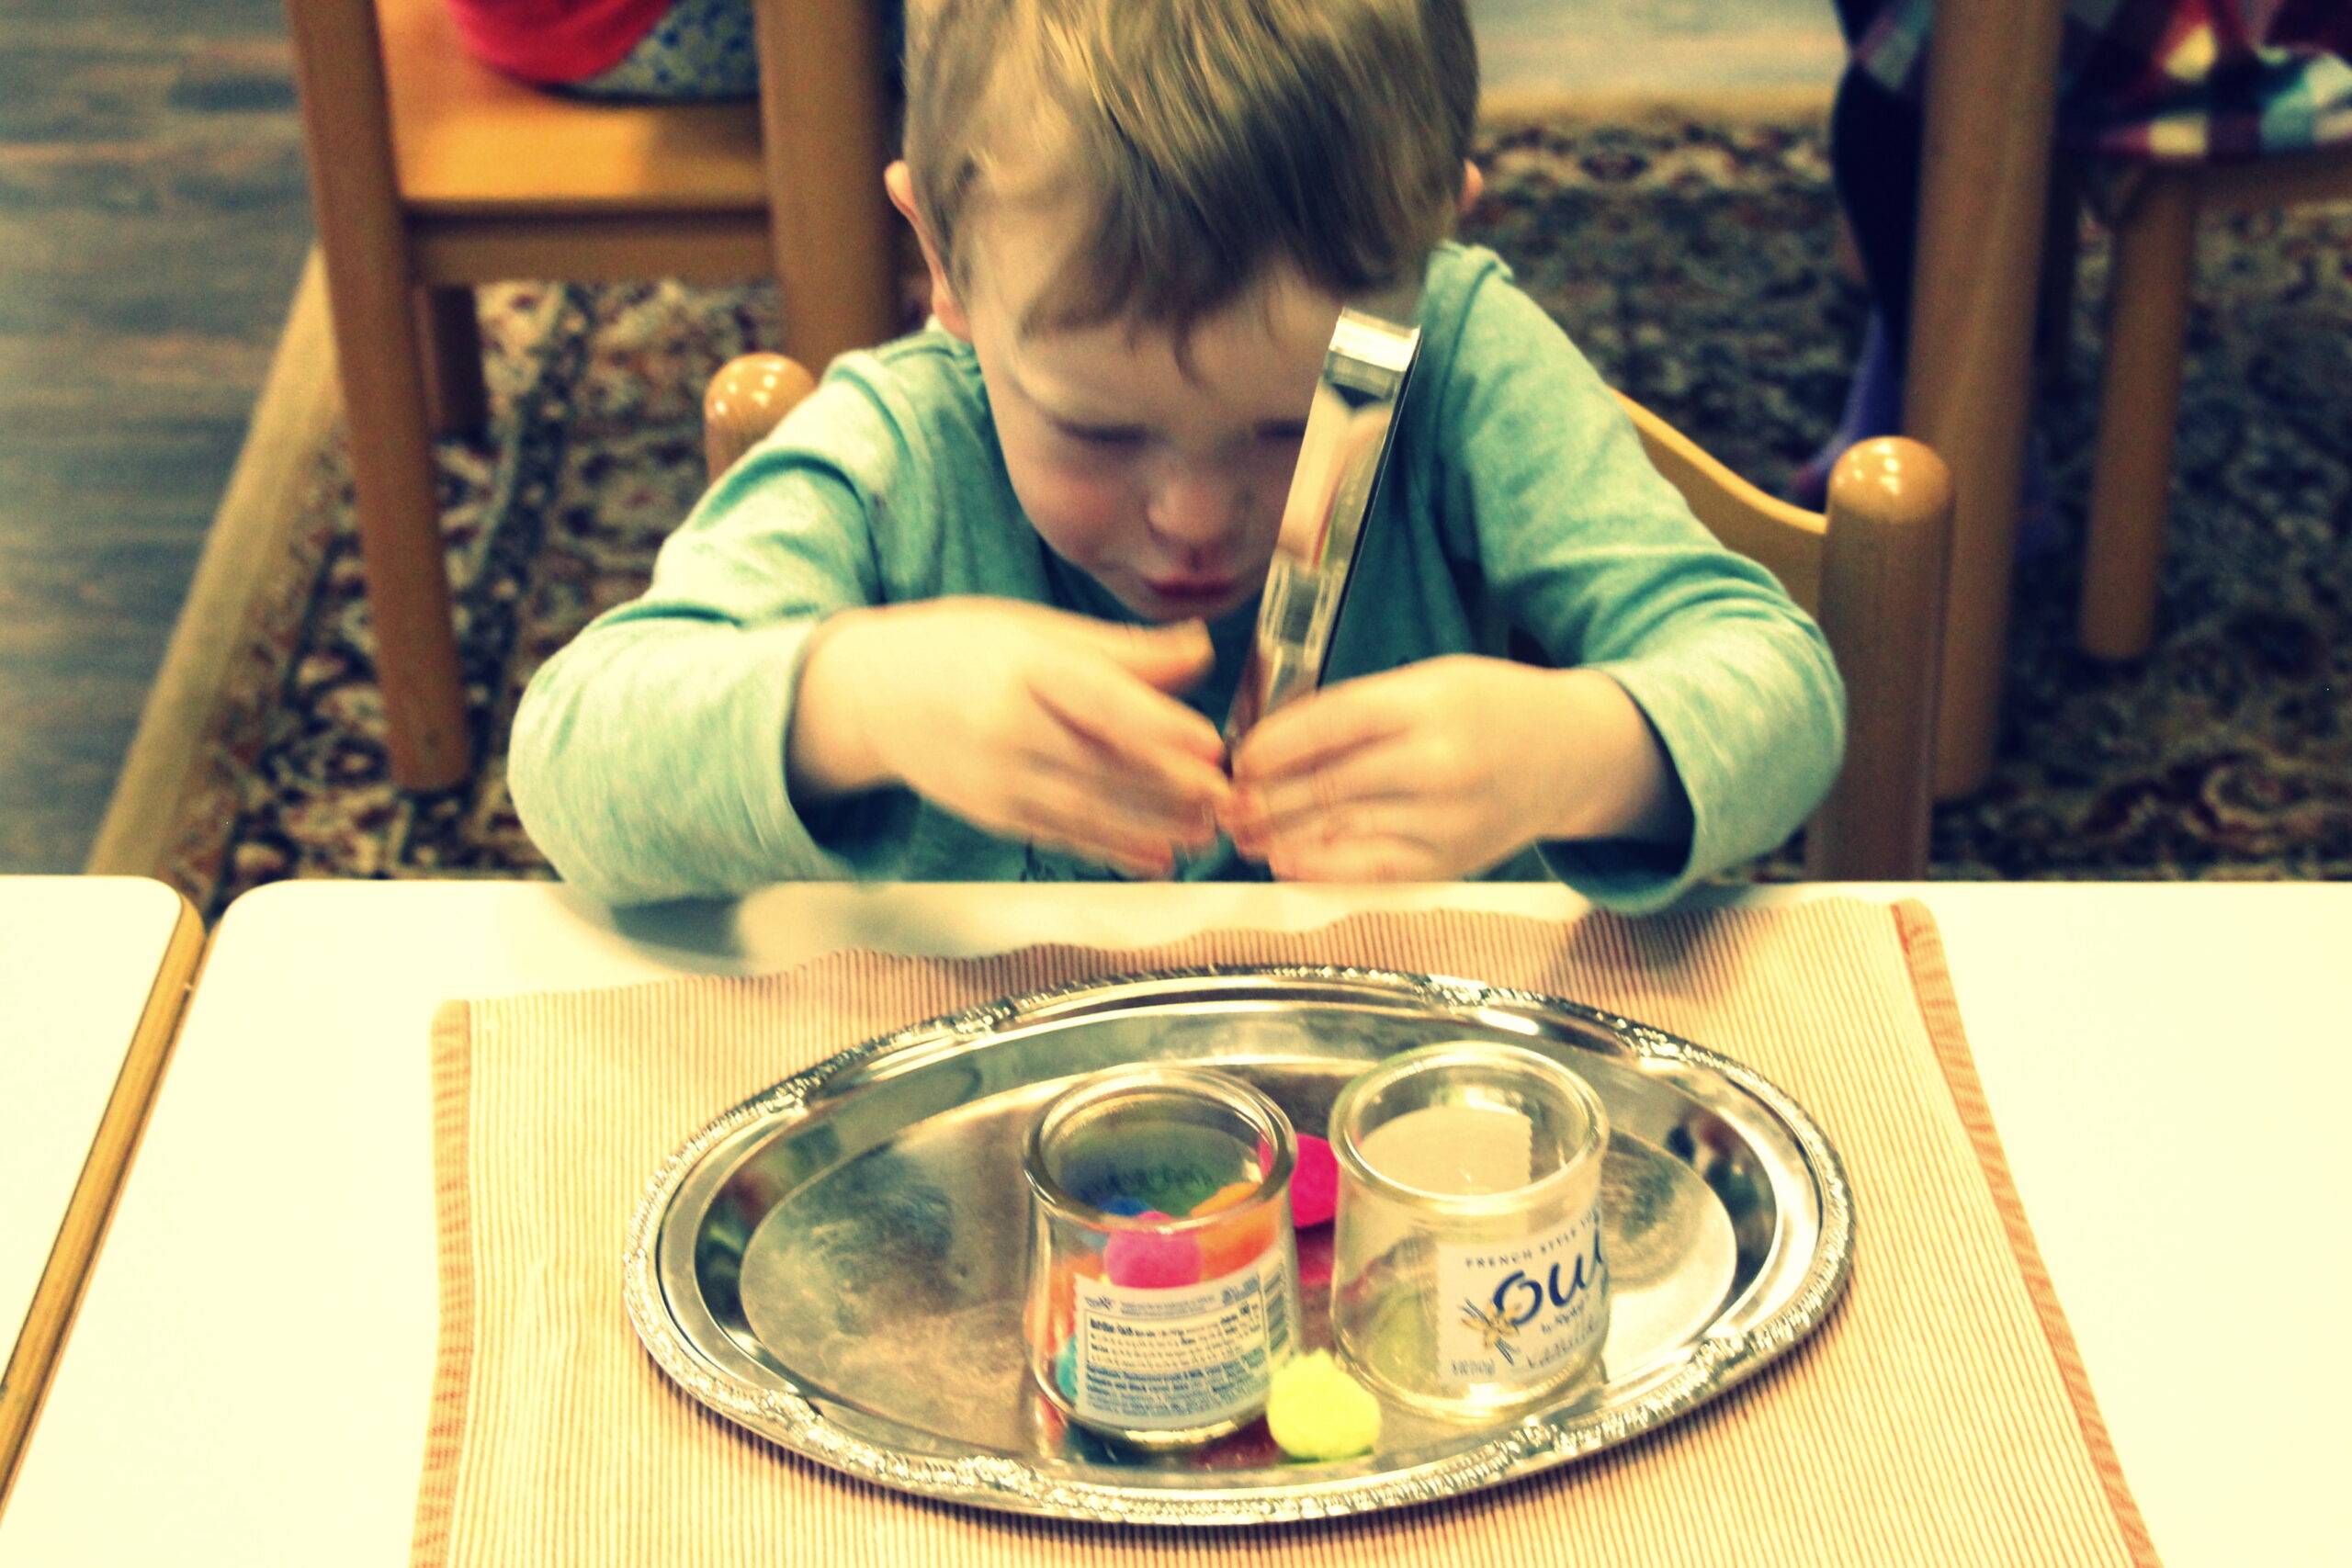
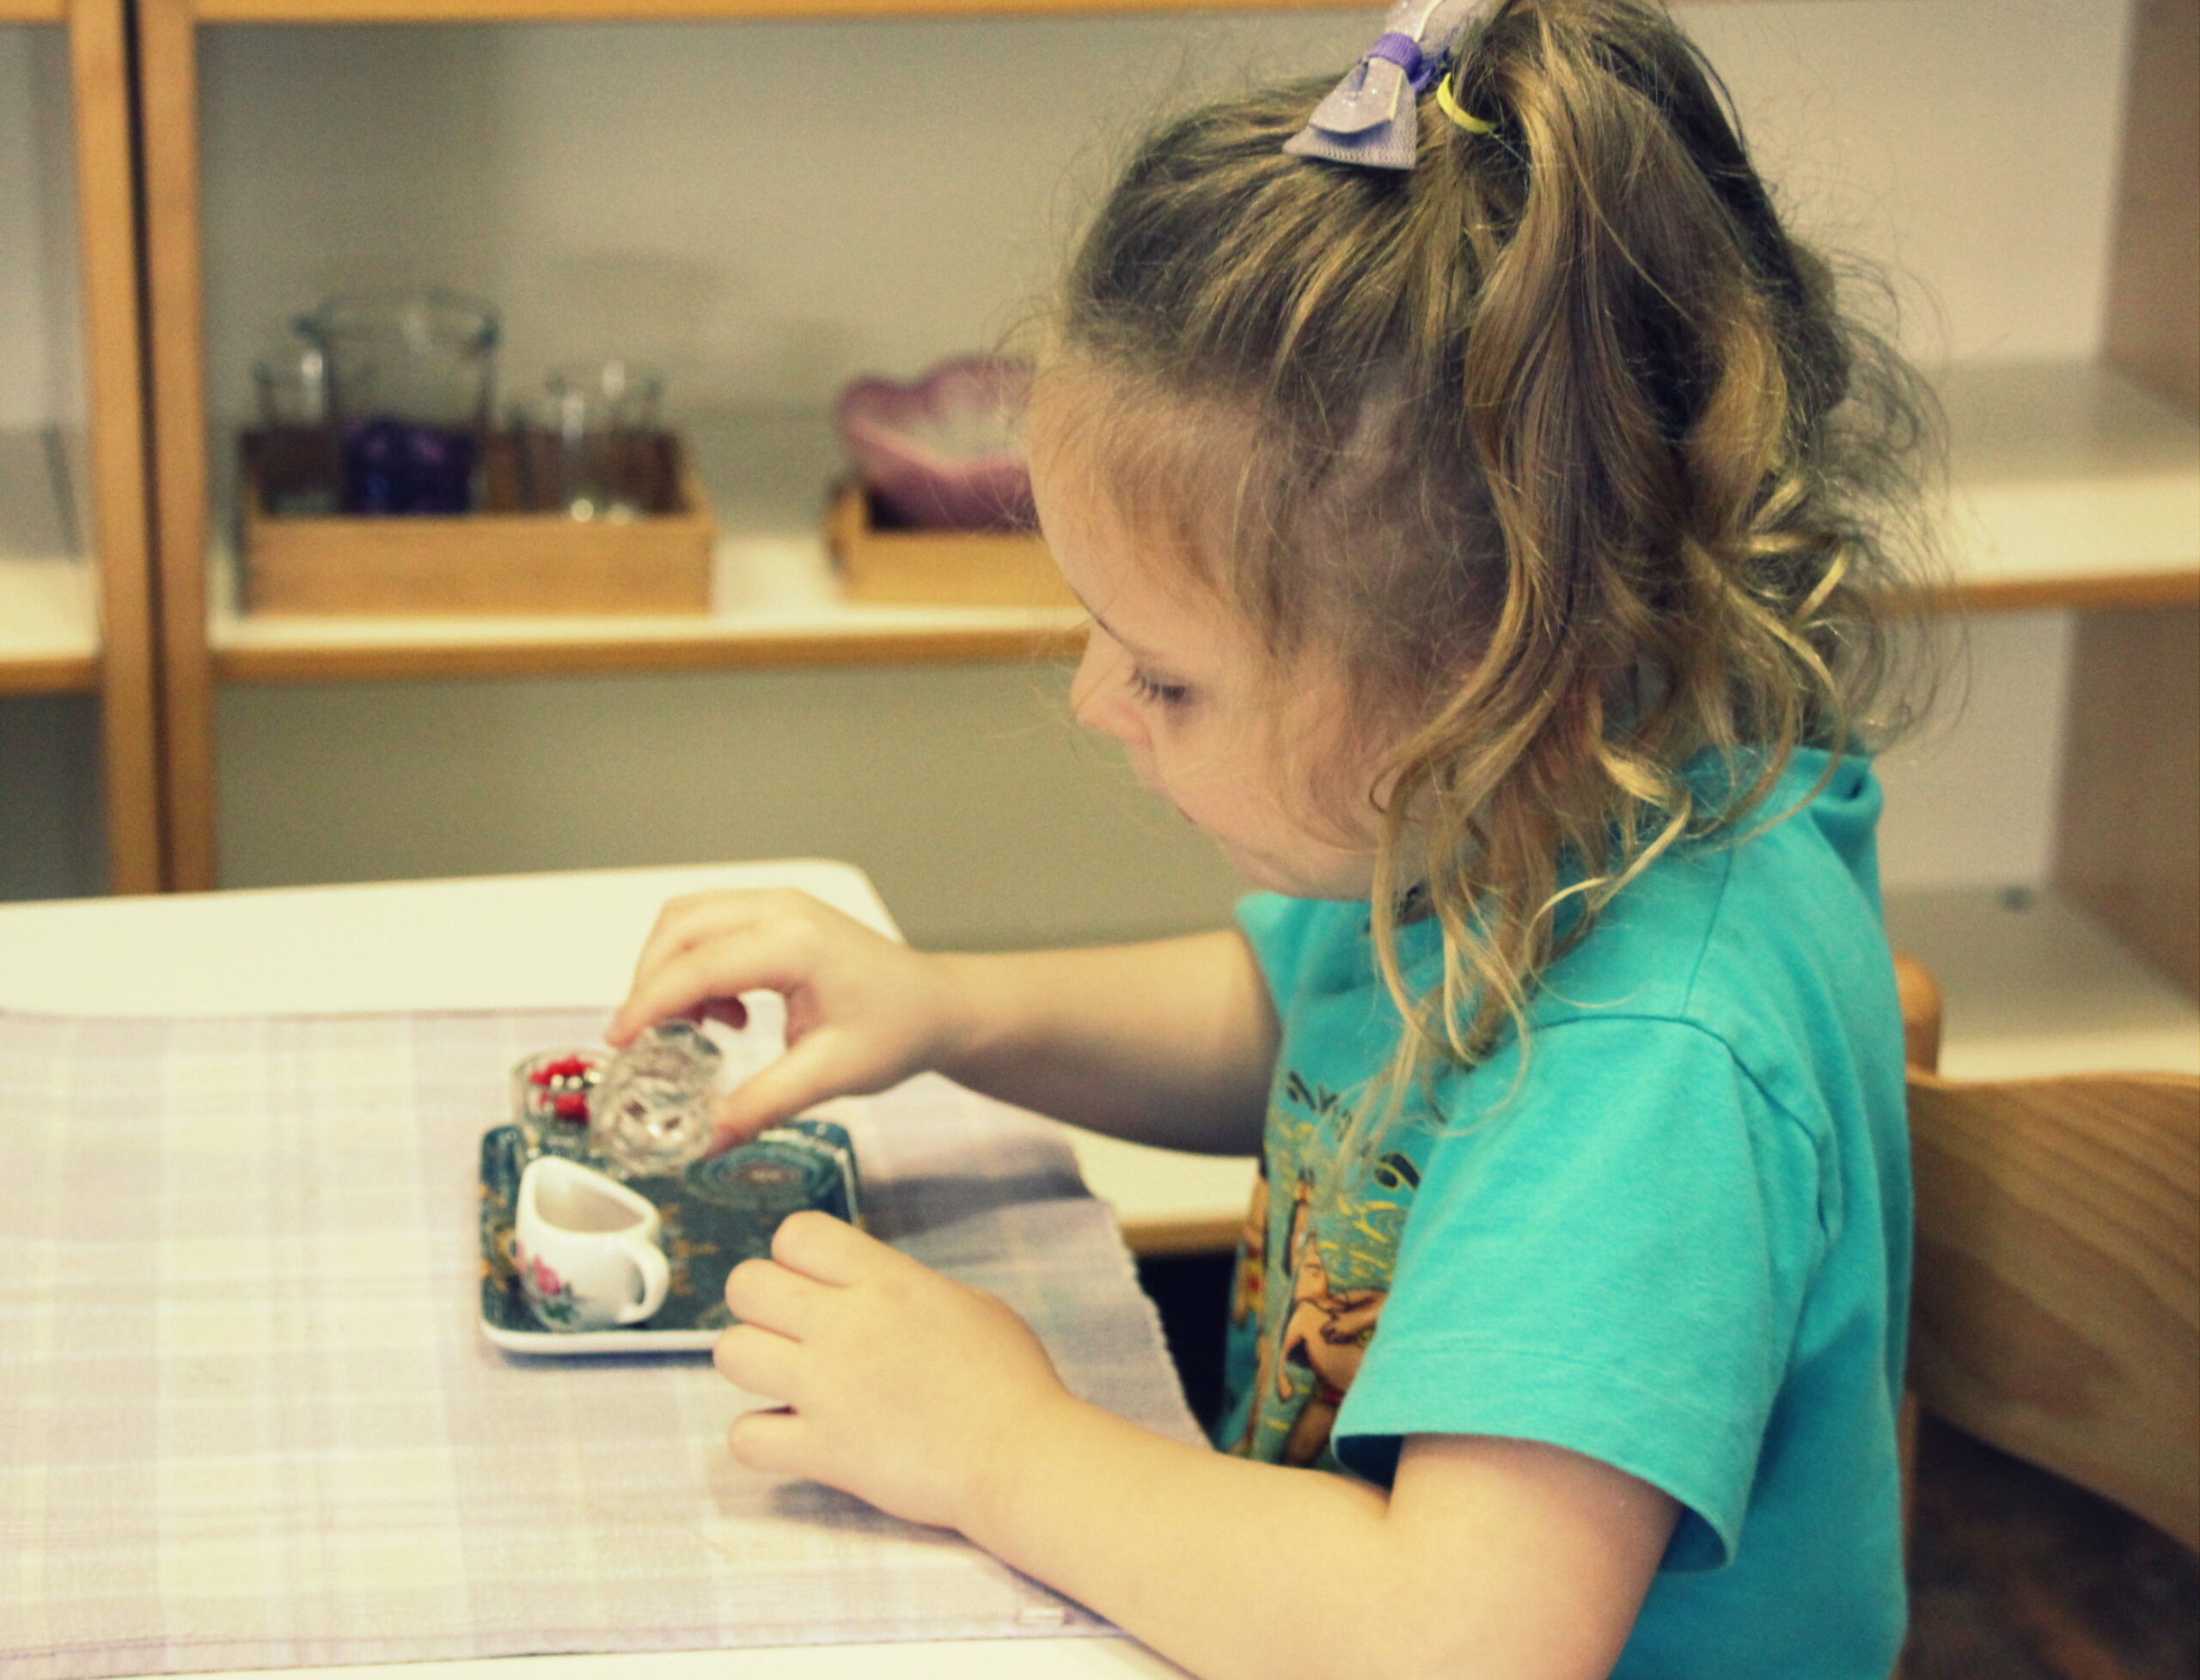
Two-Pitcher Pouring. Safe ways to pour with glass or ceramic pictures back and forth with dry foods, beads, marbles, or gems.
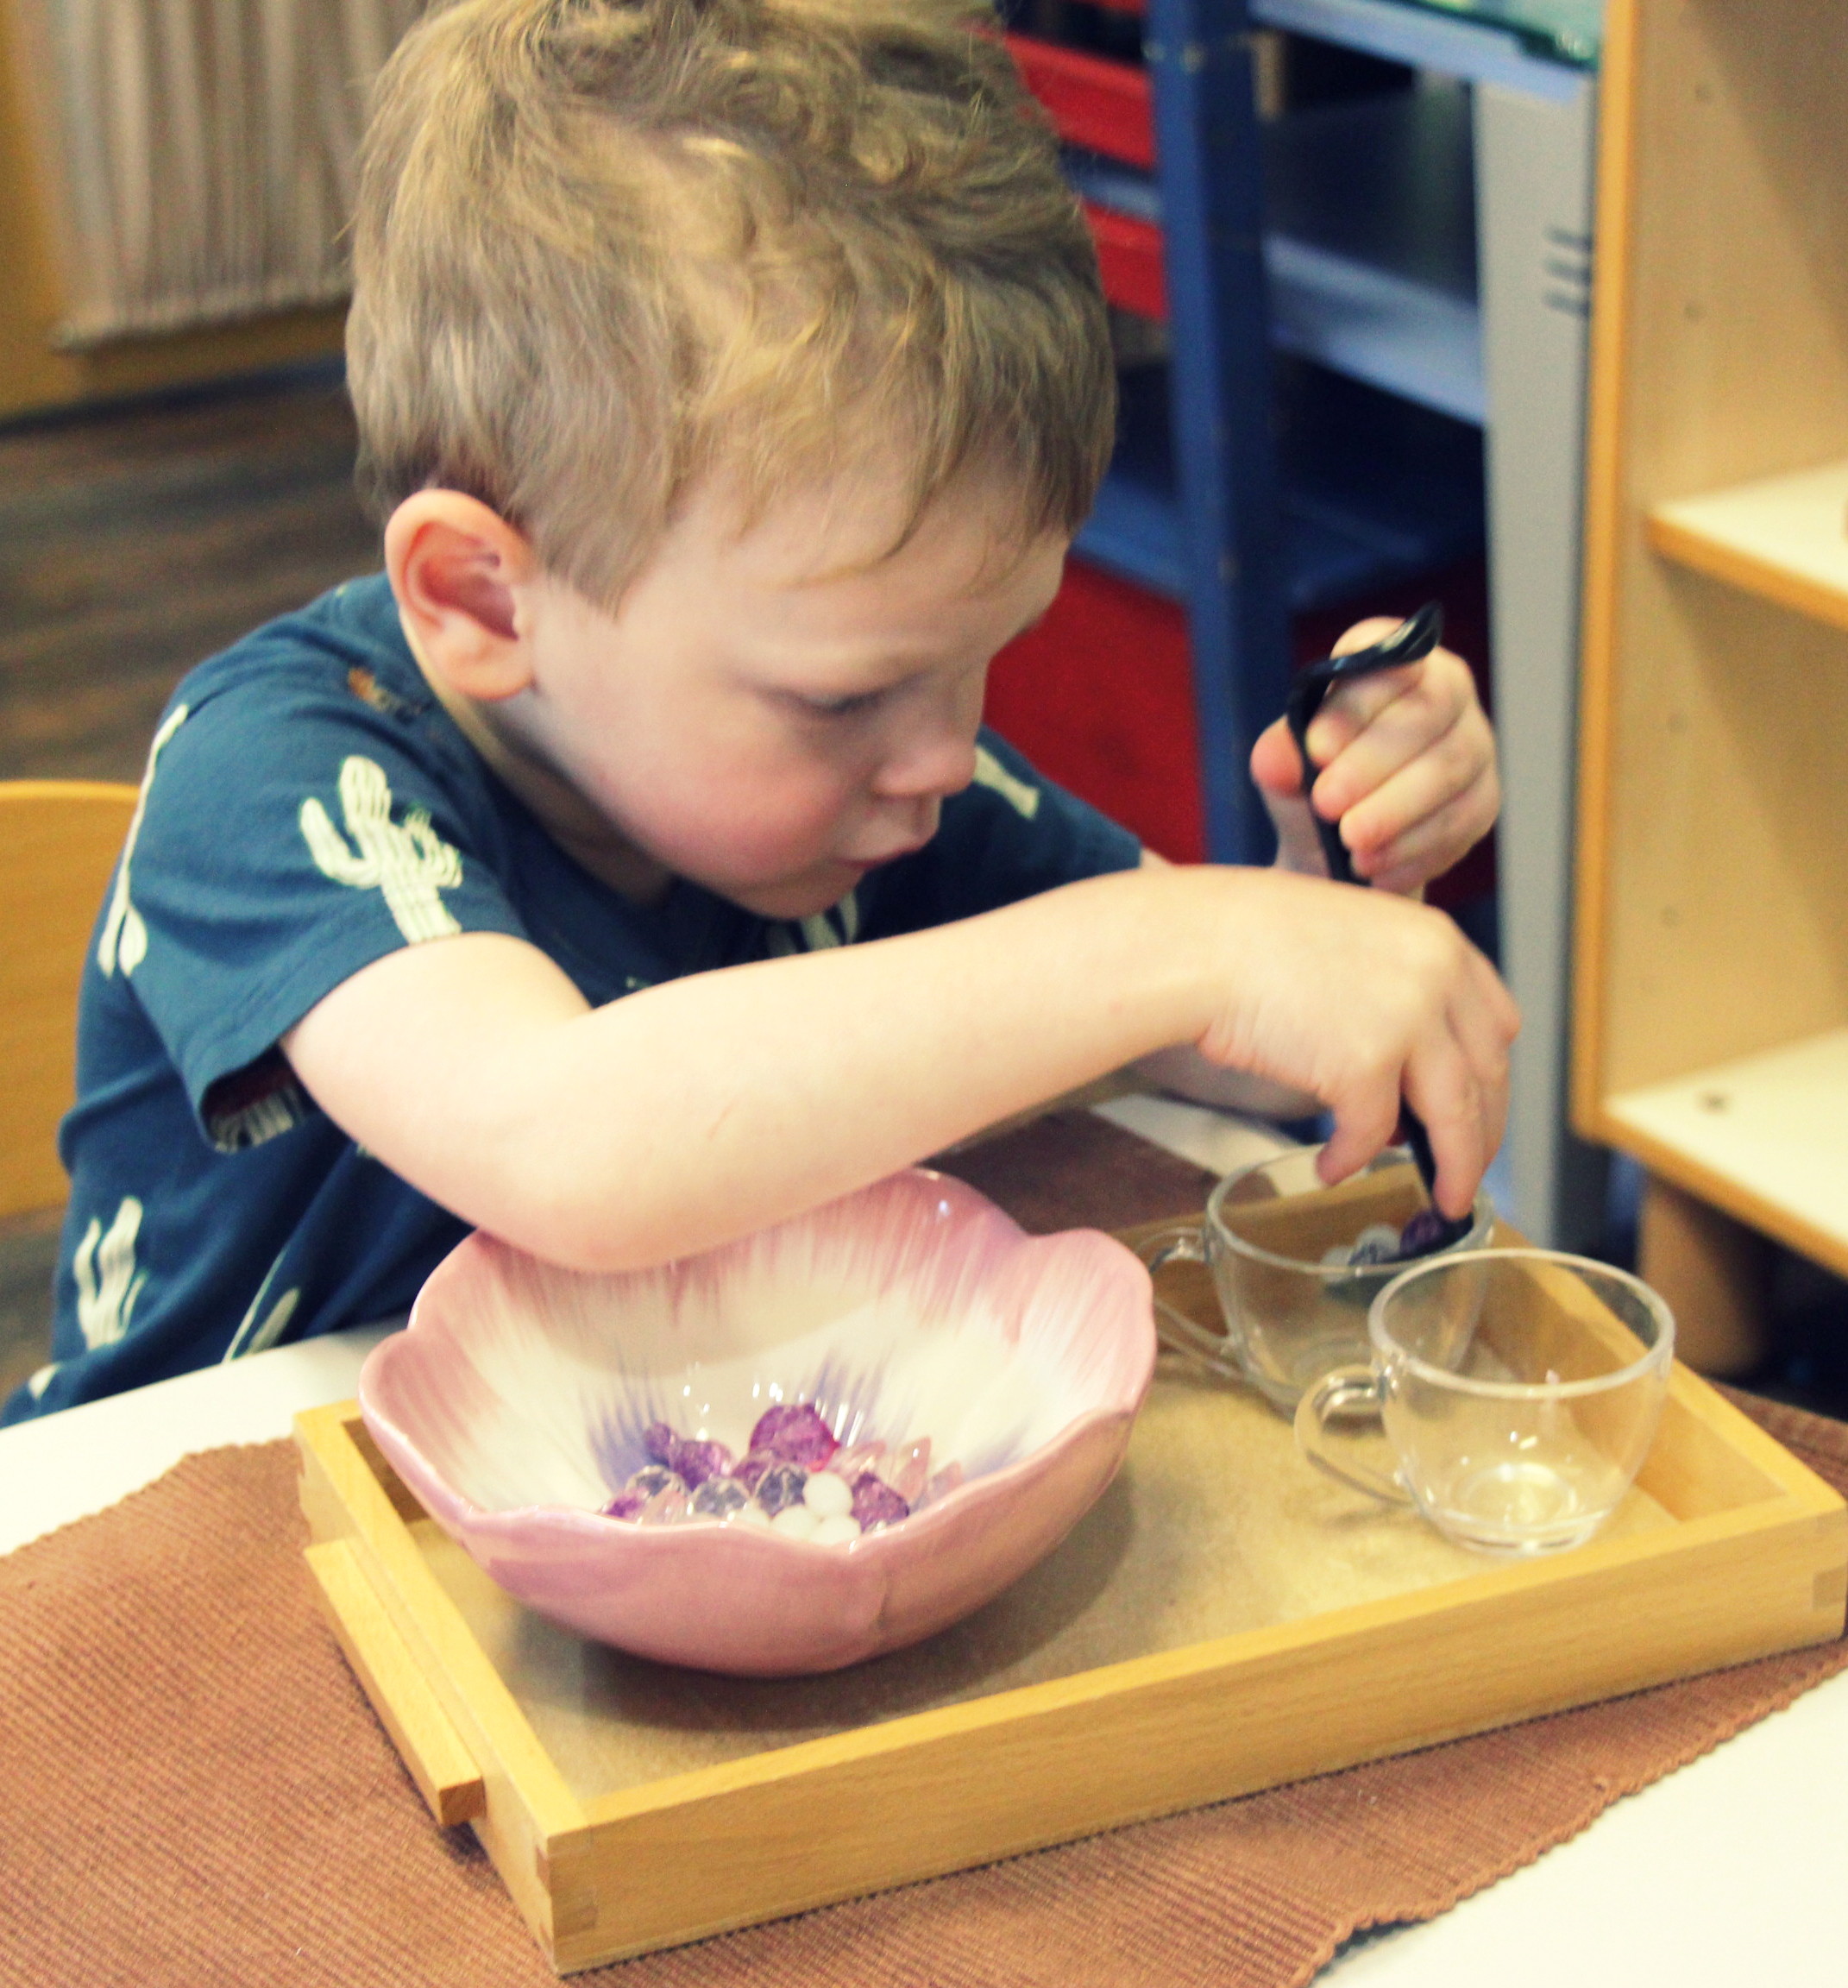
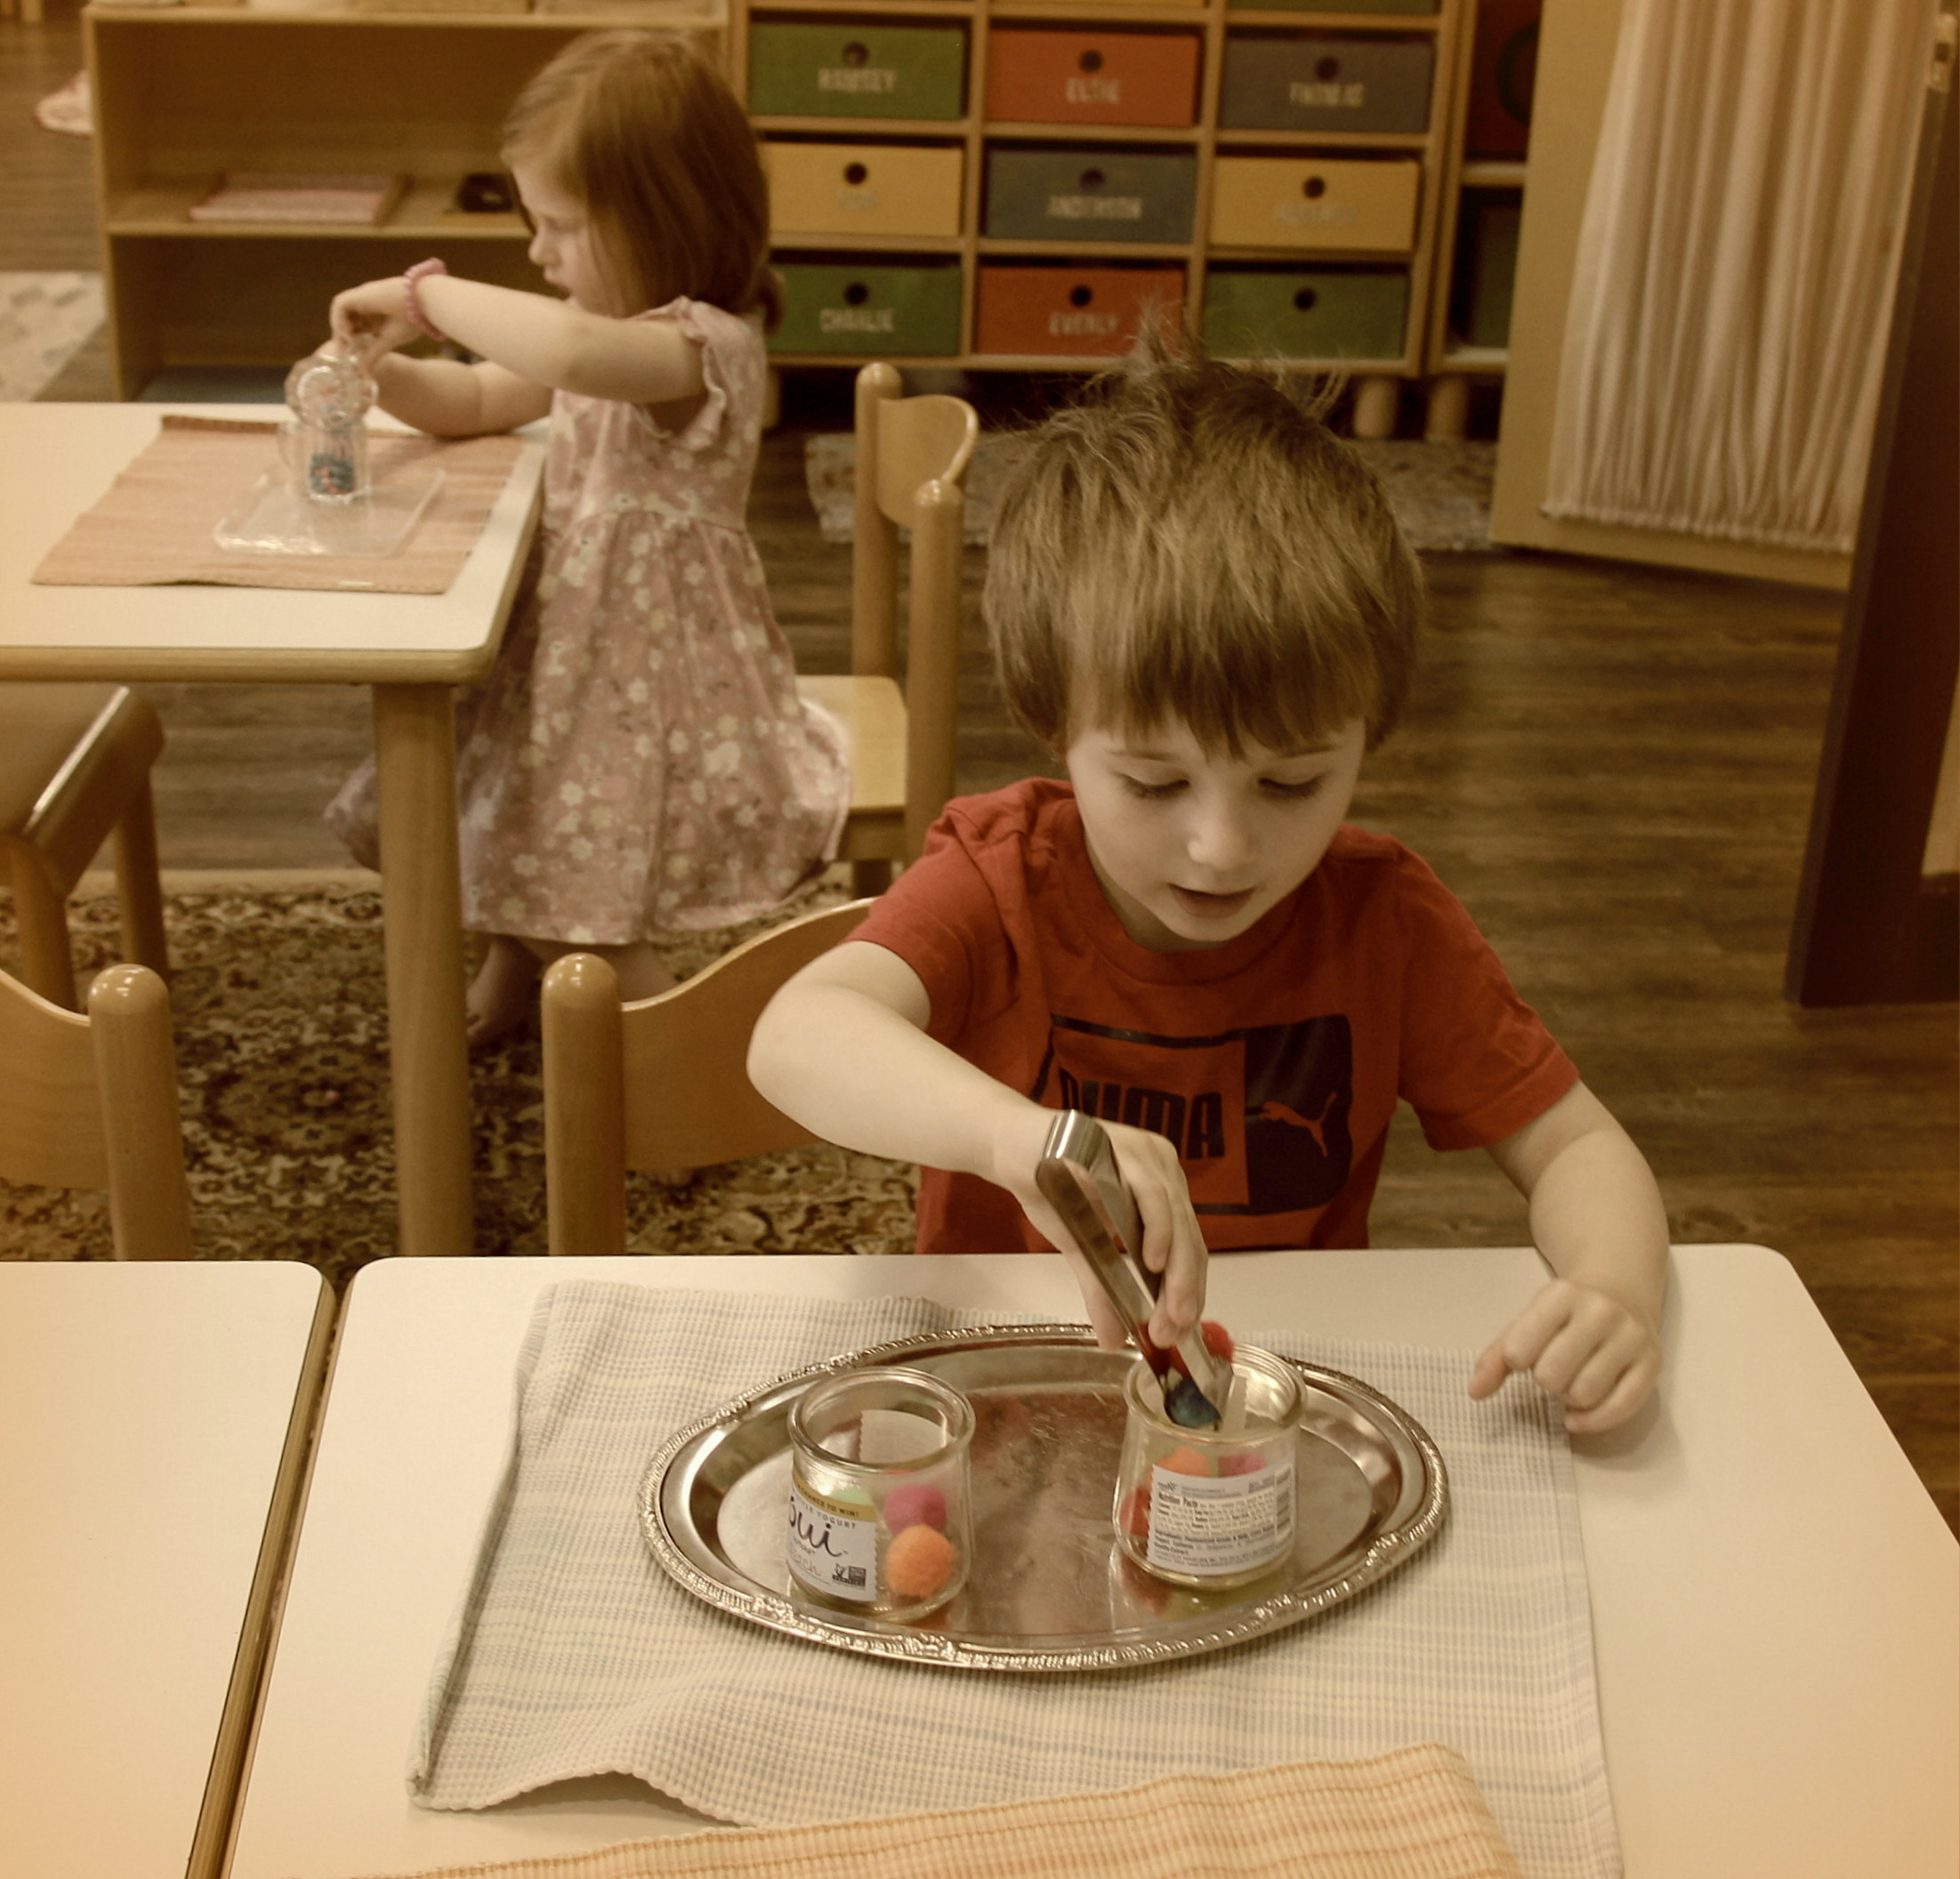
Tong Transfer Works. Lessons on how to hold different types of tongs and how to pick up small and delicate material to transfer into smaller dishes.
Spoon Transfer Works. Scooping tiny objects with a variety of spoons into smaller dishes. We often encourage children to divide materials evenly – an indirect math lesson on simple division.
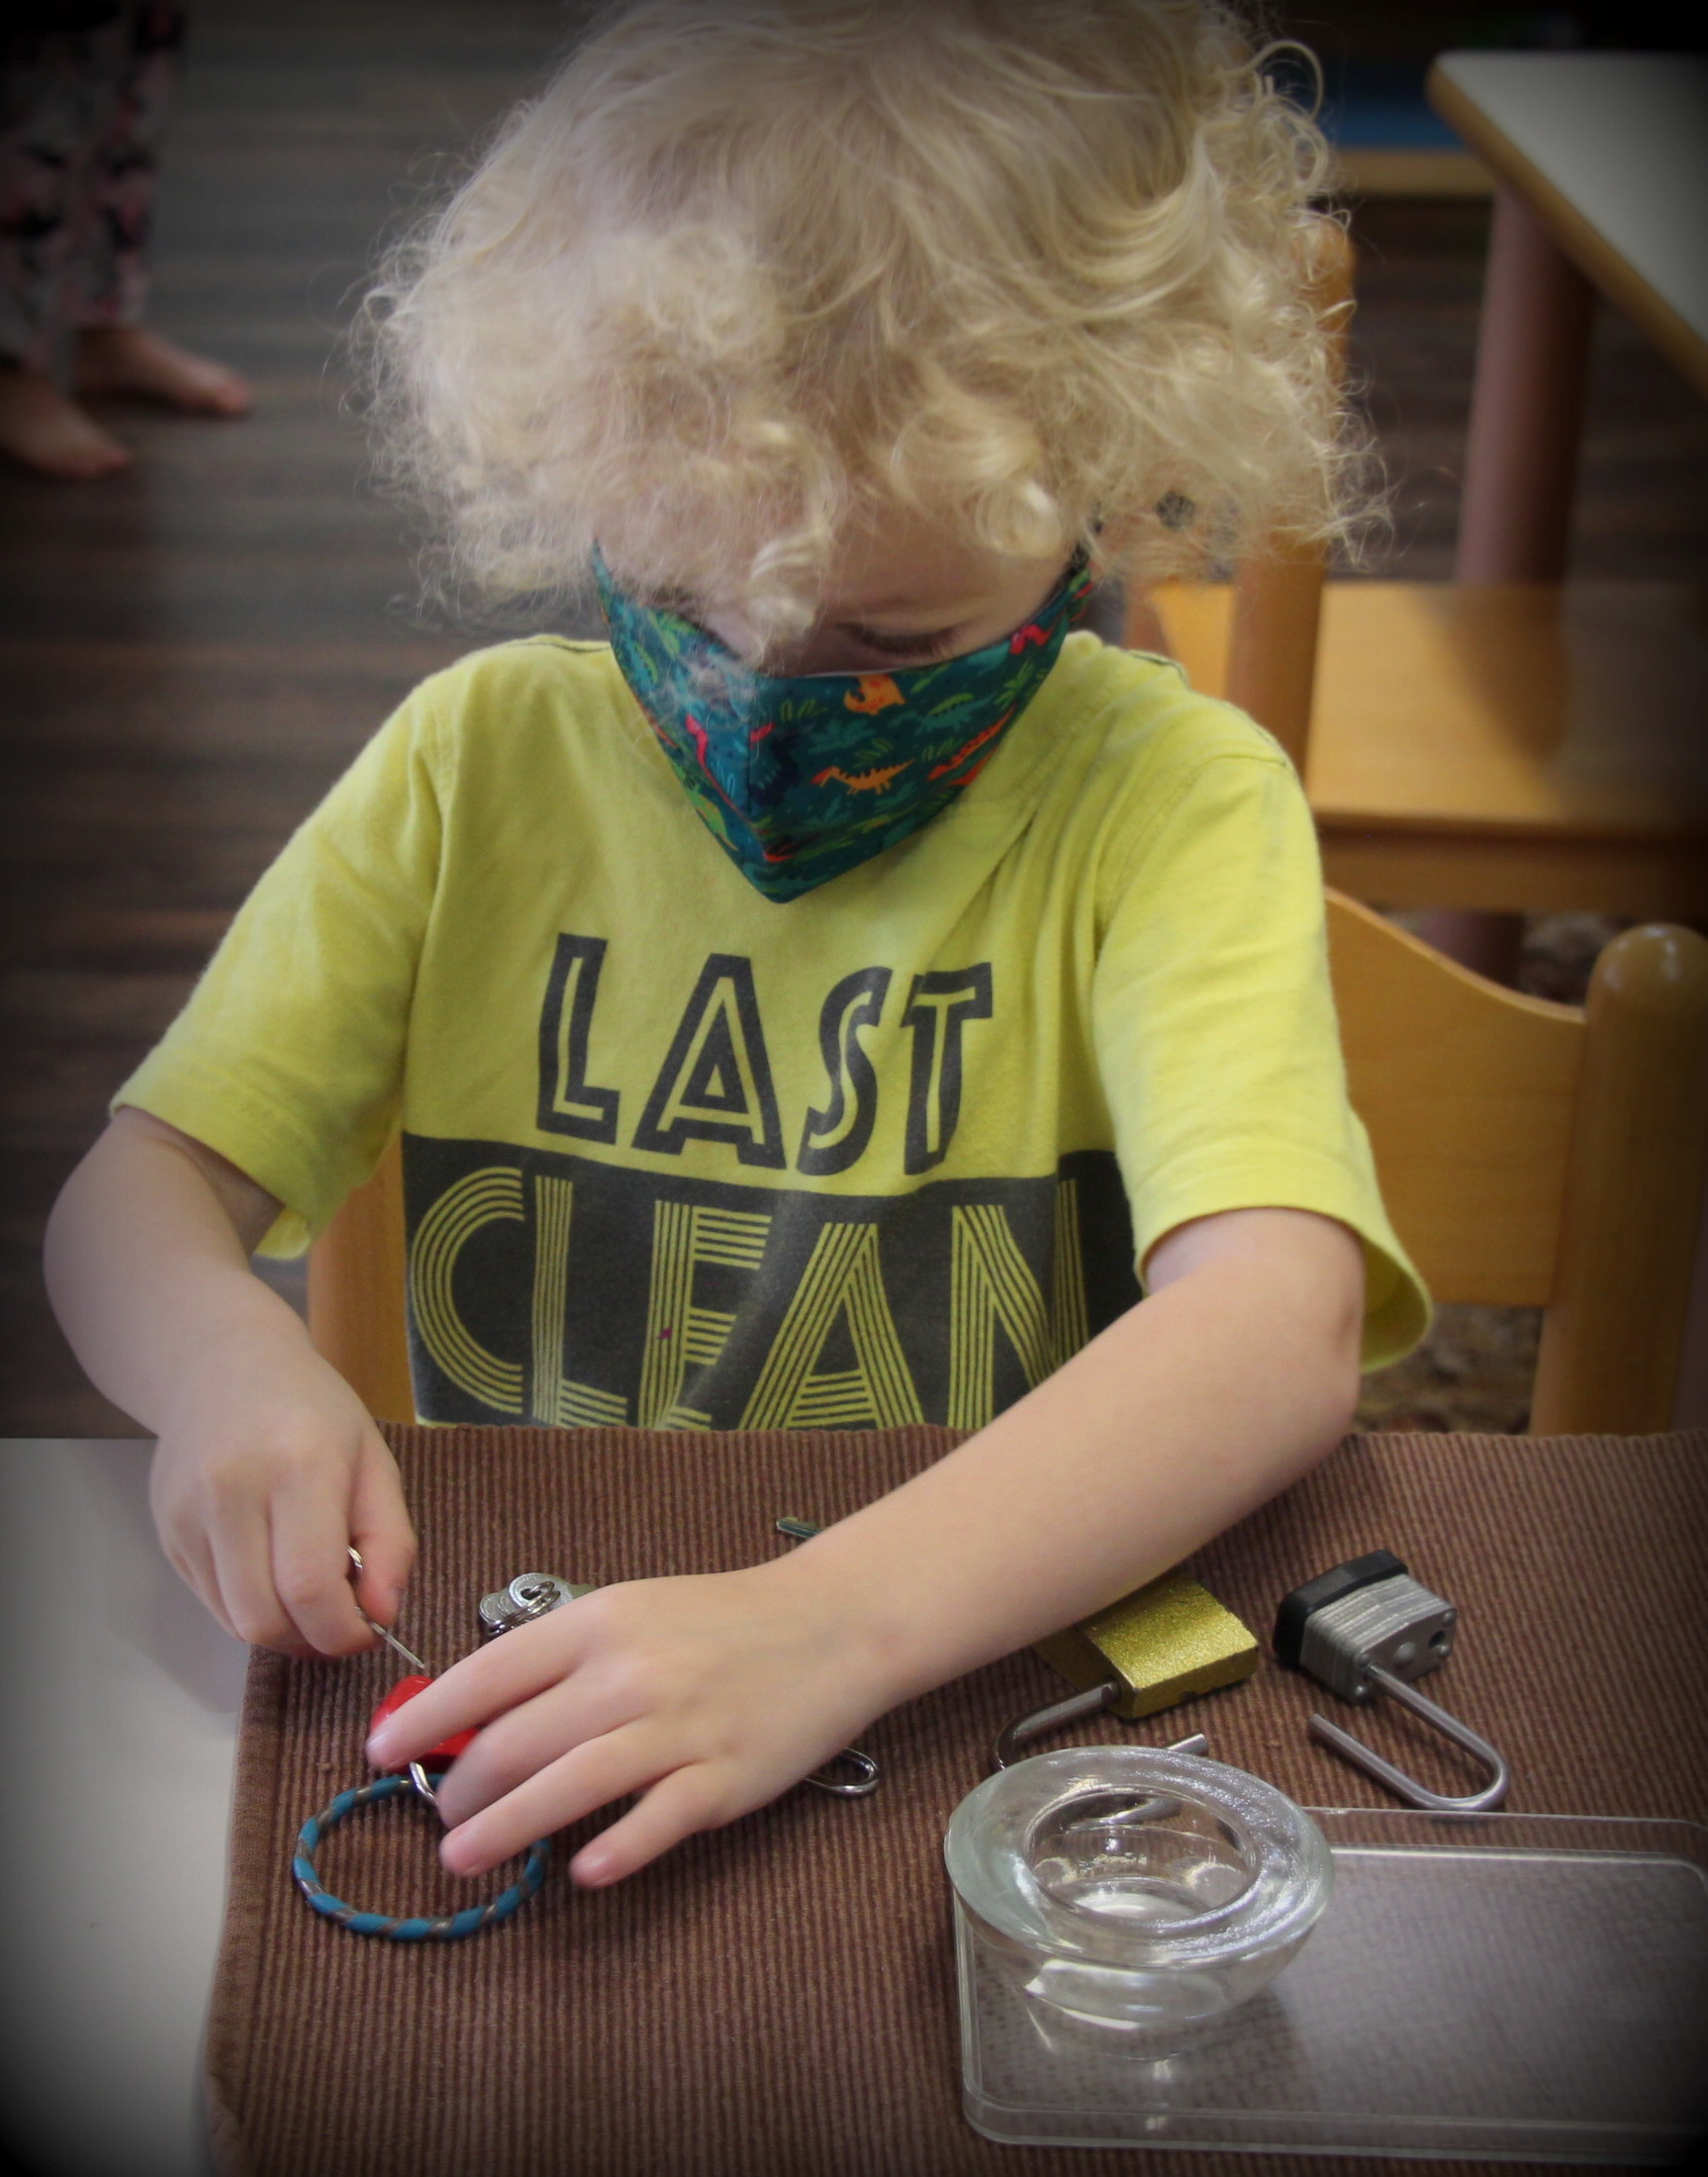
Keys & Lock Work. PowerPoint lesson on the purpose of keys and locks, followed by a demonstration of a work available to practice the motions of locking and unlocking locks with keys.

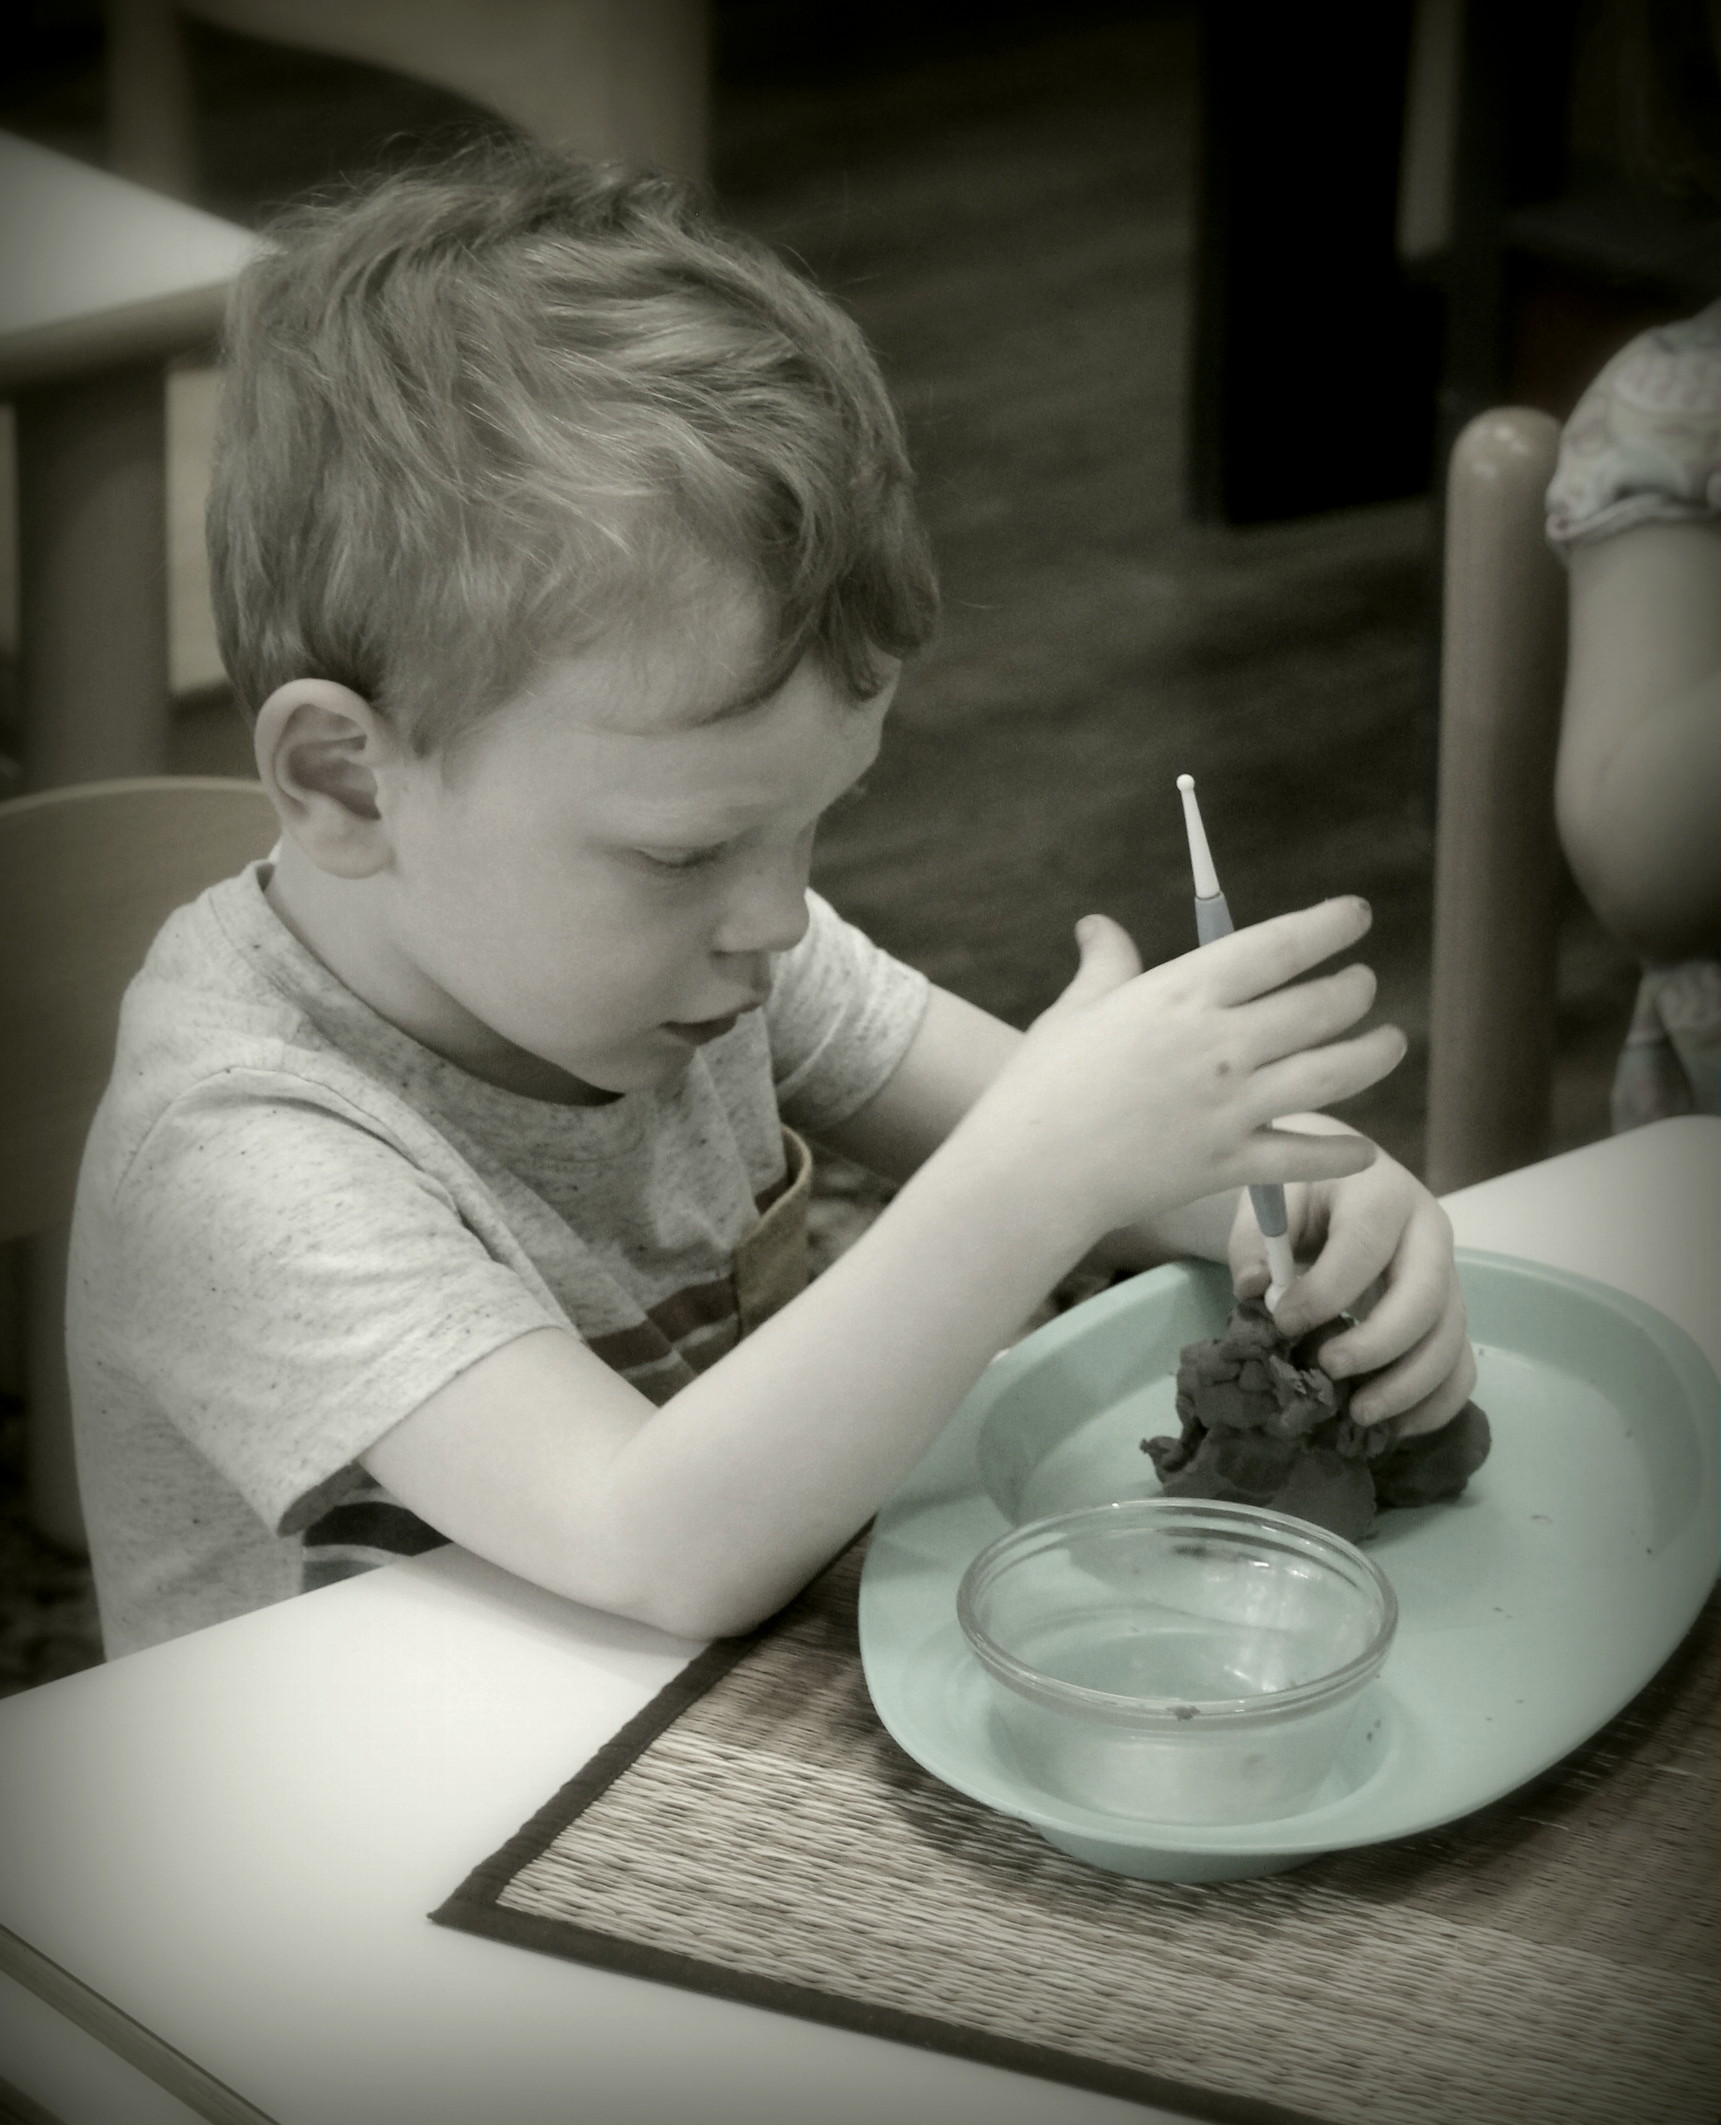
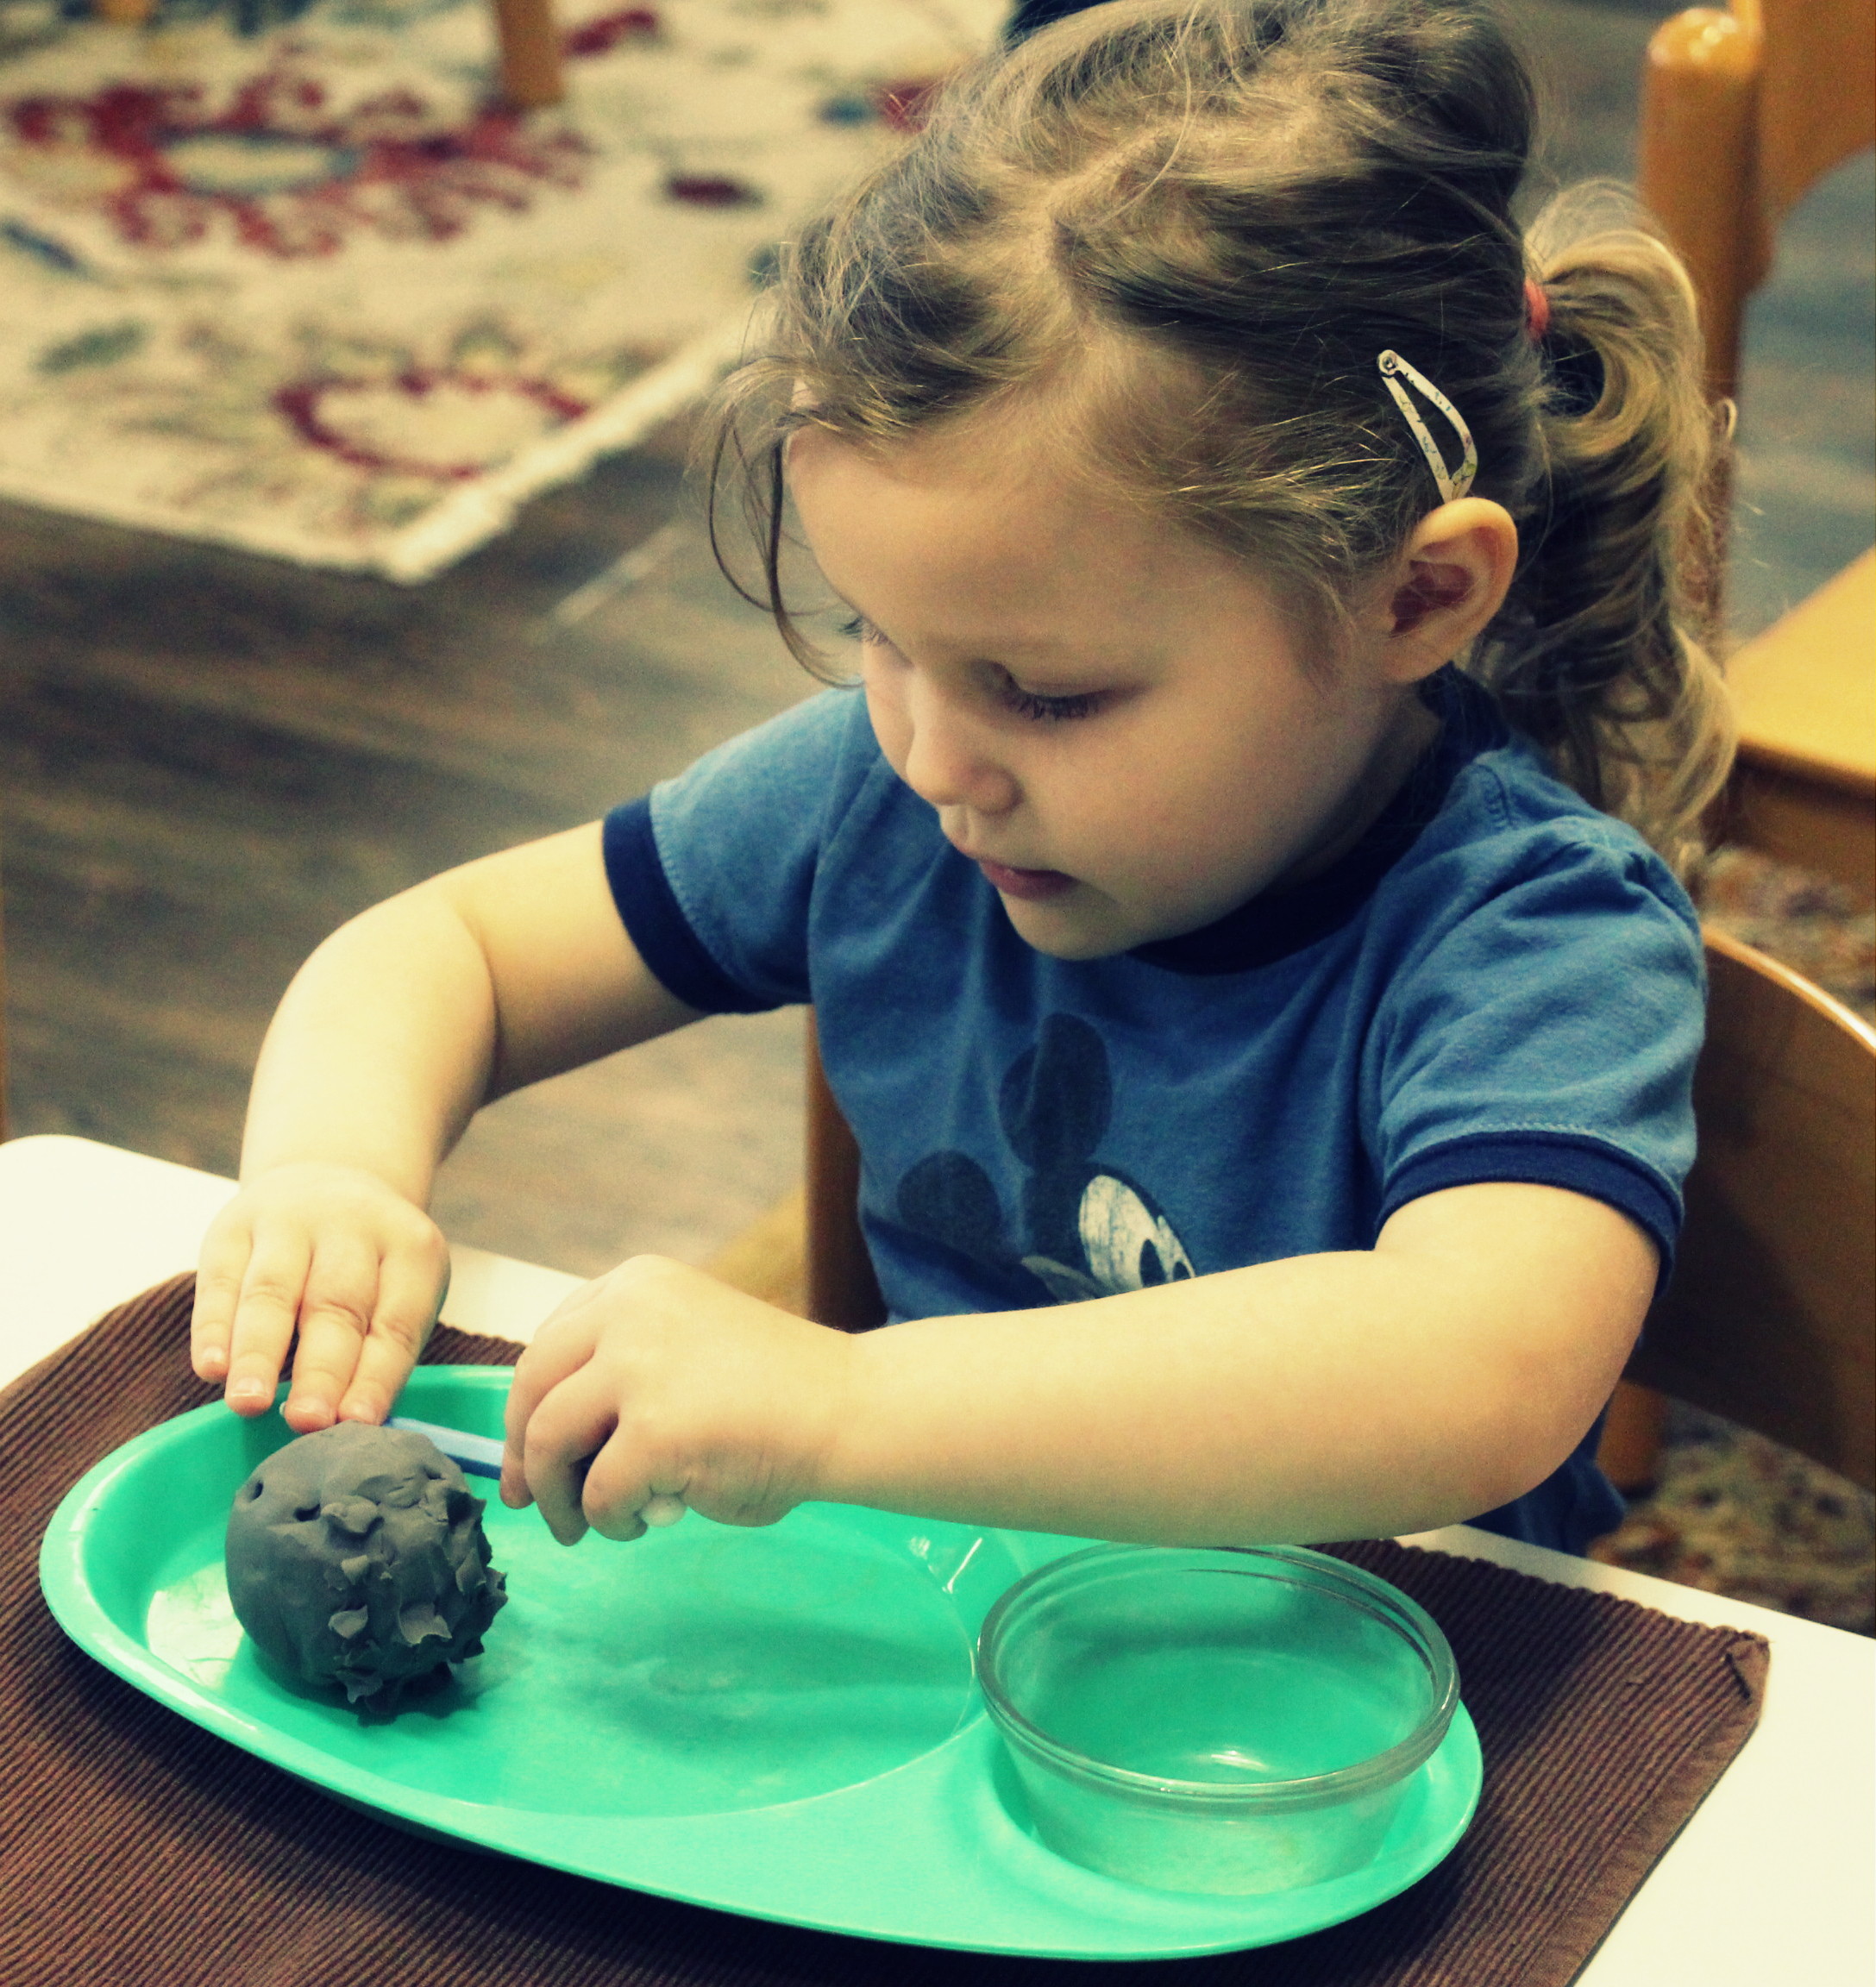
Modeling Clay. Lesson on where modeling clay comes from, uses, and samples of ceramics/dry clay art, followed by a hands-on lesson for handling our modeling clay with tools by reshaping and texturing. Thorough hand washing lesson given for removing oils on hands afterward.
Polishing a Mirror. Brief lesson on our oil glands & how our natural oils keep us hydrated, followed by reasons why respectfully we shouldn’t put our fingers all over the classroom mirrors. Children were shown to use a piece of modeling clay that represents the oils from our fingers by gently pressing the clay onto a small mirror to make smudges all over the surface. A polishing method was then shown with the use of felt napkins.

Fall Sensorial Sorting Work. Grasping work for sorting through corn kernels to find acorns and festive fall objects.

Marble Transfer Work. Grasping work to place tiny marbles on a small grid tray.
Día de los Muertos – Decorative Scull Activity. While learning about different cultures in our geography section, we often integrate creative activities in other areas of the classroom to deepen our understanding of these cultures. Since we are currently learning about upcoming North American holidays, a fine motor activity where children can decorate an illustrated scull drawing has been introduced in the Practical Life Area after a lesson on Día de los Muertos.

Art Area
While we often integrate the arts throughout other subject areas in the classroom, a fixed art area is always available for children to practice coloring, tracing, drawing, and crafting. Language tracing/writing/coloring activity pages are available for all children in this area. Since we have a variety of ages and different learning interests, we avoid “cookie cutter art” to prevent children from comparing their abilities to others (in a negative way). We encourage everyone to add their own personal touch to artwork, reminding all students on a regular basis that each child is practicing on something very different when they are at this art station and everyone has a different purpose/goal/intention (e.g., some are working on coloring within the lines while others are exploring with colors throughout their paper, some are learning to trace while others are learning to write letters, etc.). We put emphasis on the fact that everyone’s finished artwork is unique and different from others’ artwork as a way to encourage and appreciate originality.

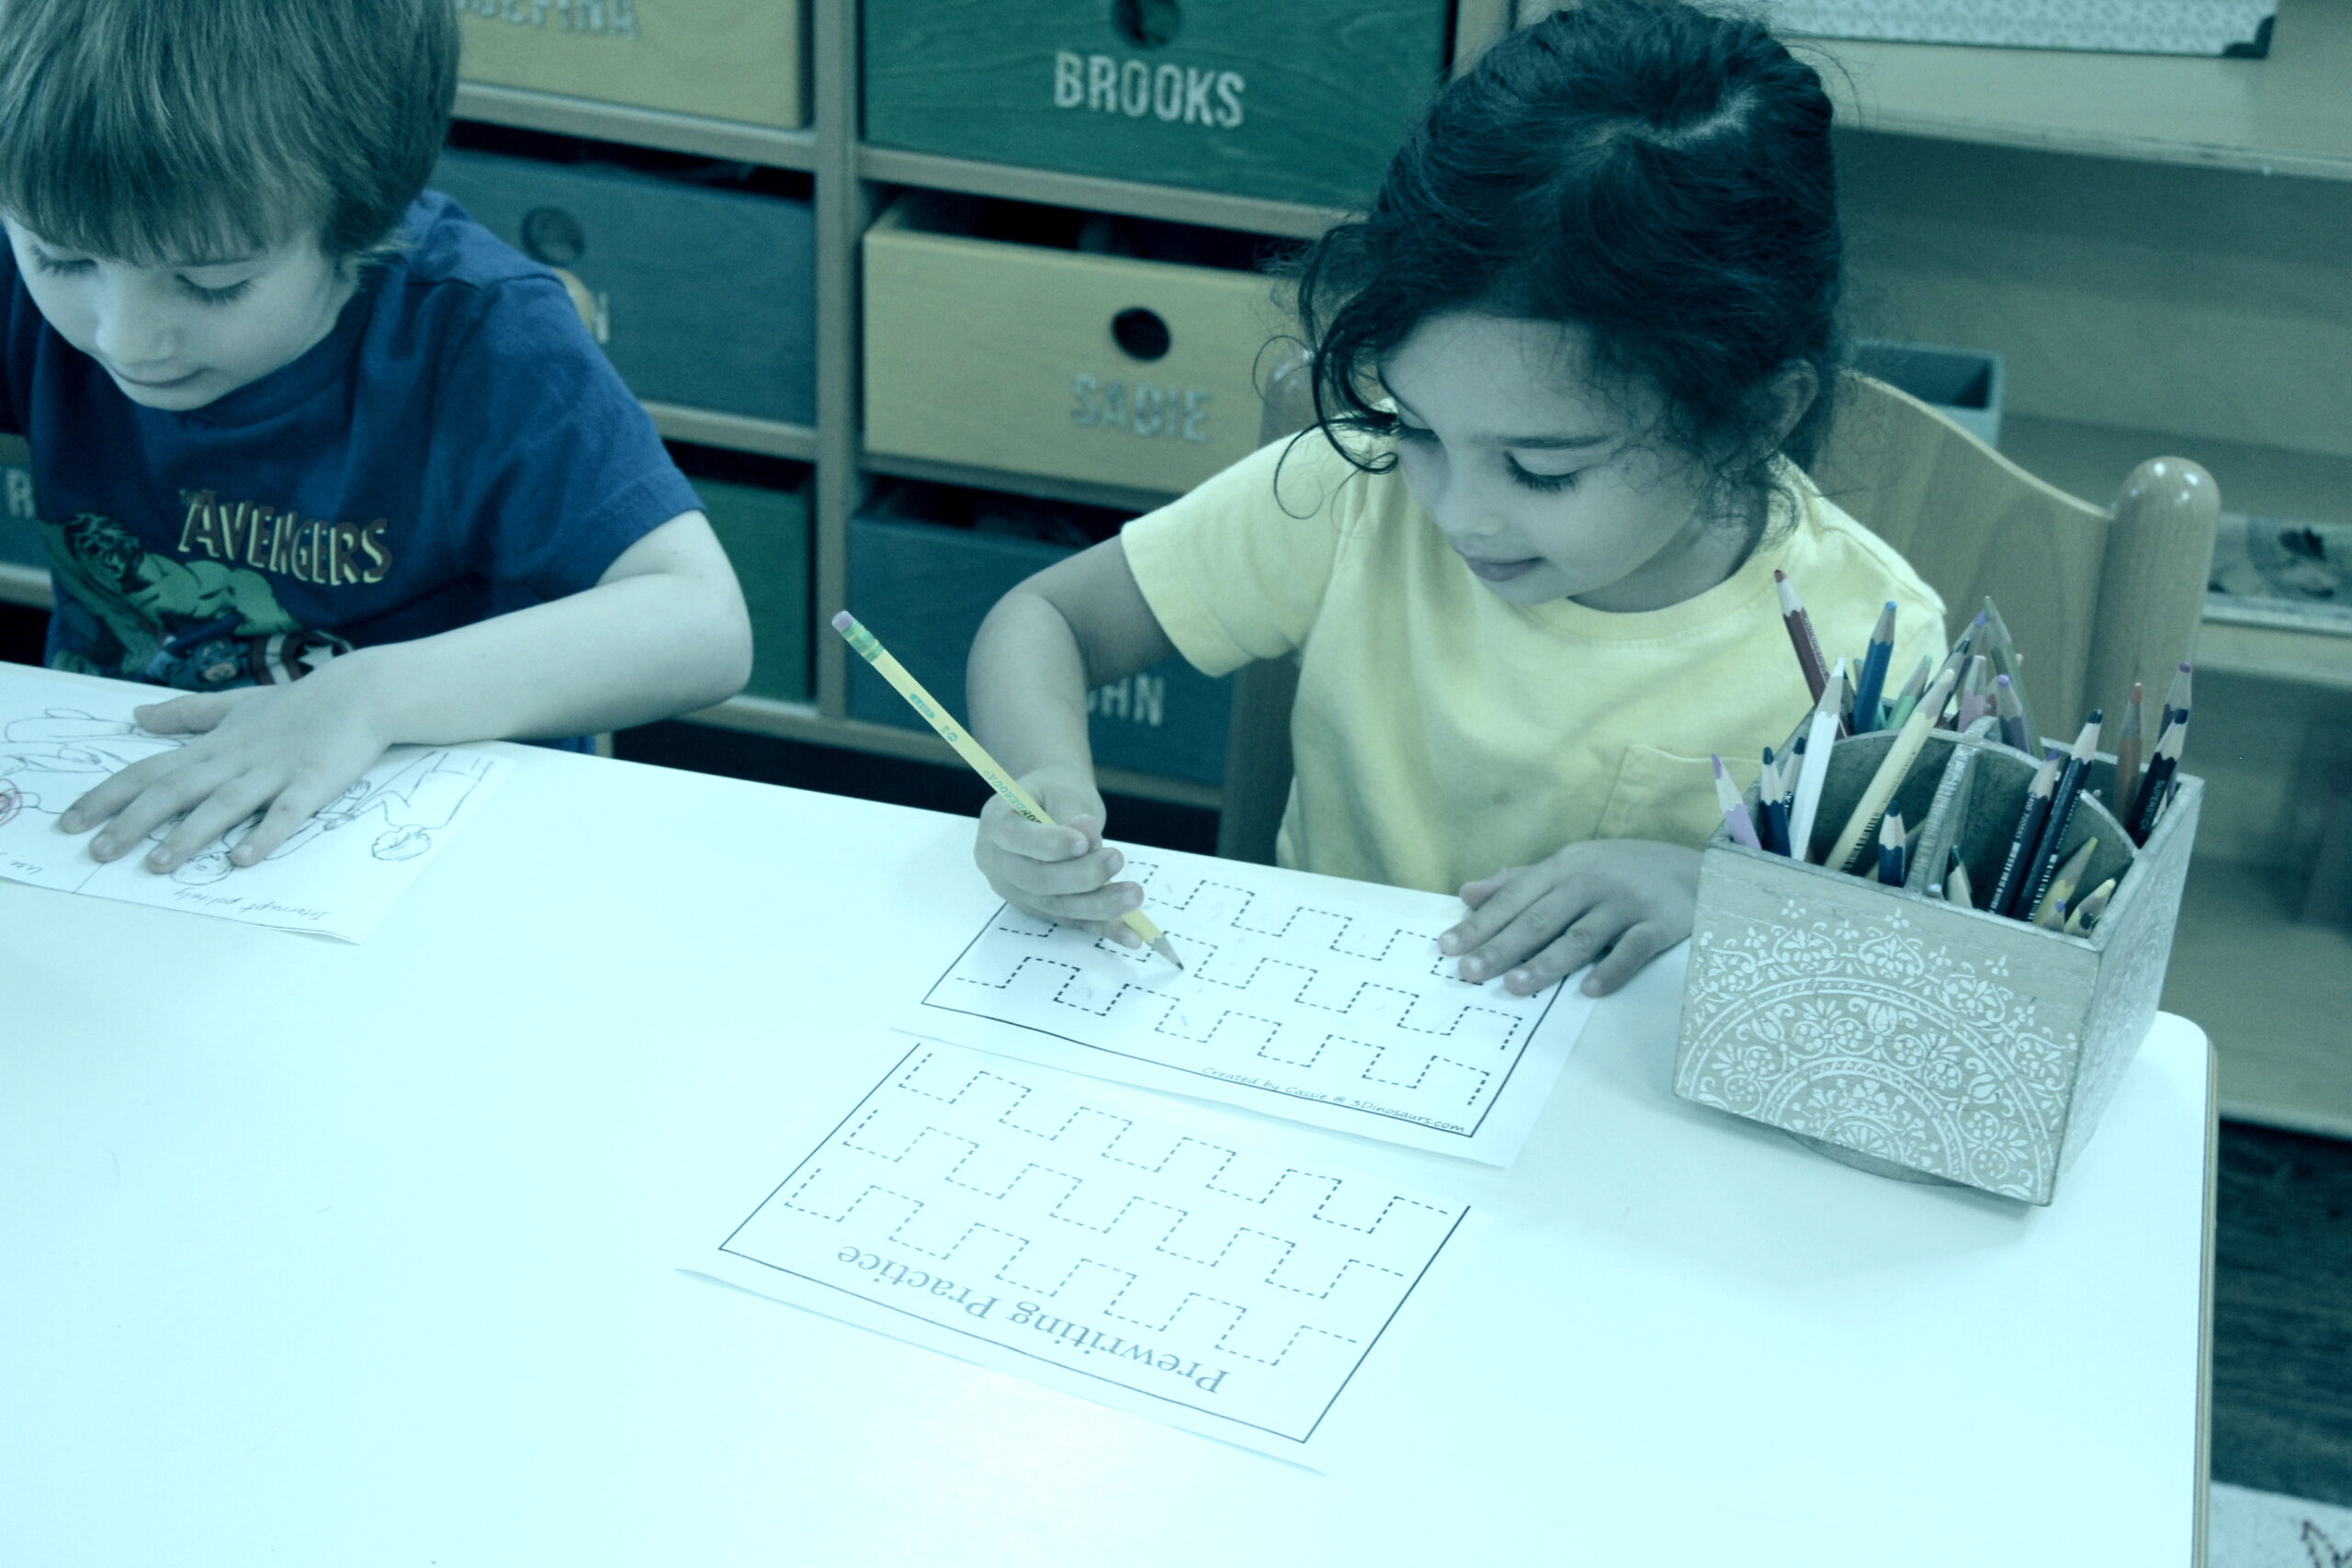
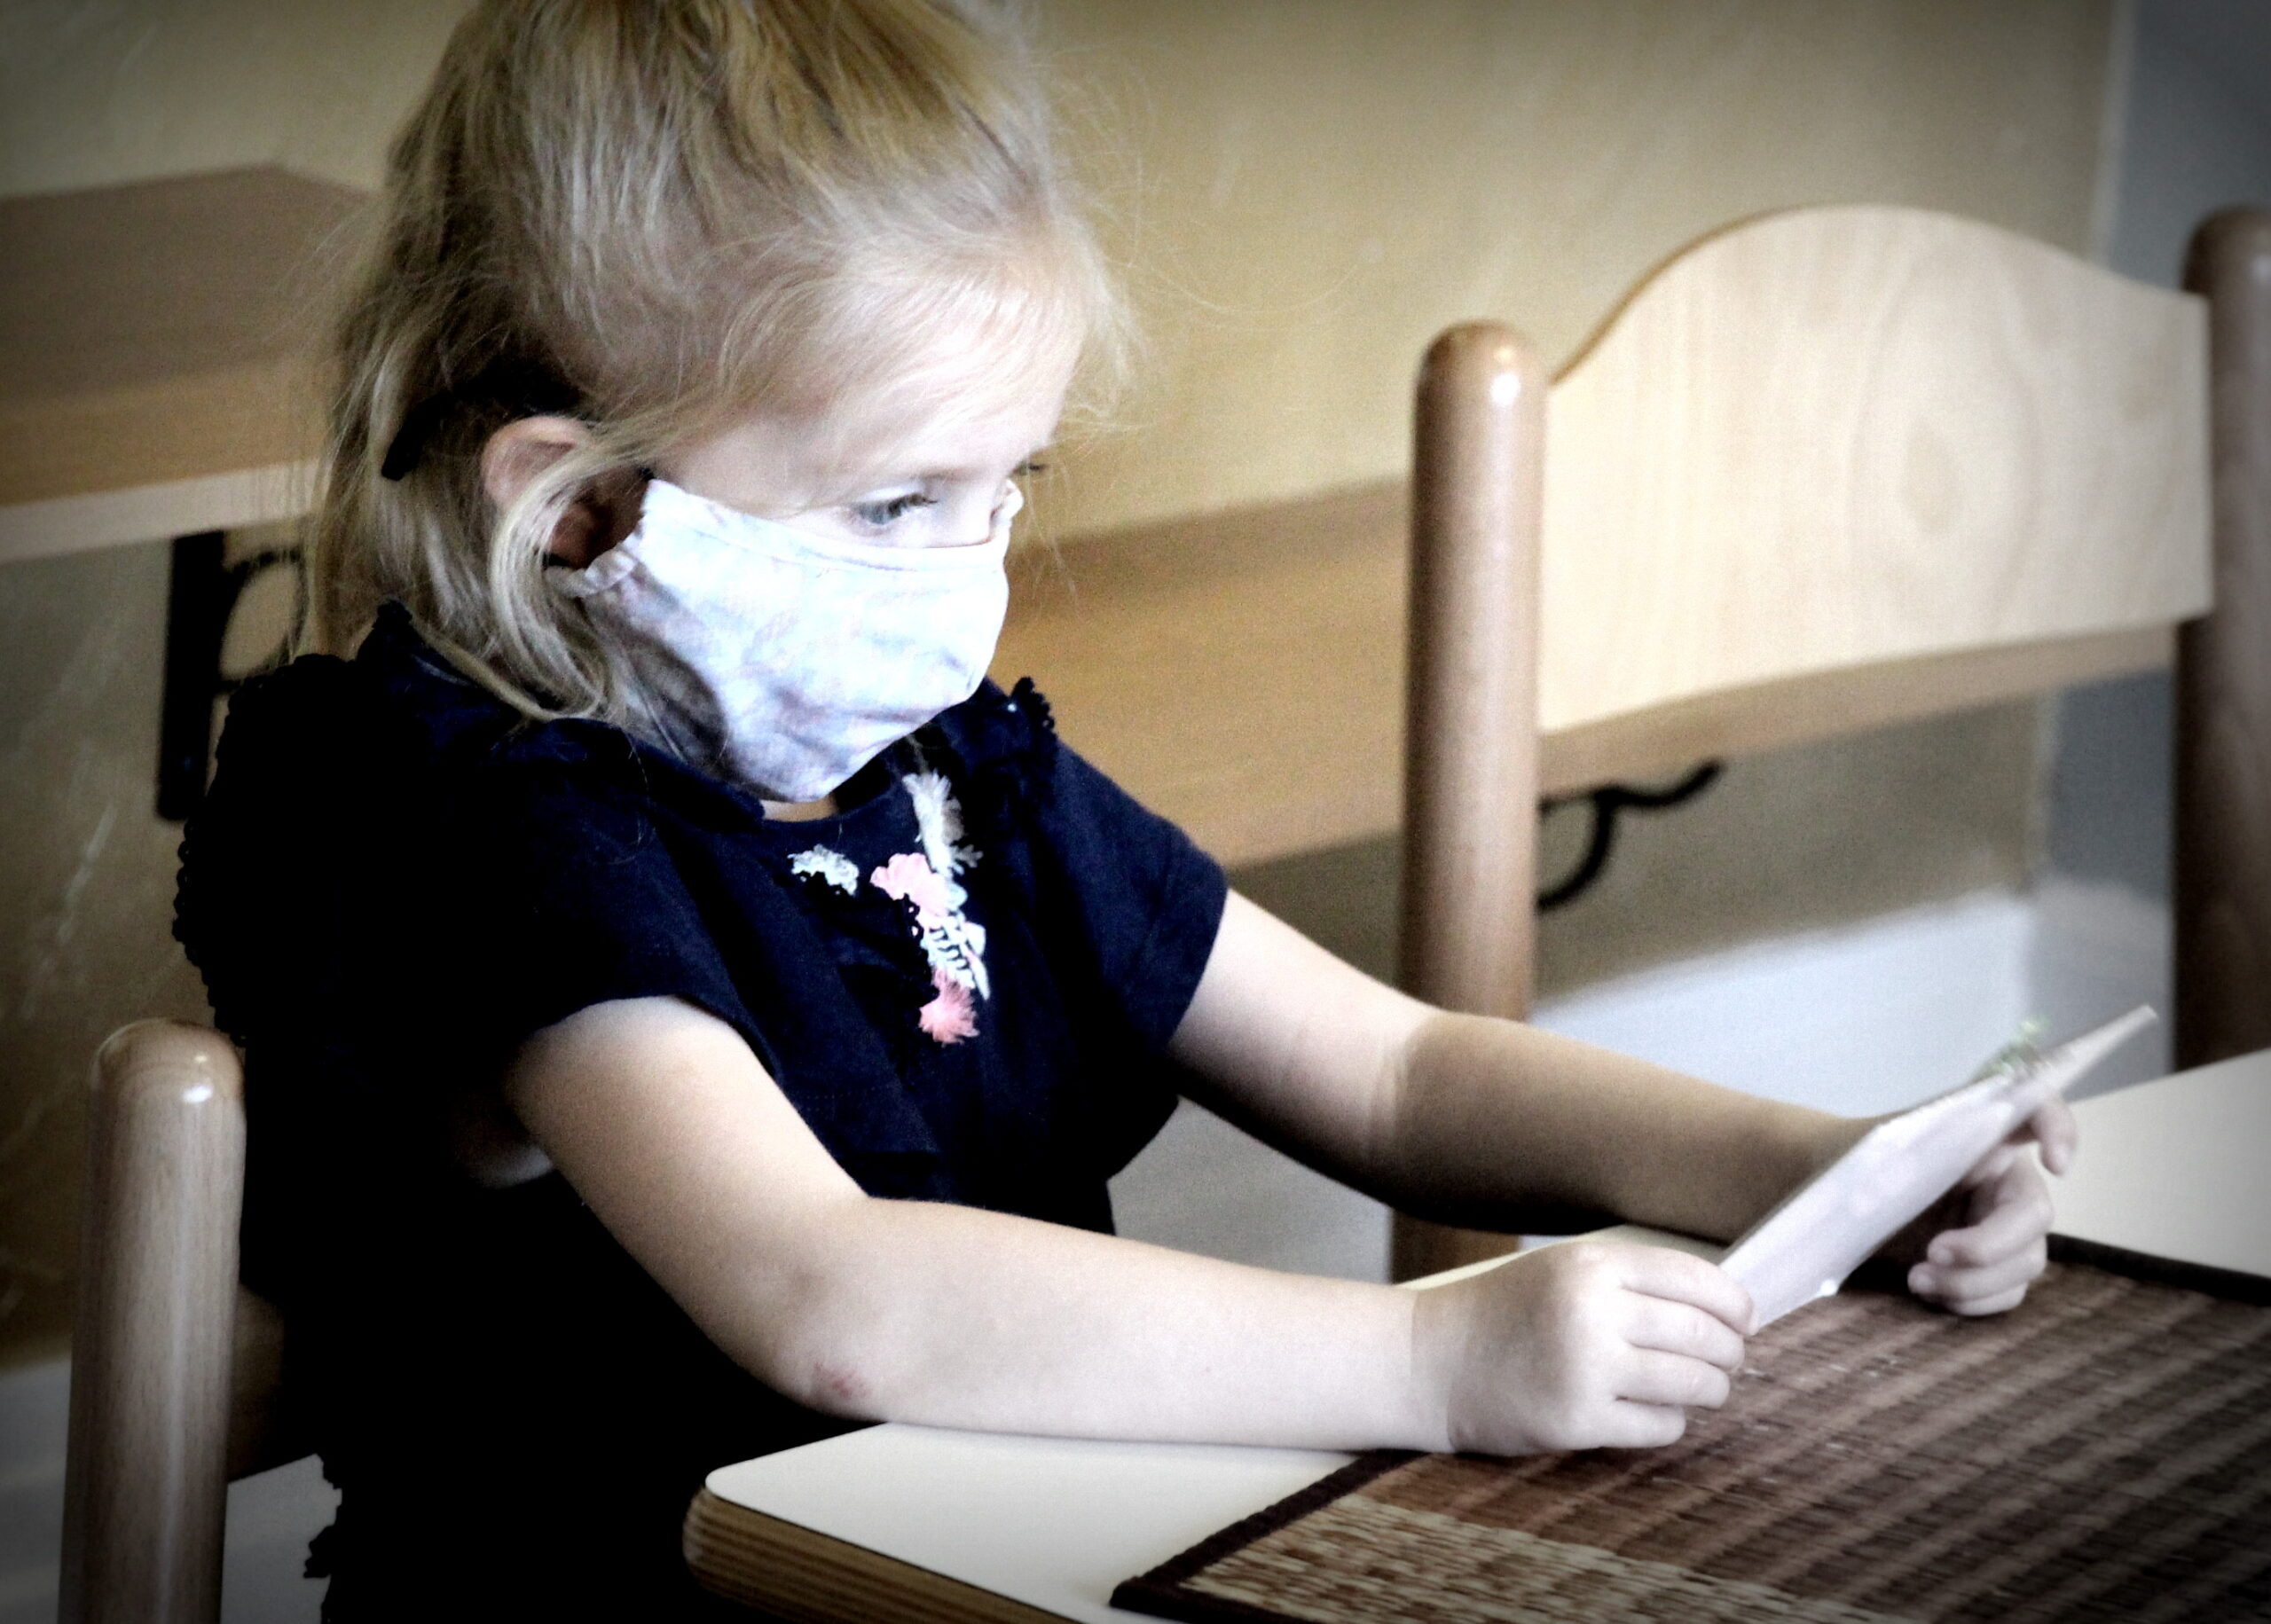
Lessons on Tracing Techniques (Incorporating Language Lessons): While not everyone is tracing or writing yet, we like to show children what they can work towards as they begin to focus tracing over shapes and letters by following the tracing guides with their pencils. Activity pages have been presented with imagery and “beginning sounds letters,” including lowercase letters that name an image. We showed the students a number of styles for tracing such as highlighted letters for tracing over, dotted lines to connect the dots, and bold printed letters in light grey or another color to trace over. If you are teaching letters at home, please read our article so that we are all on the same page with applying gentle approaches to prevent discouragement at such a young age.
Adding Details to Activity Pages: Coloring samples were given to offer ways to add lines, dots, and other details to make the activity page “your own artwork.”

Lesson on Art Efforts & Abilities. We come from all different directions with our wording when it comes to everyone’s art work. We have had recent lessons on various approaches to coloring activity pages, encouraging children to try different techniques, and reminding them that everybody’s art work should look very different as each person has very different intentions. This is especially helpful for children who are not yet coloring within the lines – we don’t want them feeling bad or discouraged, as it takes a lot of practice to eventually color within the lines. So instead of pointing when a child isn’t yet coloring within the lines, we focus on “exploring color.” For example, fall activity pages were recently offered, and we offered the idea that a variety of colors could be colored on top of a leaf pile drawing, explaining that we don’t necessarily have to color leaf for leaf. Of course, some children might choose to color leaf for leaf, and that’s fine, too – there is no wrong way to make art!

Students were also reminded to make good efforts, and not to waste paper by just drawing one random line and moving on to the next paper. Ms. Rachael recently read the book, From Tree to Paper, to emphasize the appreciation of trees and where paper comes from, and Ms. Lauren has begun collecting wasted paper in the classroom to make recycled paper in a classroom project later on down the road.

“Accessible Shelf” Area
In this area, we offer universal materials that are complimentary to the Montessori environment. We don’t always give lessons on these materials right away, however, all children are welcome to use and explore the materials by the applying general ground rules for all work materials. While many of the works are self-explanatory, we still find time to give lessons on these materials periodically to offer ideas and suggestions. We especially focus on bringing a sense of order that may not have been considered before.
So far, we have given lessons on the following:
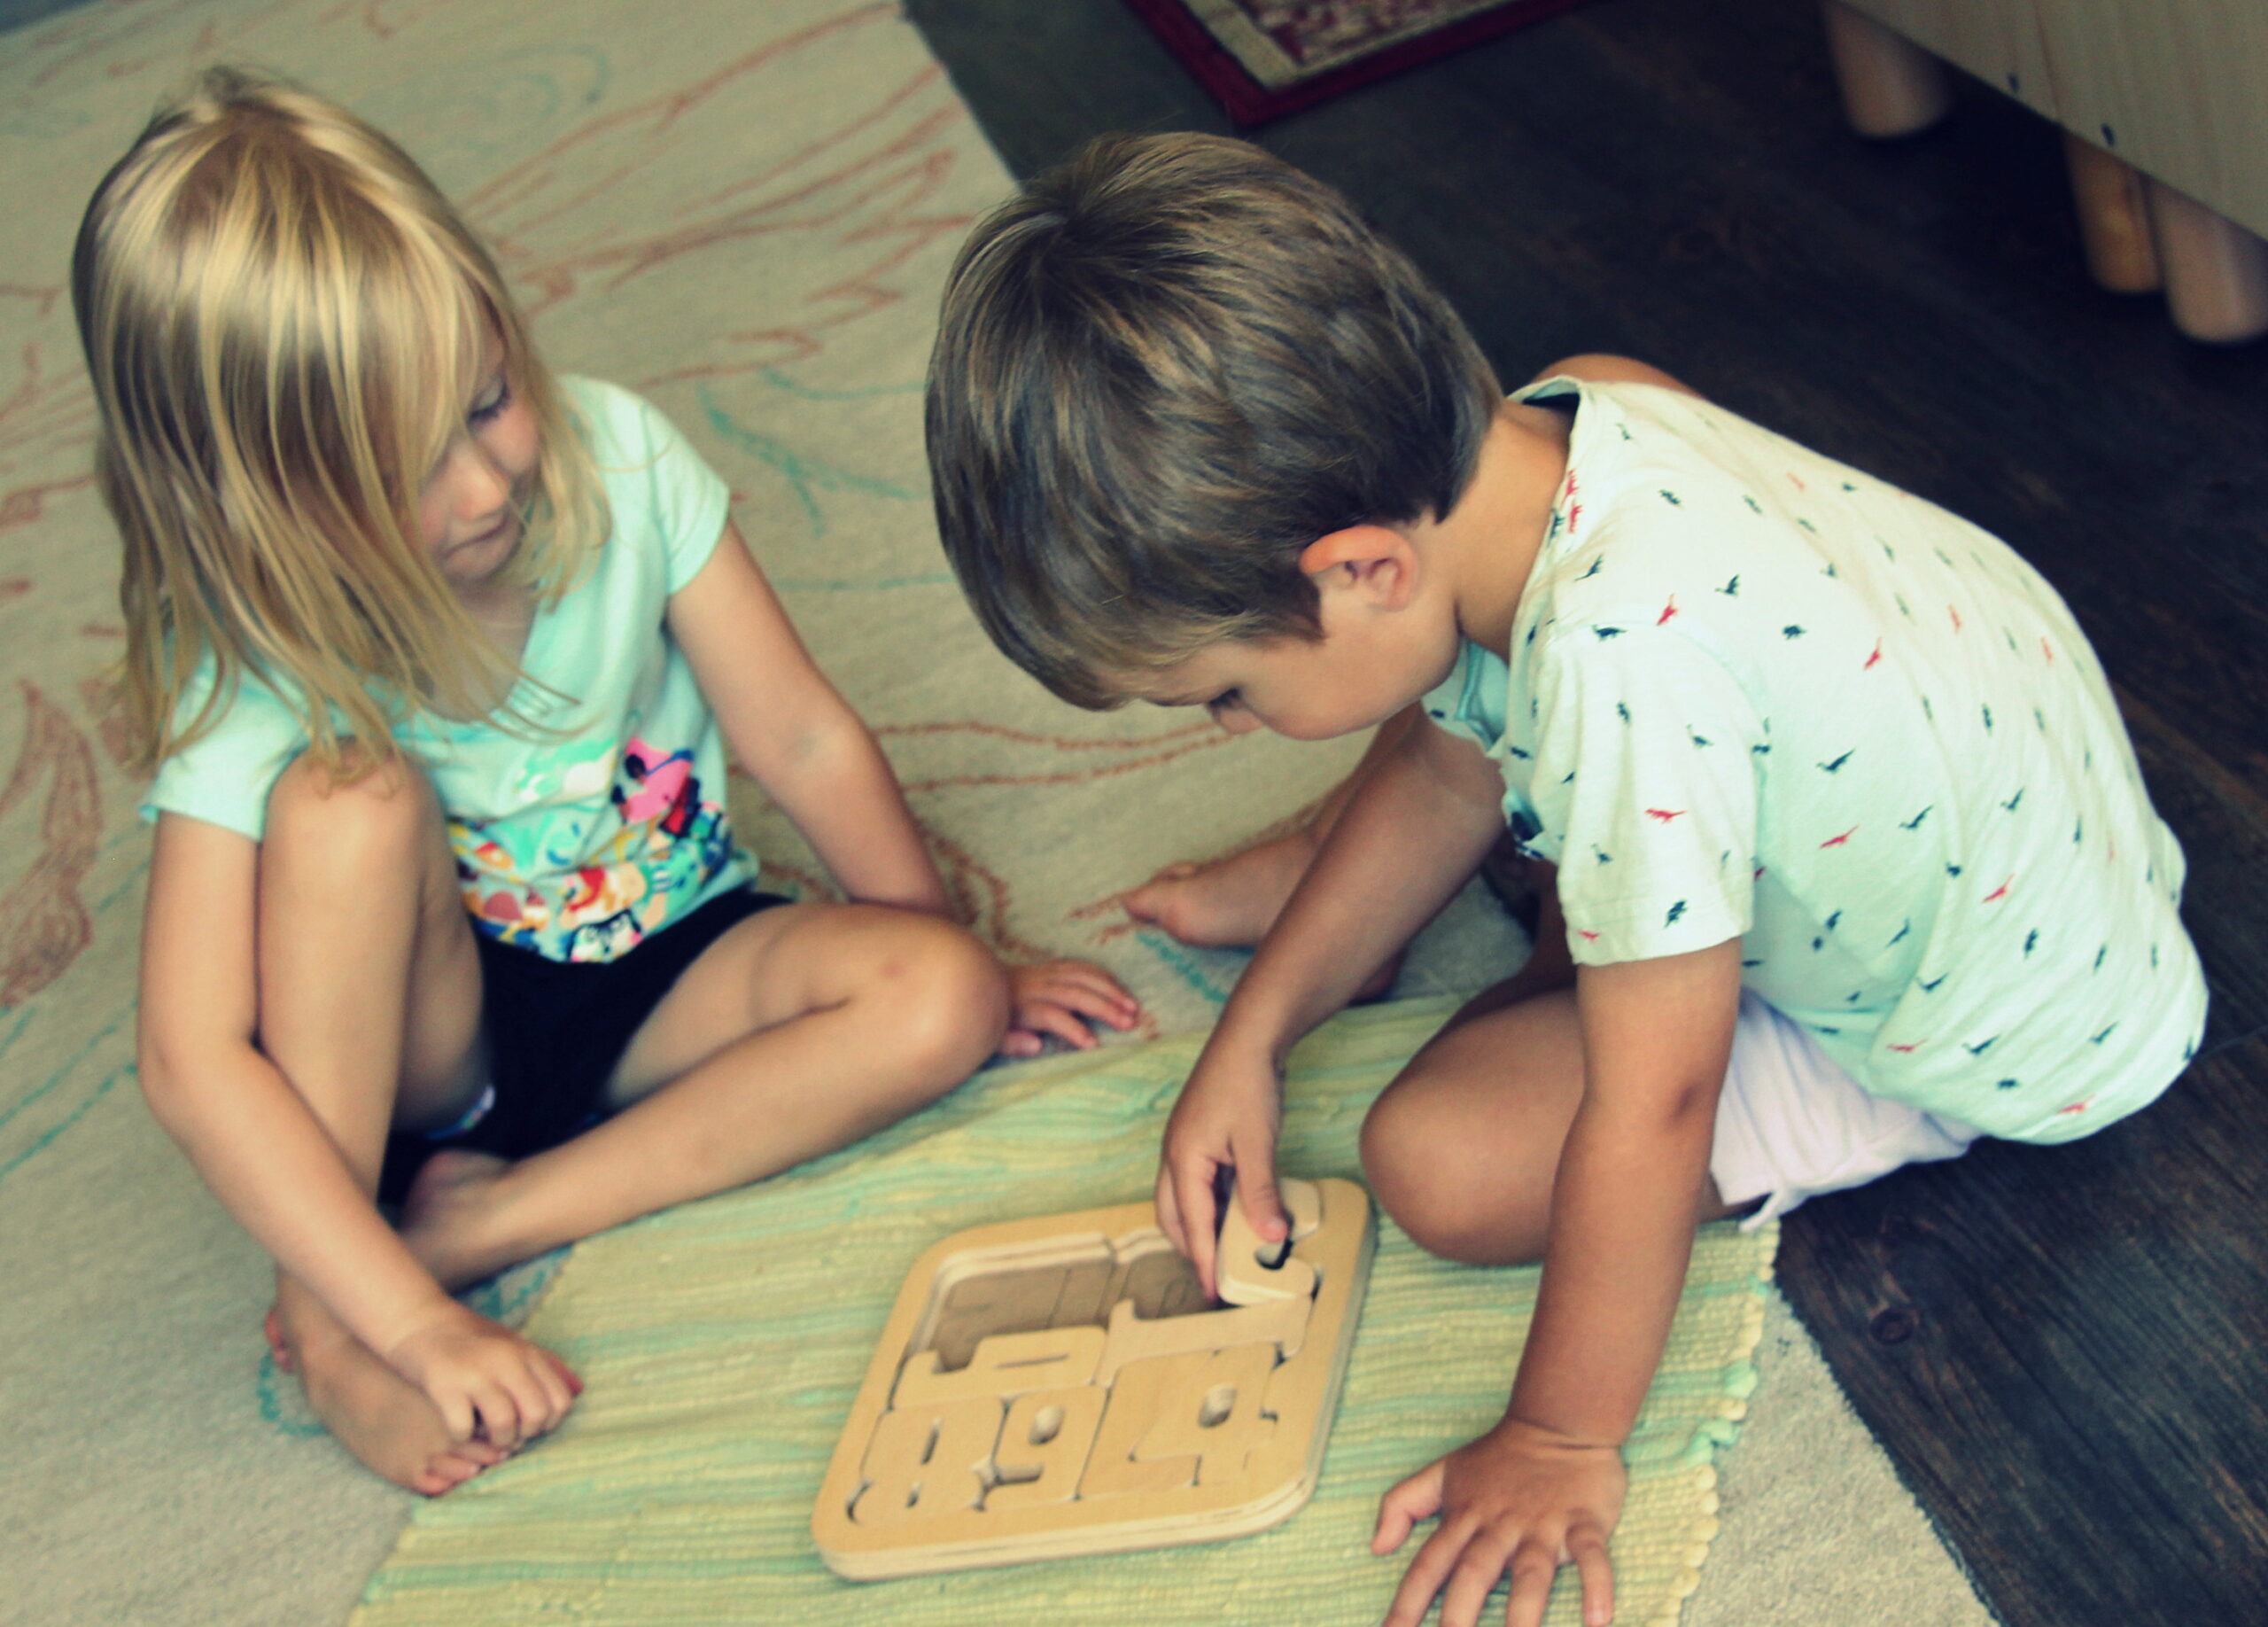
Jigsaw Puzzles. One of our ground rules for jigsaw puzzles includes “no dumping” to avoid losing pieces and lack of order. During our presentation, we show students how to sort the end/framing pieces from the middle/inner pieces into two piles. We build the frame first by lining the flat edges around the edge of our rug, followed by making connections with those pieces. When introducing jigsaw puzzles, we like to first offer puzzles with nature scenes that have land and sky imagery to point out that the ground pieces can be placed at the “bottom” of our rug, while the blue sky pieces go at the “top” of the rug. We talk about the details in each puzzle piece by matching colors and imagery to connect the pieces.
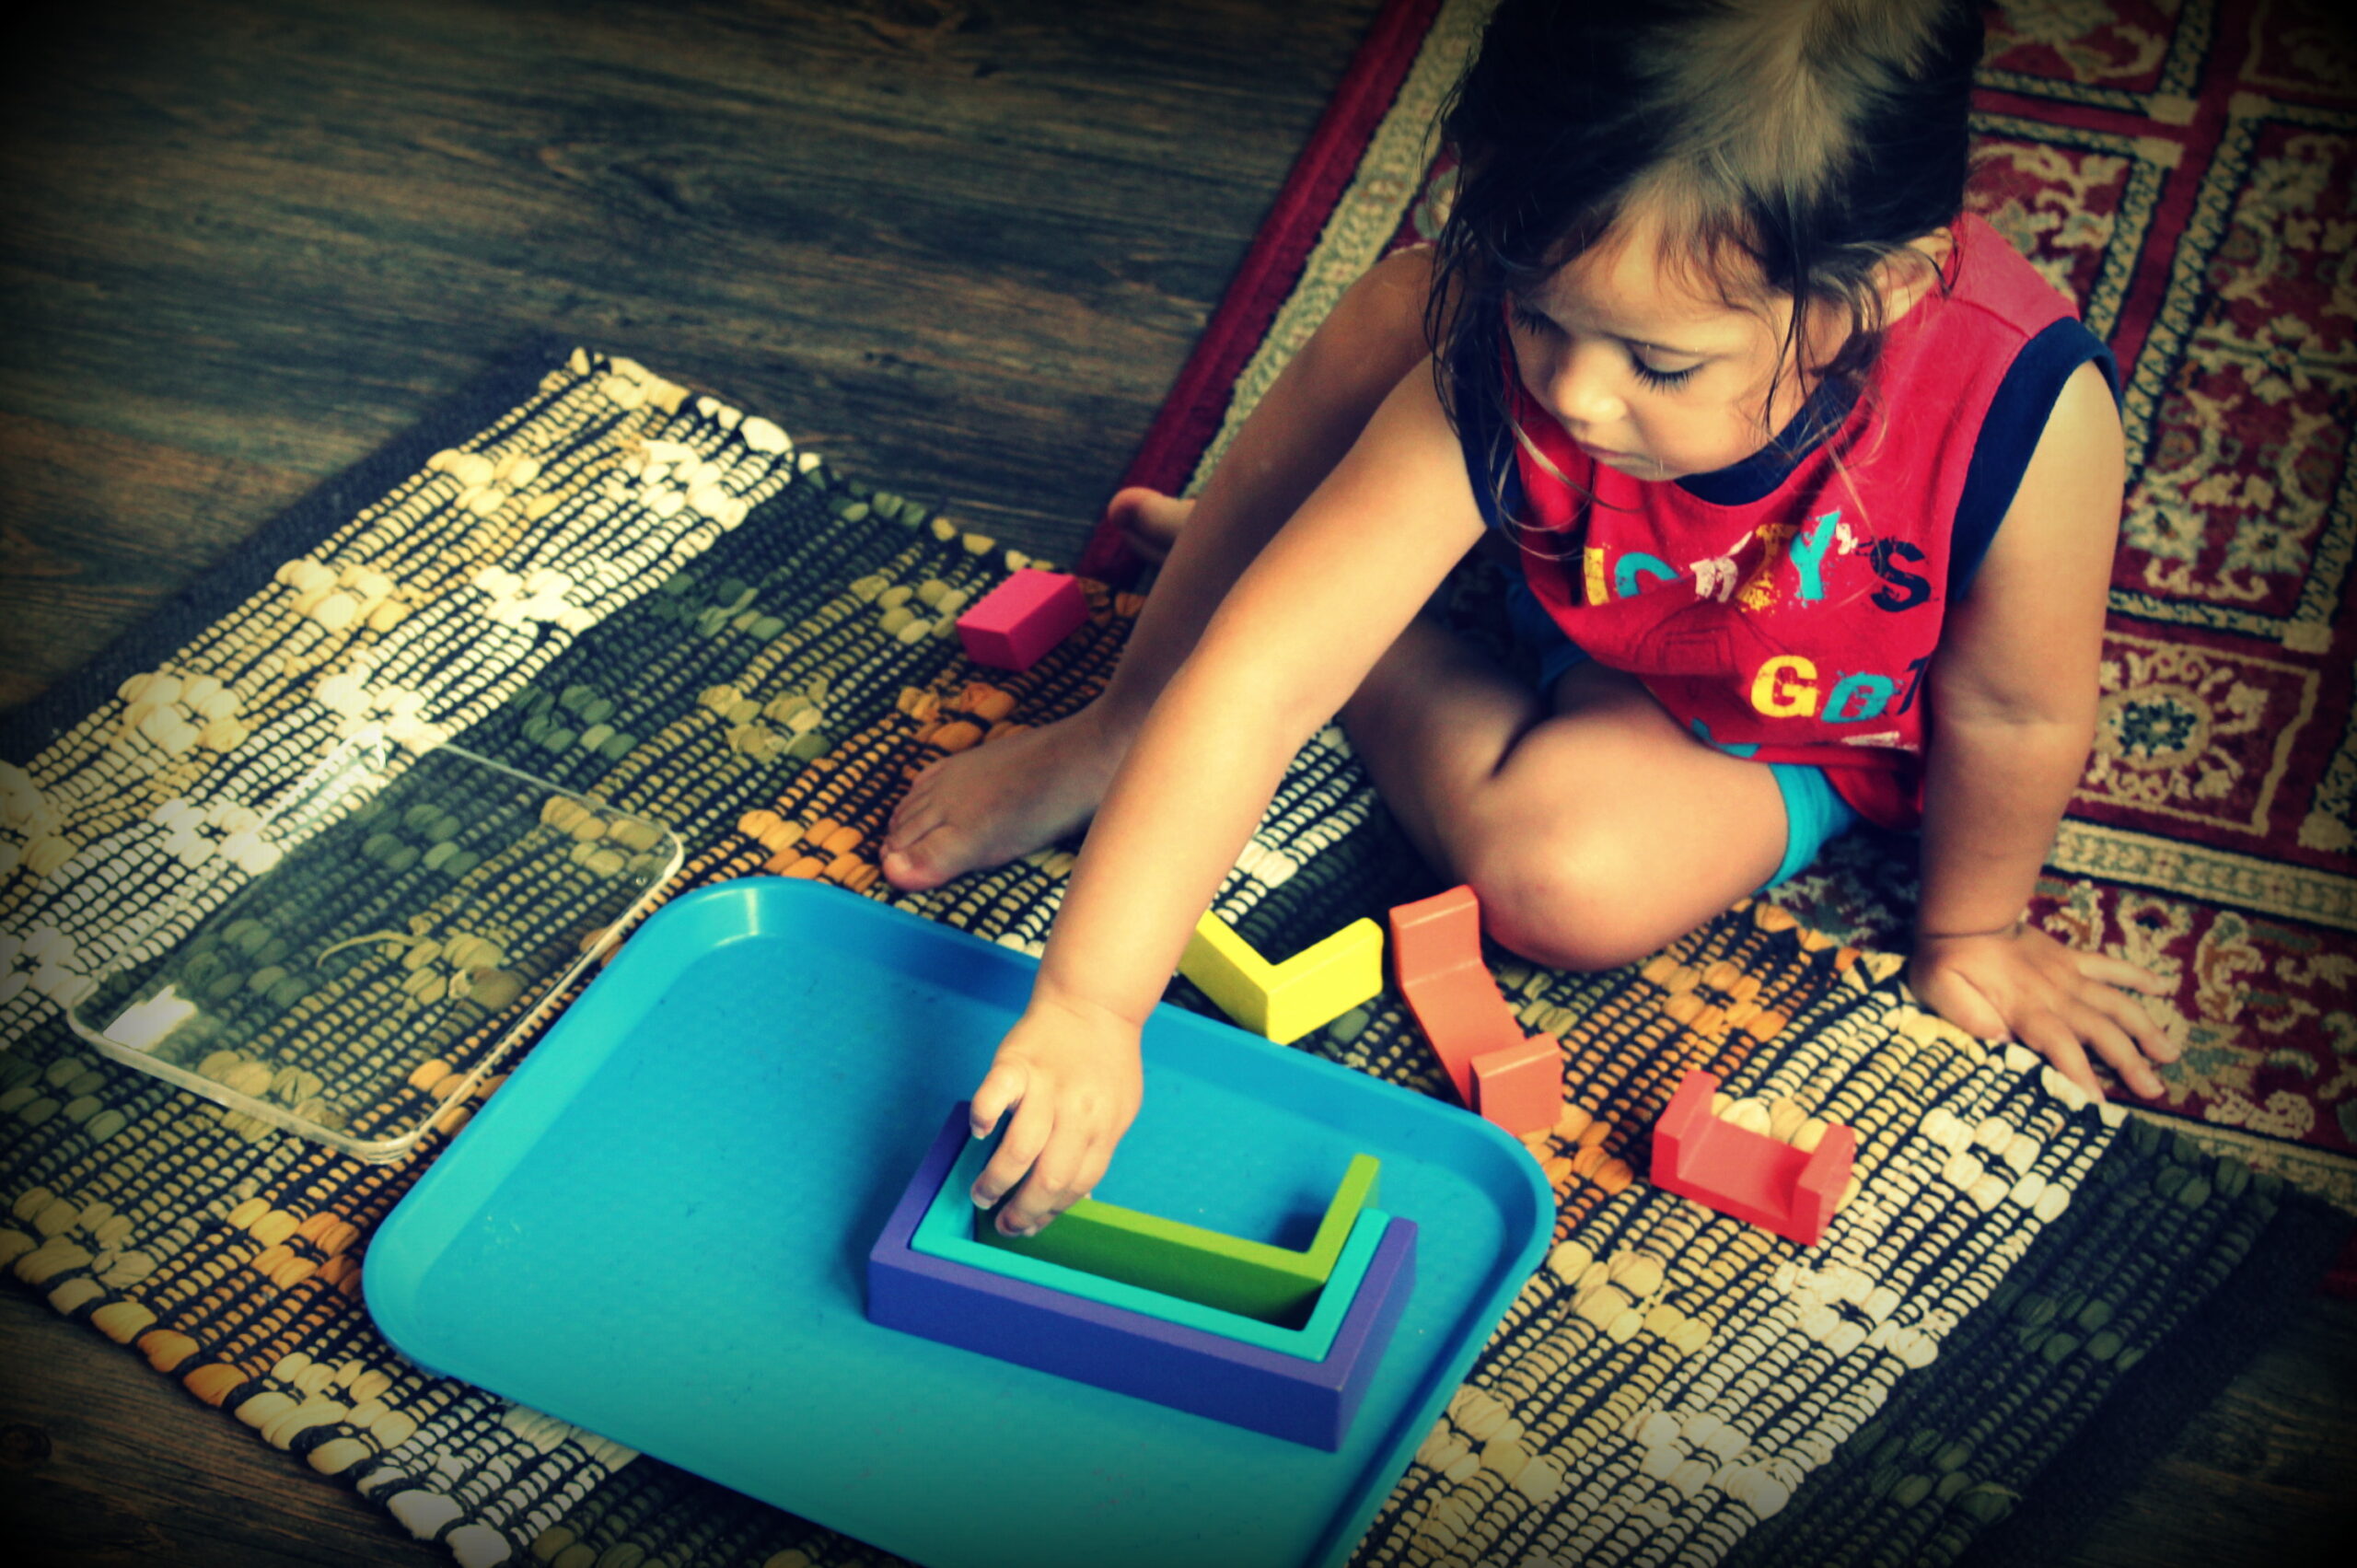
Lacing Shapes. Lacing and unlacing techniques for wooden lacing shapes.

Threading Beads with Laces. Lesson on making designs and patterns by threading beads onto shoelaces. Bead colors and types are inspired by the season, universal holidays, or another theme going on in the classroom. This week’s theme: Autumn colors.

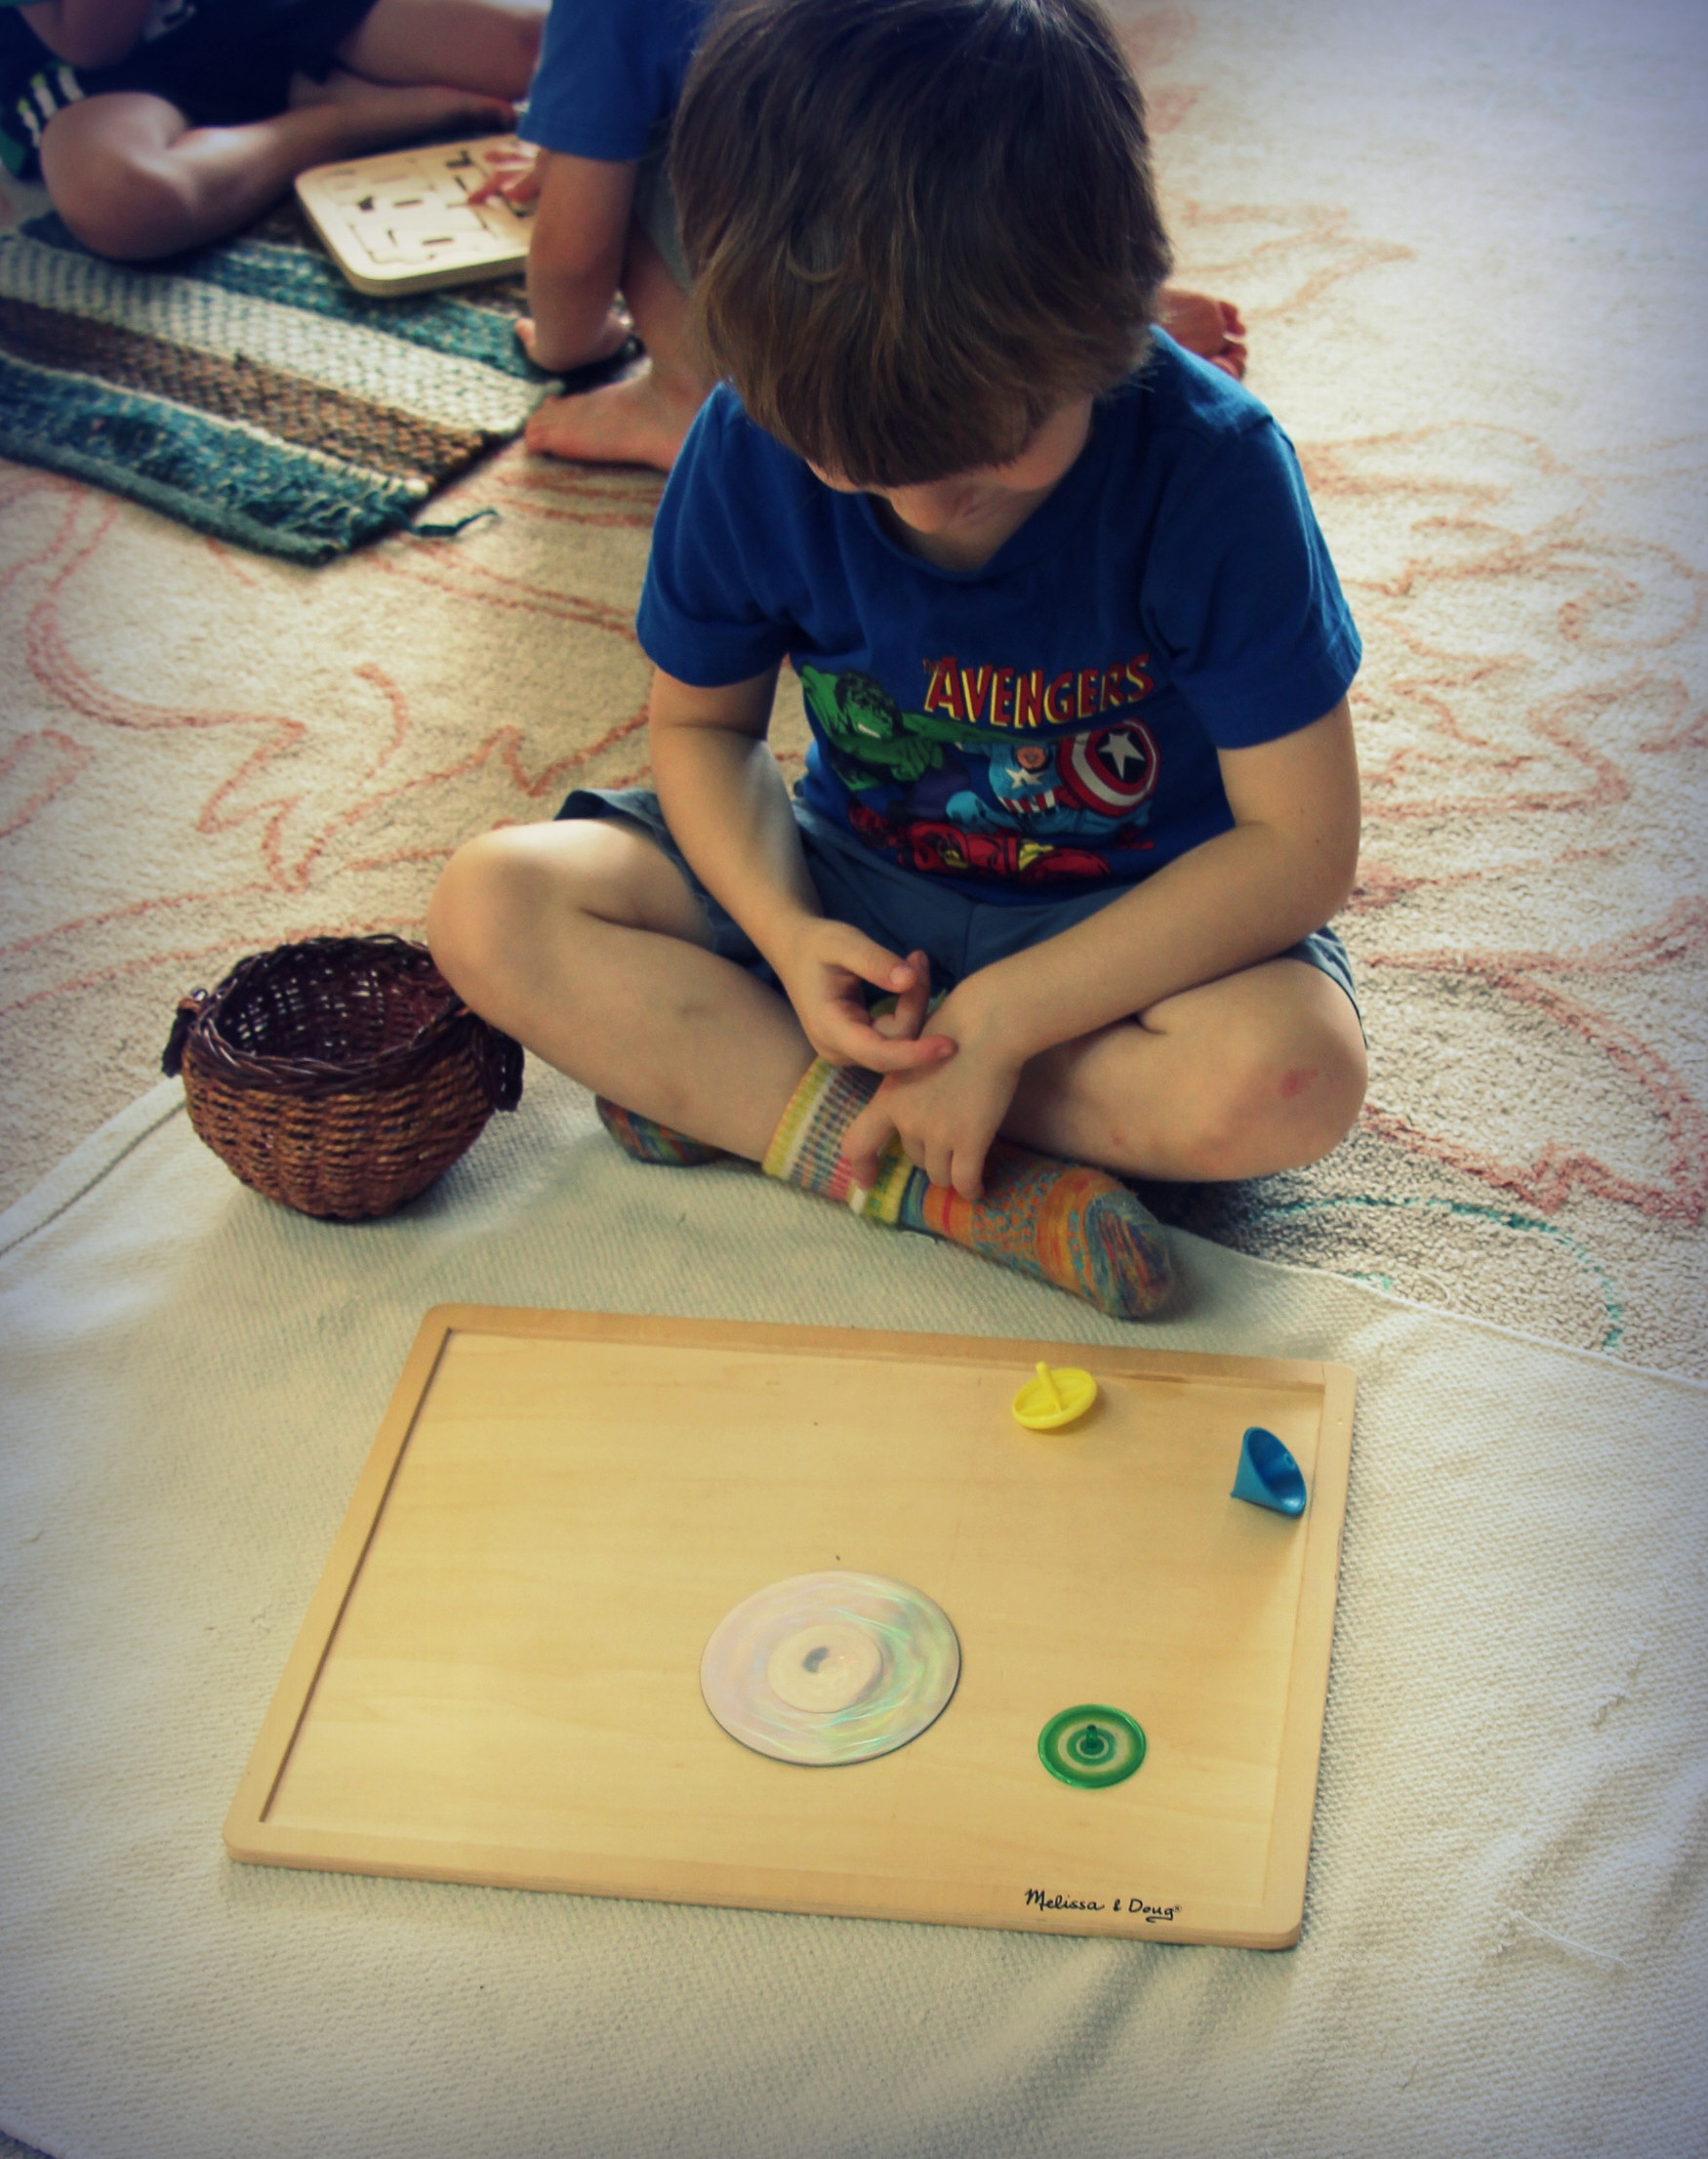
Spinning Tops. Learning to spin a top is a great fine-motor exercise for children. We especially like them, since children naturally grab the stems in the pincer grip form (a goal we are always working towards when holding pencils). Finger twirling is a bit challenging, but every child is so determined to keep trying for the colorful spinning effects of our miscellaneous tops.
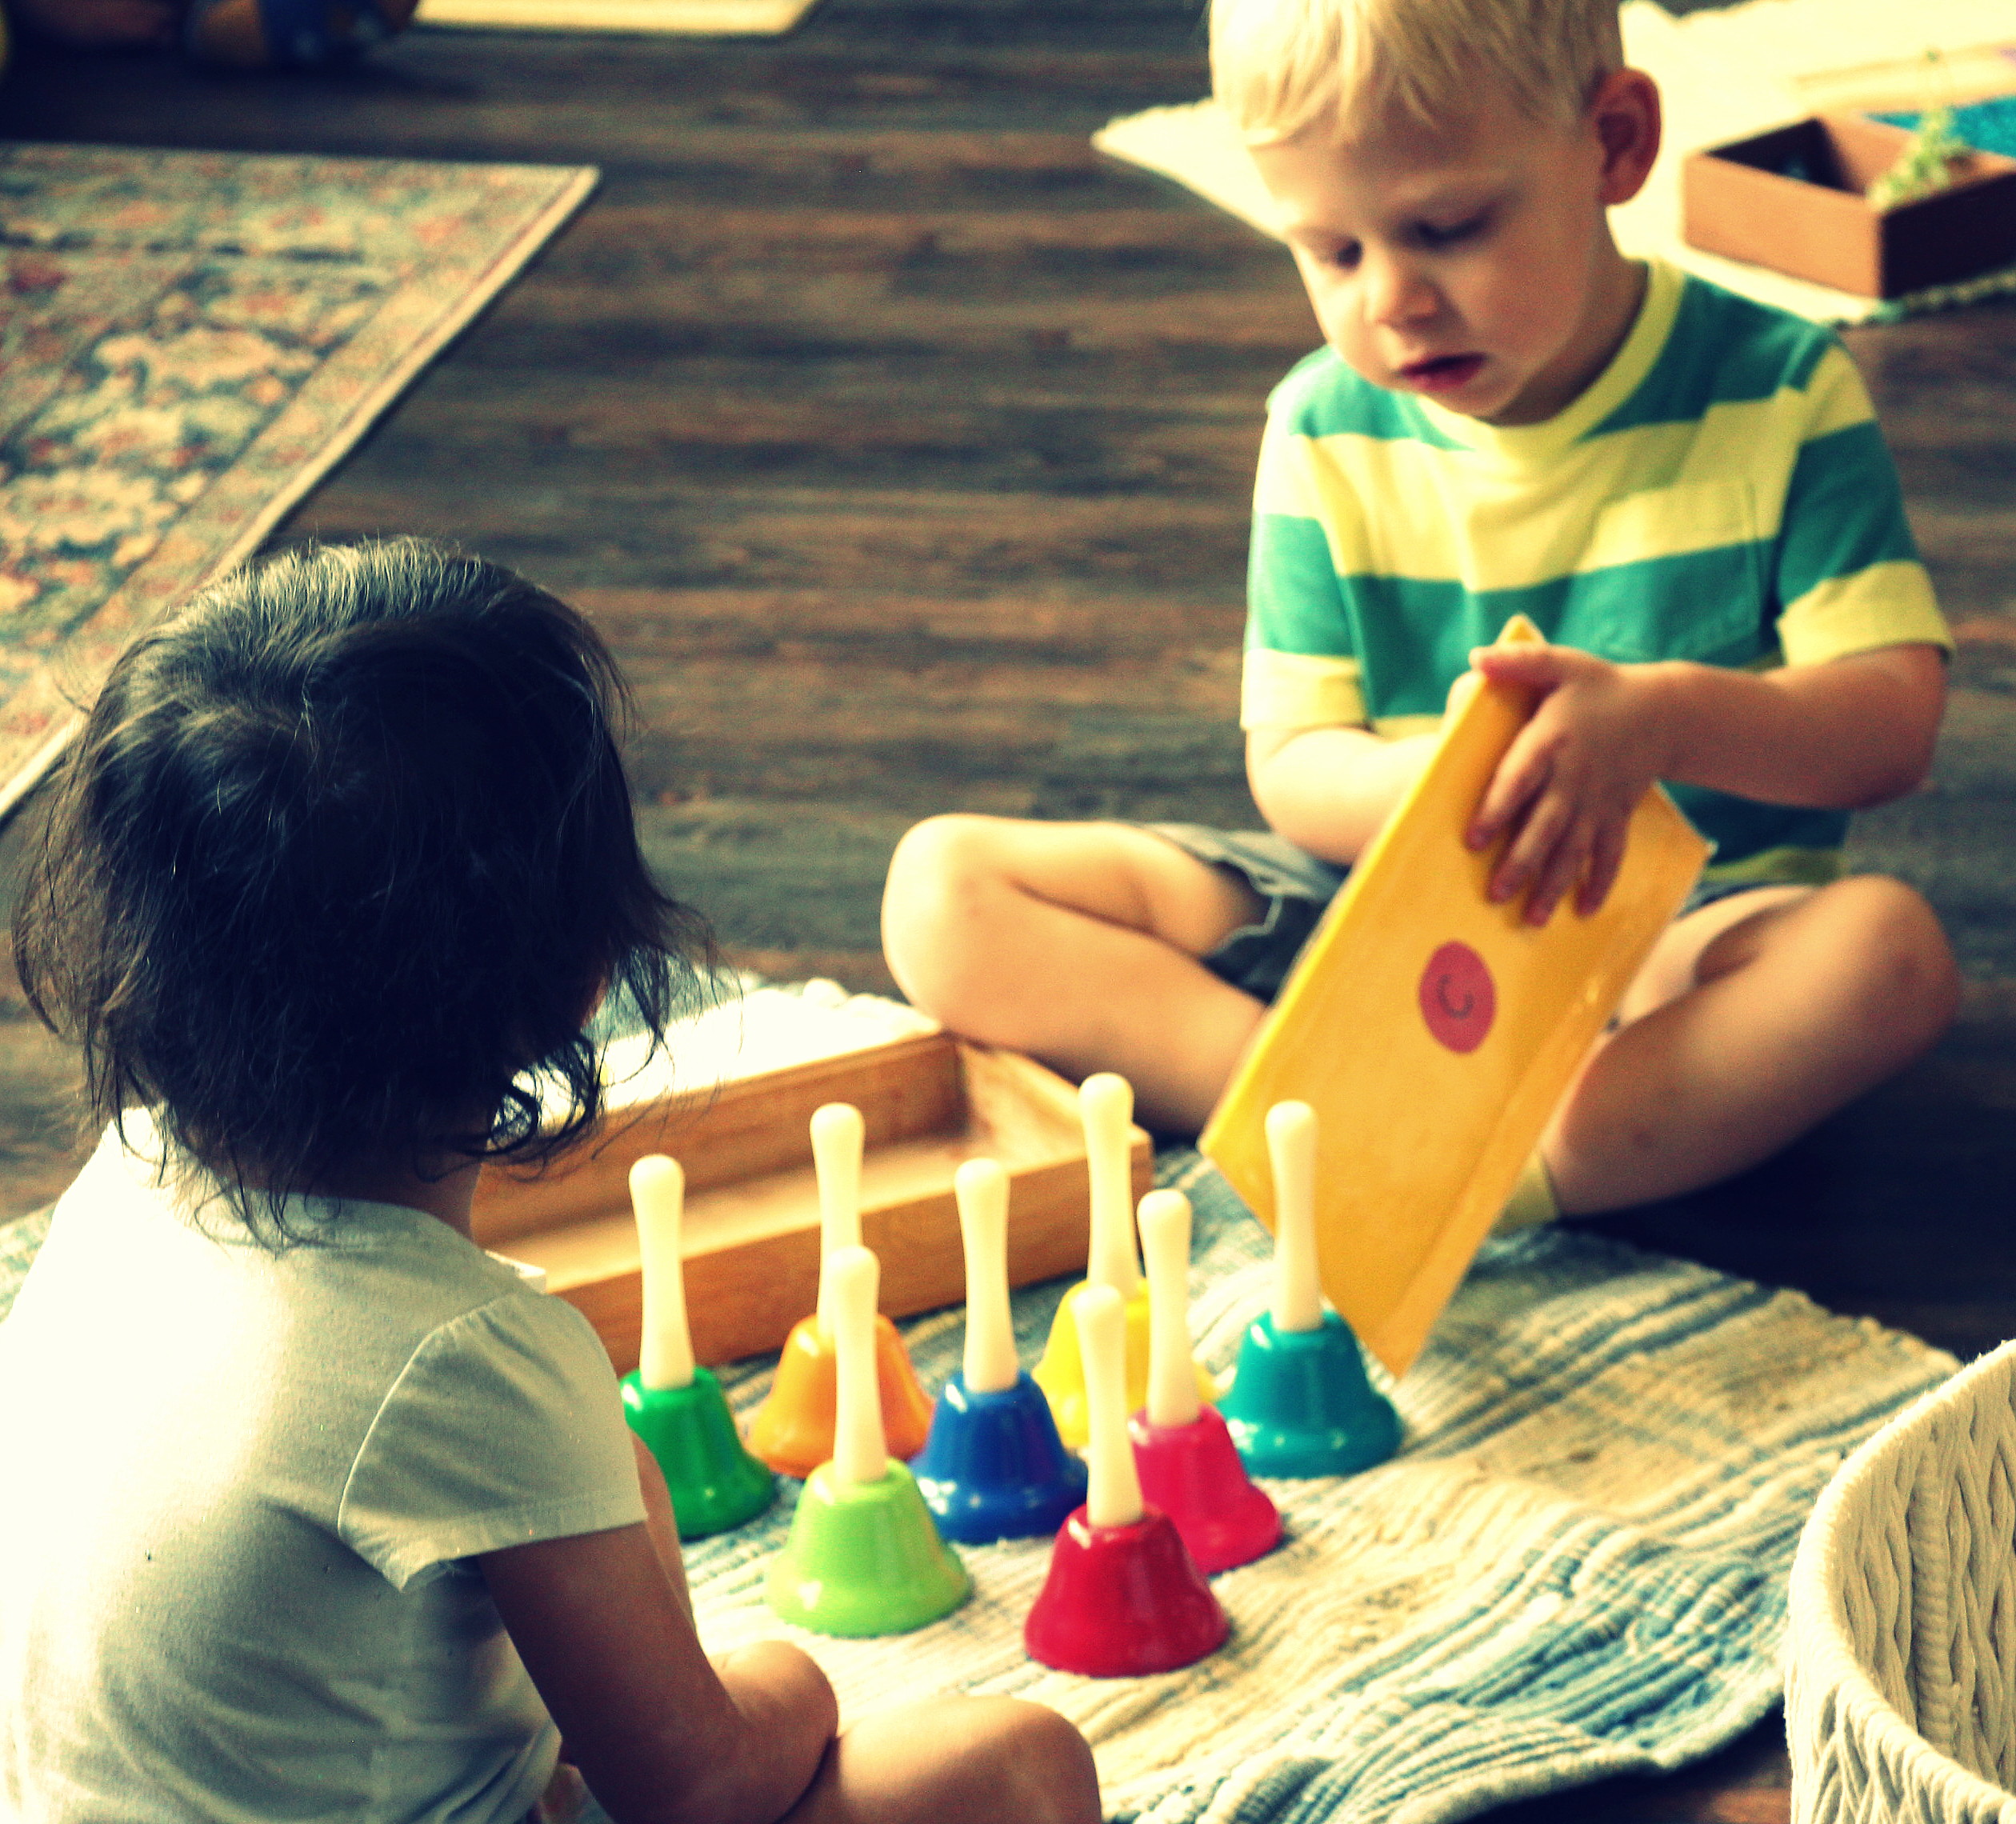
Music Area & Activities
We offer a music station with “peaceful instruments” so as not to distract students during the work cycle. Throughout the school year, children are taught about different sounds, beats, and tonalities, music terminology such as staff, keys, scales, octaves and chords. We also offer musical circle times where we use our voices as instruments with vocal warm ups and songs. The baby grande piano will be available in the near future, after all students have a good understanding of the C Major scale.

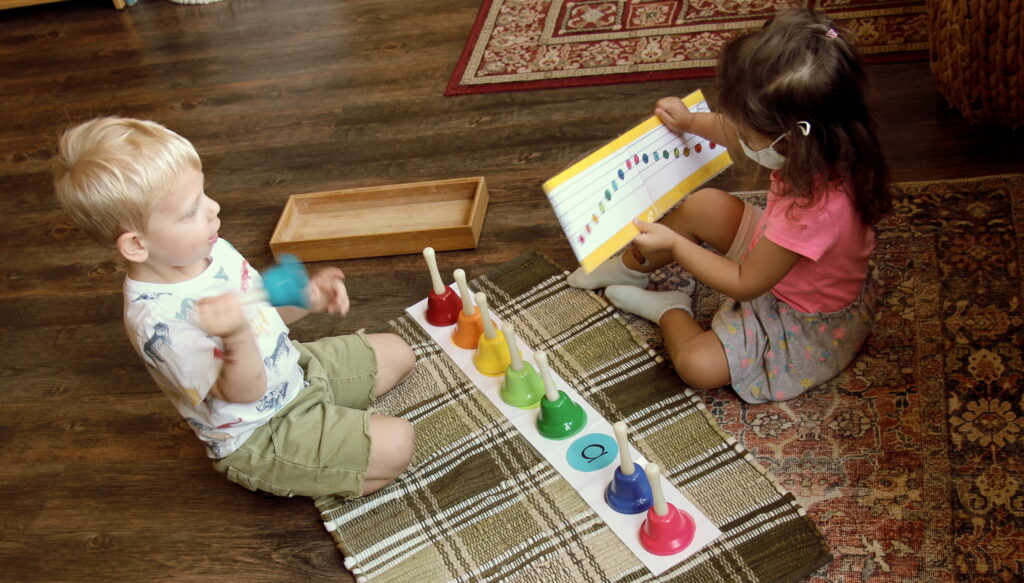
Bells: Intro. to Music Staff, Notes, and C Major Scale. Whole notes for a C major scale were explained on a treble staff to show how notes move “up and down” to reach octaves. Color coded bells are used to organize the notes in C major.


Music Class with Ms. Angelique: Vocal warm ups and reviews of old familiar songs such as Country Roads, 7 Bridges Road, Somewhere Over the Rainbow, and Blackbird (with sign language). We “read” the lyrics first, while looking at PowerPoint slideshow of imagery to offer a perspective on the story behind the songs. For example, we looked at imagery of Spanish moss hanging from trees to learn a verse in 7 Bridges Road, “moss in the trees,” and pictures of cozy farm houses to talk about the way we feel coming home after a long road trip in Country Roads. This story telling technique works wonders for learning lots of lyrics fast, since children make immediate connections to the storylines. Other recent songs include, include Train is Comin,’ the Lion Sleeps Tonight, Oh, What a Beautiful Morning, and Edelweiss.
Musical Rainstorm with Ms. Rachael: Creating sounds with our bodies to create the build-up of a “rainstorm,” a fun hands on approach to learning beats, musical build-ups (crescendo/decrescendo), and more.
Music Foundation Review & Sound Articulation with Ms. Lauren: Review of C scale, octaves, and hand signs to go along with Julie Andrew’s “Do Re Me” song.
Language Area Fundamentals
Language spills into all subject areas in a Montessori classroom, as children are learning a variety of vocabulary words about the world around them. Students are naturally getting used to the idea that we read from left to right by our indirect approach of presenting every lesson by laying out materials from left to right on our rugs (and that’s right to left for the teachers as we teach everything “upside down” so that it looks right-side-up for our students sitting across from us!). We teach lowercase letter sounds first, since children are seeing more lowercase letters than uppercase letters in a sentence in our classroom books and in the books you read to them each night. When teaching letter sounds, the Montessori Method is very particular, and if you are interested in working on letters at home, we encourage you to read our article, “Montessori Way of Teaching the Alphabet,” or find it later under the “Extra Extra” drop down menu on our home page.

Lesson on “3 Part Cards” (i.e., Montessori Nomenclature Cards, a Latin Term for “Assigning of Names”). 3-part-cards are found in a variety of subject areas in the classroom, used to teach vocabulary with imagery, printed words, and matching cards. Students can match up the letters of vocabulary words, regardless of if they know what it says or not, as the picture will tell them. This is considered a built-in “control of error,” so that children self-correct on their own without the interference of others.
Wooden Letter Puzzles. We have a variety of wooden puzzles that offer imagery and lowercase letters to teach “beginning sounds.”

Color Matching Cards & Objects. Students learn to organize color cards along the “top” edge of their rug, from left to right, matching a variety of solid colored objects below each color card to create columns.
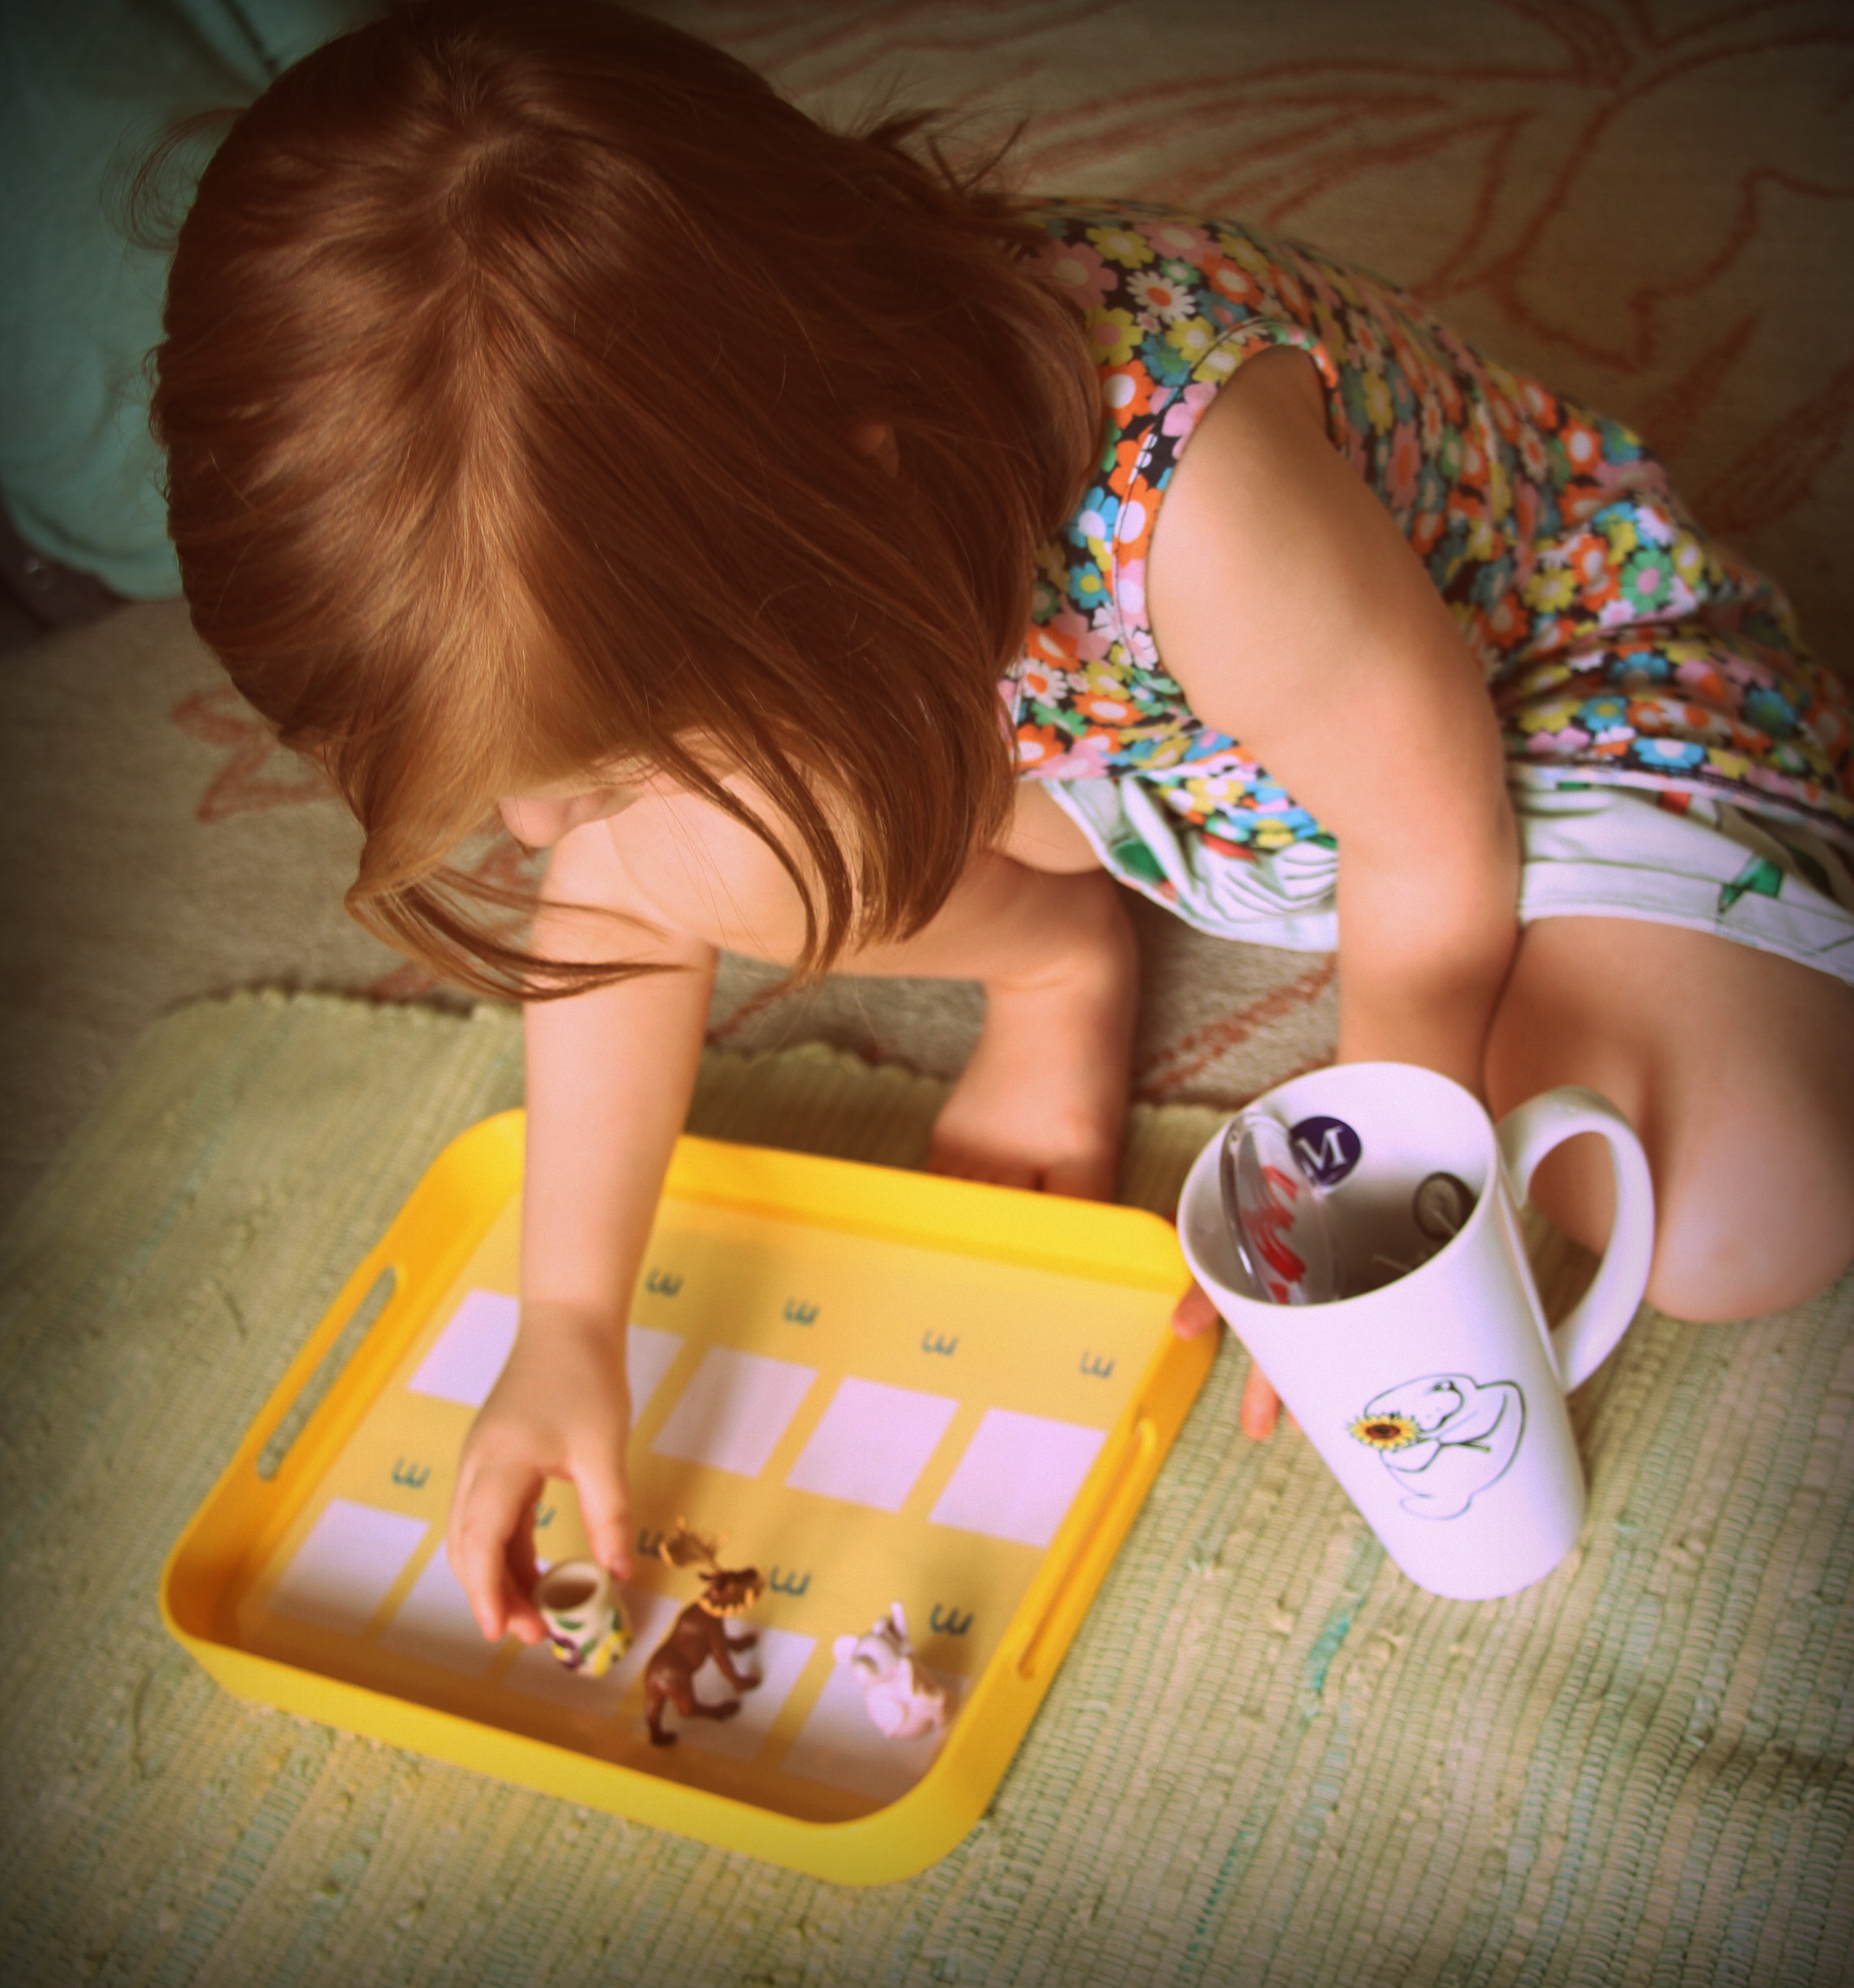
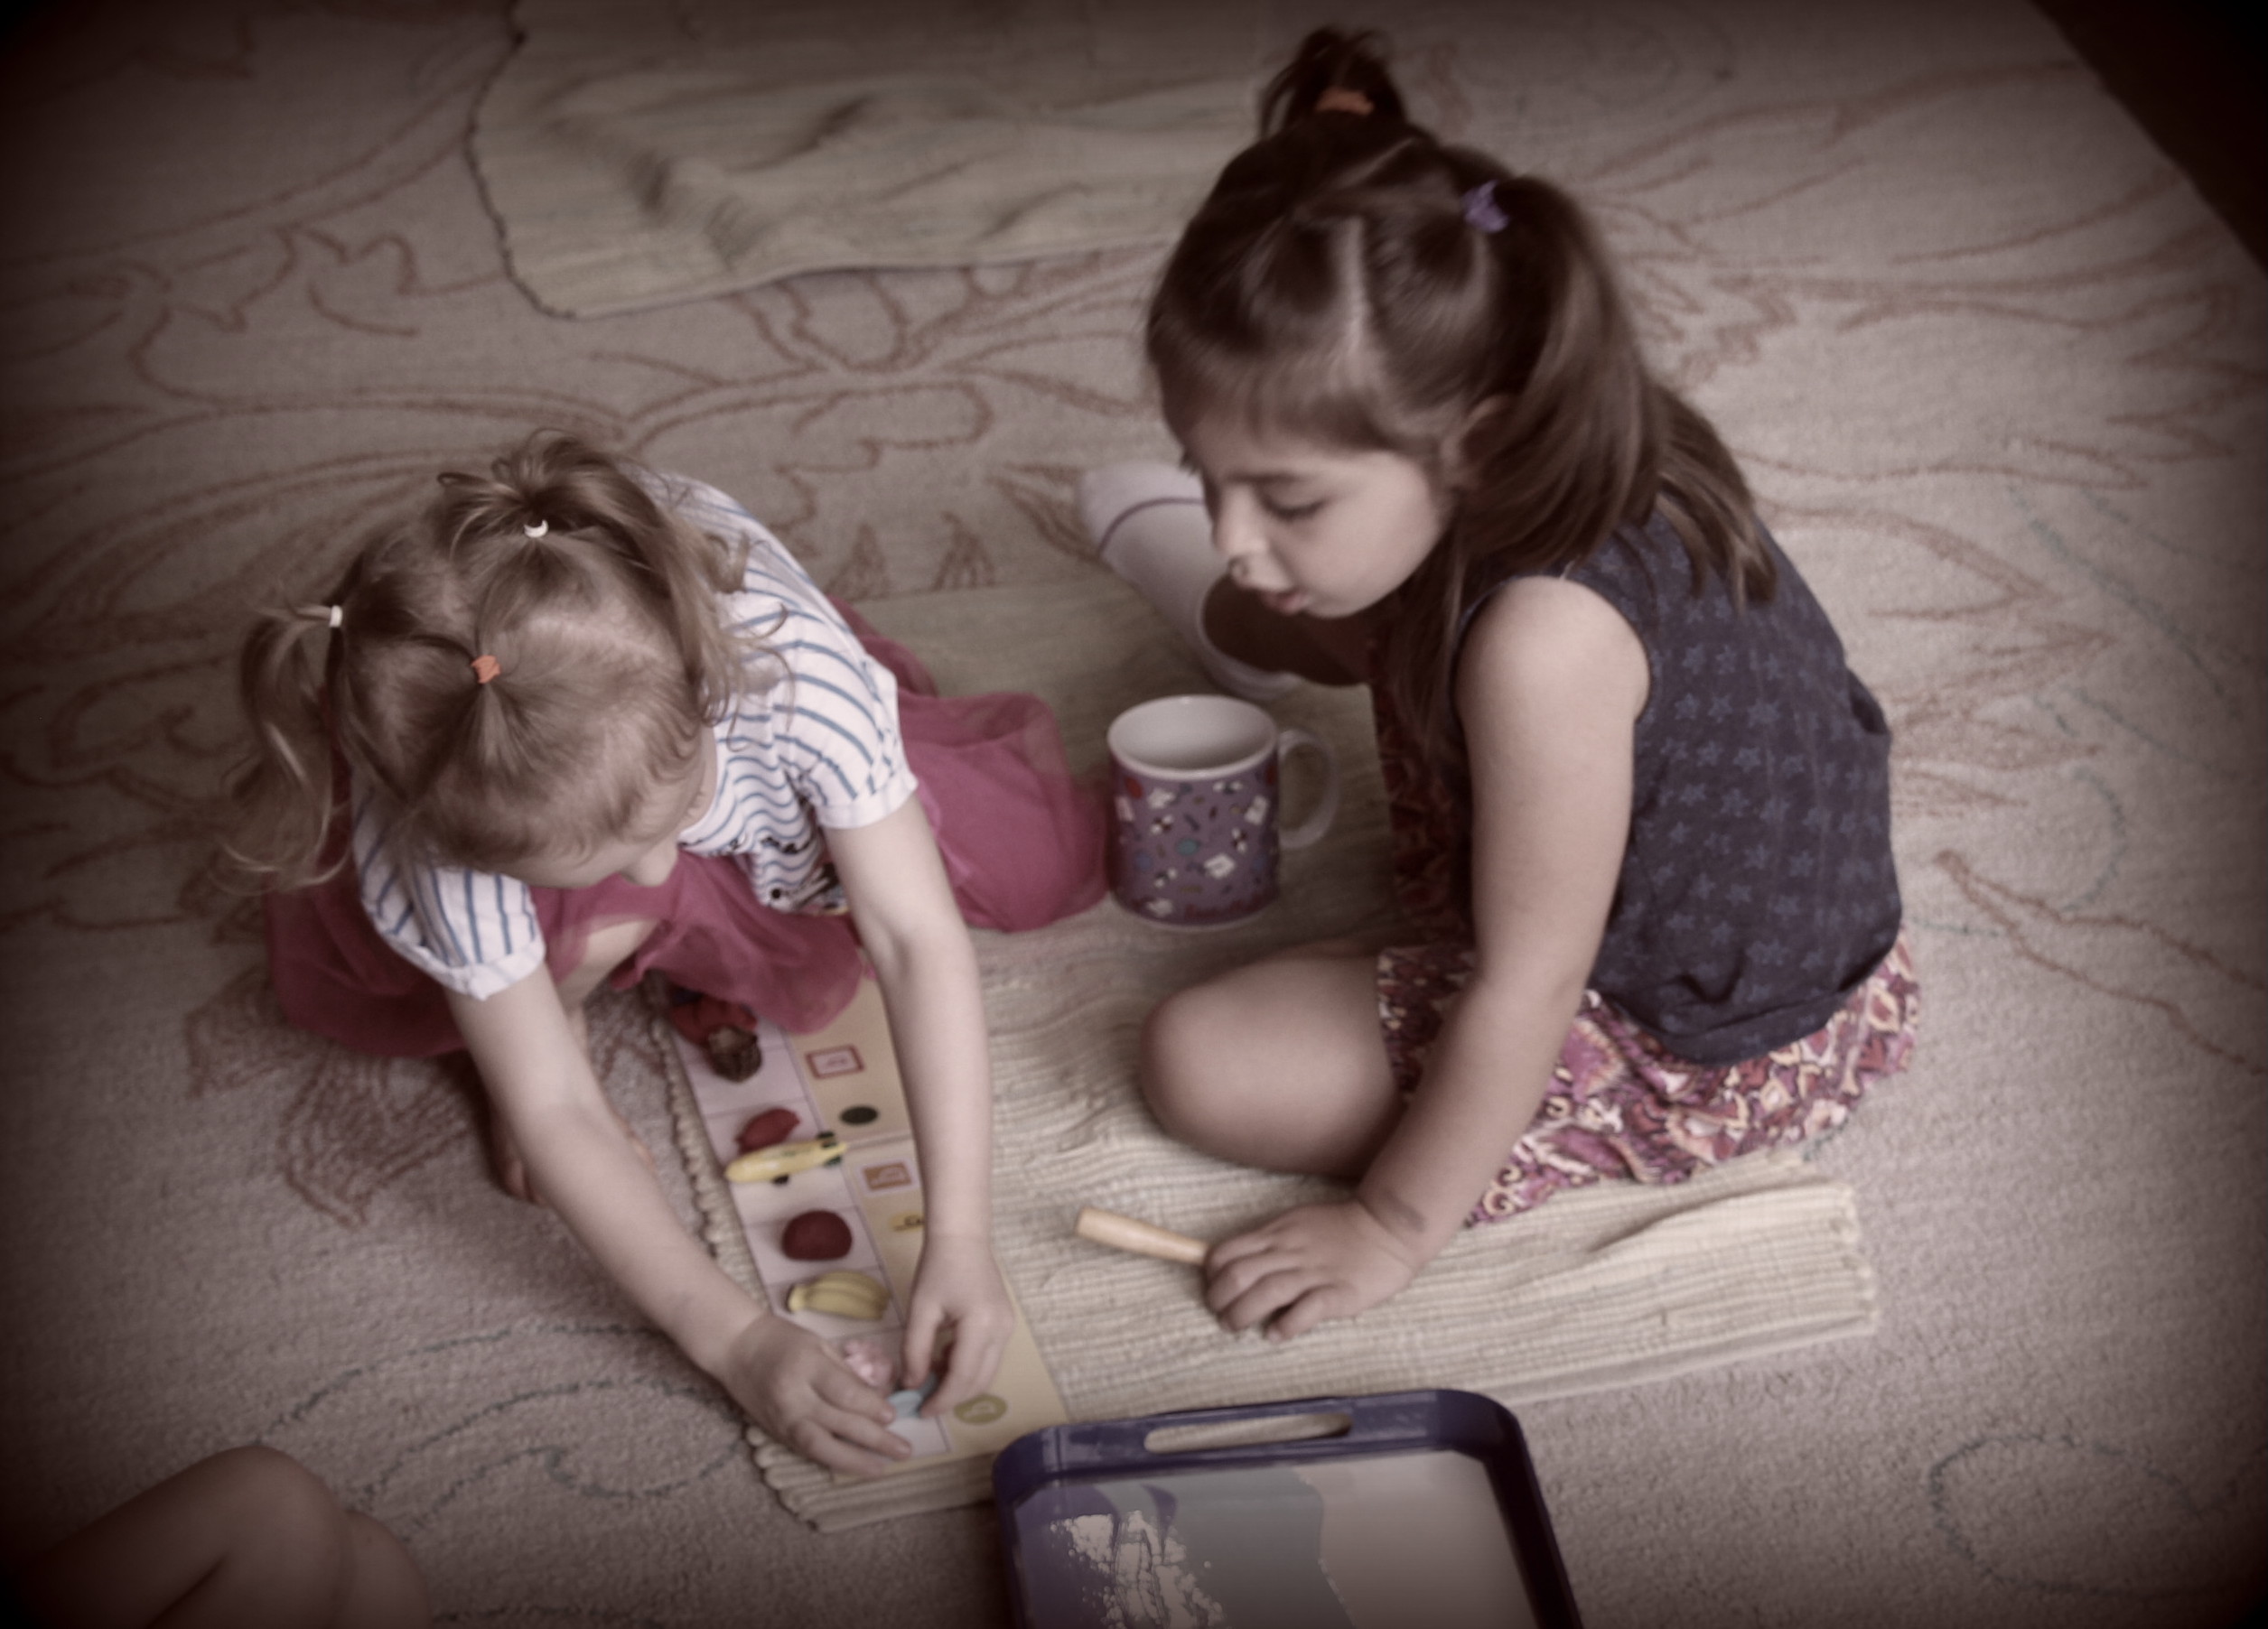
Intro. to Letter Mugs. We offer colorful ceramic mugs, each labeled with a (lowercase) letter, holding “beginning sounds objects” to teach the most common sound of that letter. These mugs have control charts as children are expected to say each object as they place them under the same letter over and over again, with a variety of fonts. After they have practiced the vocabulary, they may “tell a story” on a special “story mat” with the objects. Narrating stories is a very important activity in our language section as children learn to sequence, switch tenses, and converse with other children.

Sandpaper Letters. Sandpaper letters are a Montessori staple in the language area. This material teaches students to trace over the sandpaper letter shape to “feel” the letter as they sound it out, a pre-writing activity. We offer hand-held mirrors to observe what shapes our mouths are making in the process. Children are shown to trace with their pointer and middle finger straight together (i.e., two of the three fingers needed for holding the pincer grip with a pencil). Sandpaper letters for consonants are mounted on pink painted boards while vowels are mounted on blue boards.
Introduction to Metal Insets. This is a classic Montessori activity that plays the role of an artistic activity while indirectly serving as a pre-writing activity, teaching children to hold the pincer grip in both hands as they manage to trace around metal insets. Each inset is a geometric shape that happens to compliment the lowercase letters of the alphabet. While our new students are introduced to the concept, older students are working on creative extensions.

“Bean Trace Box.” Children learn to trace the motion of shapes and letters with their fingers on printed imagery or sandpaper letters, followed by making the same motion in the beans. We will periodically change out the beans for rice, lentils, or sand.
Rules of Storytelling Works. We have a variety of works with tiny figurines and objects that serve as props for storytelling. We offer a variety of examples, focusing on gentle ways to interact with characters, along with basic storytelling terms such as first, then, after, finally, and so on.
Letter Sorting from Letter Sets. We teach no more than 4 letters max at a time, making sure that each letter is very different from one another in looks and sounds, so that children learn to feel the dramatic differences in each letter when making the sounds. For example, we would not teach the letters d and j next to each other, because the mouth/tongue motions are too similar, and we wouldn’t teach i and l together, because they look too similar. Of course, as children begin to pick up on all of the letter sets, they will later be able to determine the subtle differences in each letter sound. In Montessori, we have come up with a variety of letter sets to ensure that each letter is very different from one another. So far during this school year, we have taught/reviewed the following letter sets:
s / m / a / t
c / r / i / p
b/ f / o / g
While these works are a review for many returning Primary Students, we must keep their interest by continuing the education with new language challenges. We are introducing the idea of putting 3 letters together to sound out very simple words such as mat, sit, and pig. Note that the vowel is sandwiched in between the consonants (see Montessori Way of Teaching the Alphabet to learn more). This “sandwiched position” of the vowel is how we determine the “most common letter sound” that it makes. While we don’t expect all students to pick up on this concept just yet, they are often all included in these basic lessons to get them familiar with the idea of word building. We have a variety of exercises and activities to practice letter sets, such as combining letter mugs to sort the “beginning sounds objects,” tracing activity pages, matching letters activities, and letter puzzles. For sorting activities, so far we have introduced an “a & t” sorting work, an “l & p” sorting work, an “o & g” sorting work, and an “f & b” sorting work. For children that are ready for more of a challenge, we have begun making 3 letter sorting words for “p, i, & c.”
Word Building with Returning Primary Students: While we are beginning to introduce word building to everyone, we also meet in small groups with our returning students so that they can work more closely on word building as they already know a good amount of their beginning sounds, if not all of them. We are working on words that can be sounded out next to imagery. While we are working on sounding out a variety of 3 lettered words, we have especially focused on “at” endings such as cat, bat, mat, and hat, and “ip” endings such as sip, rip, and tip.
Zoology
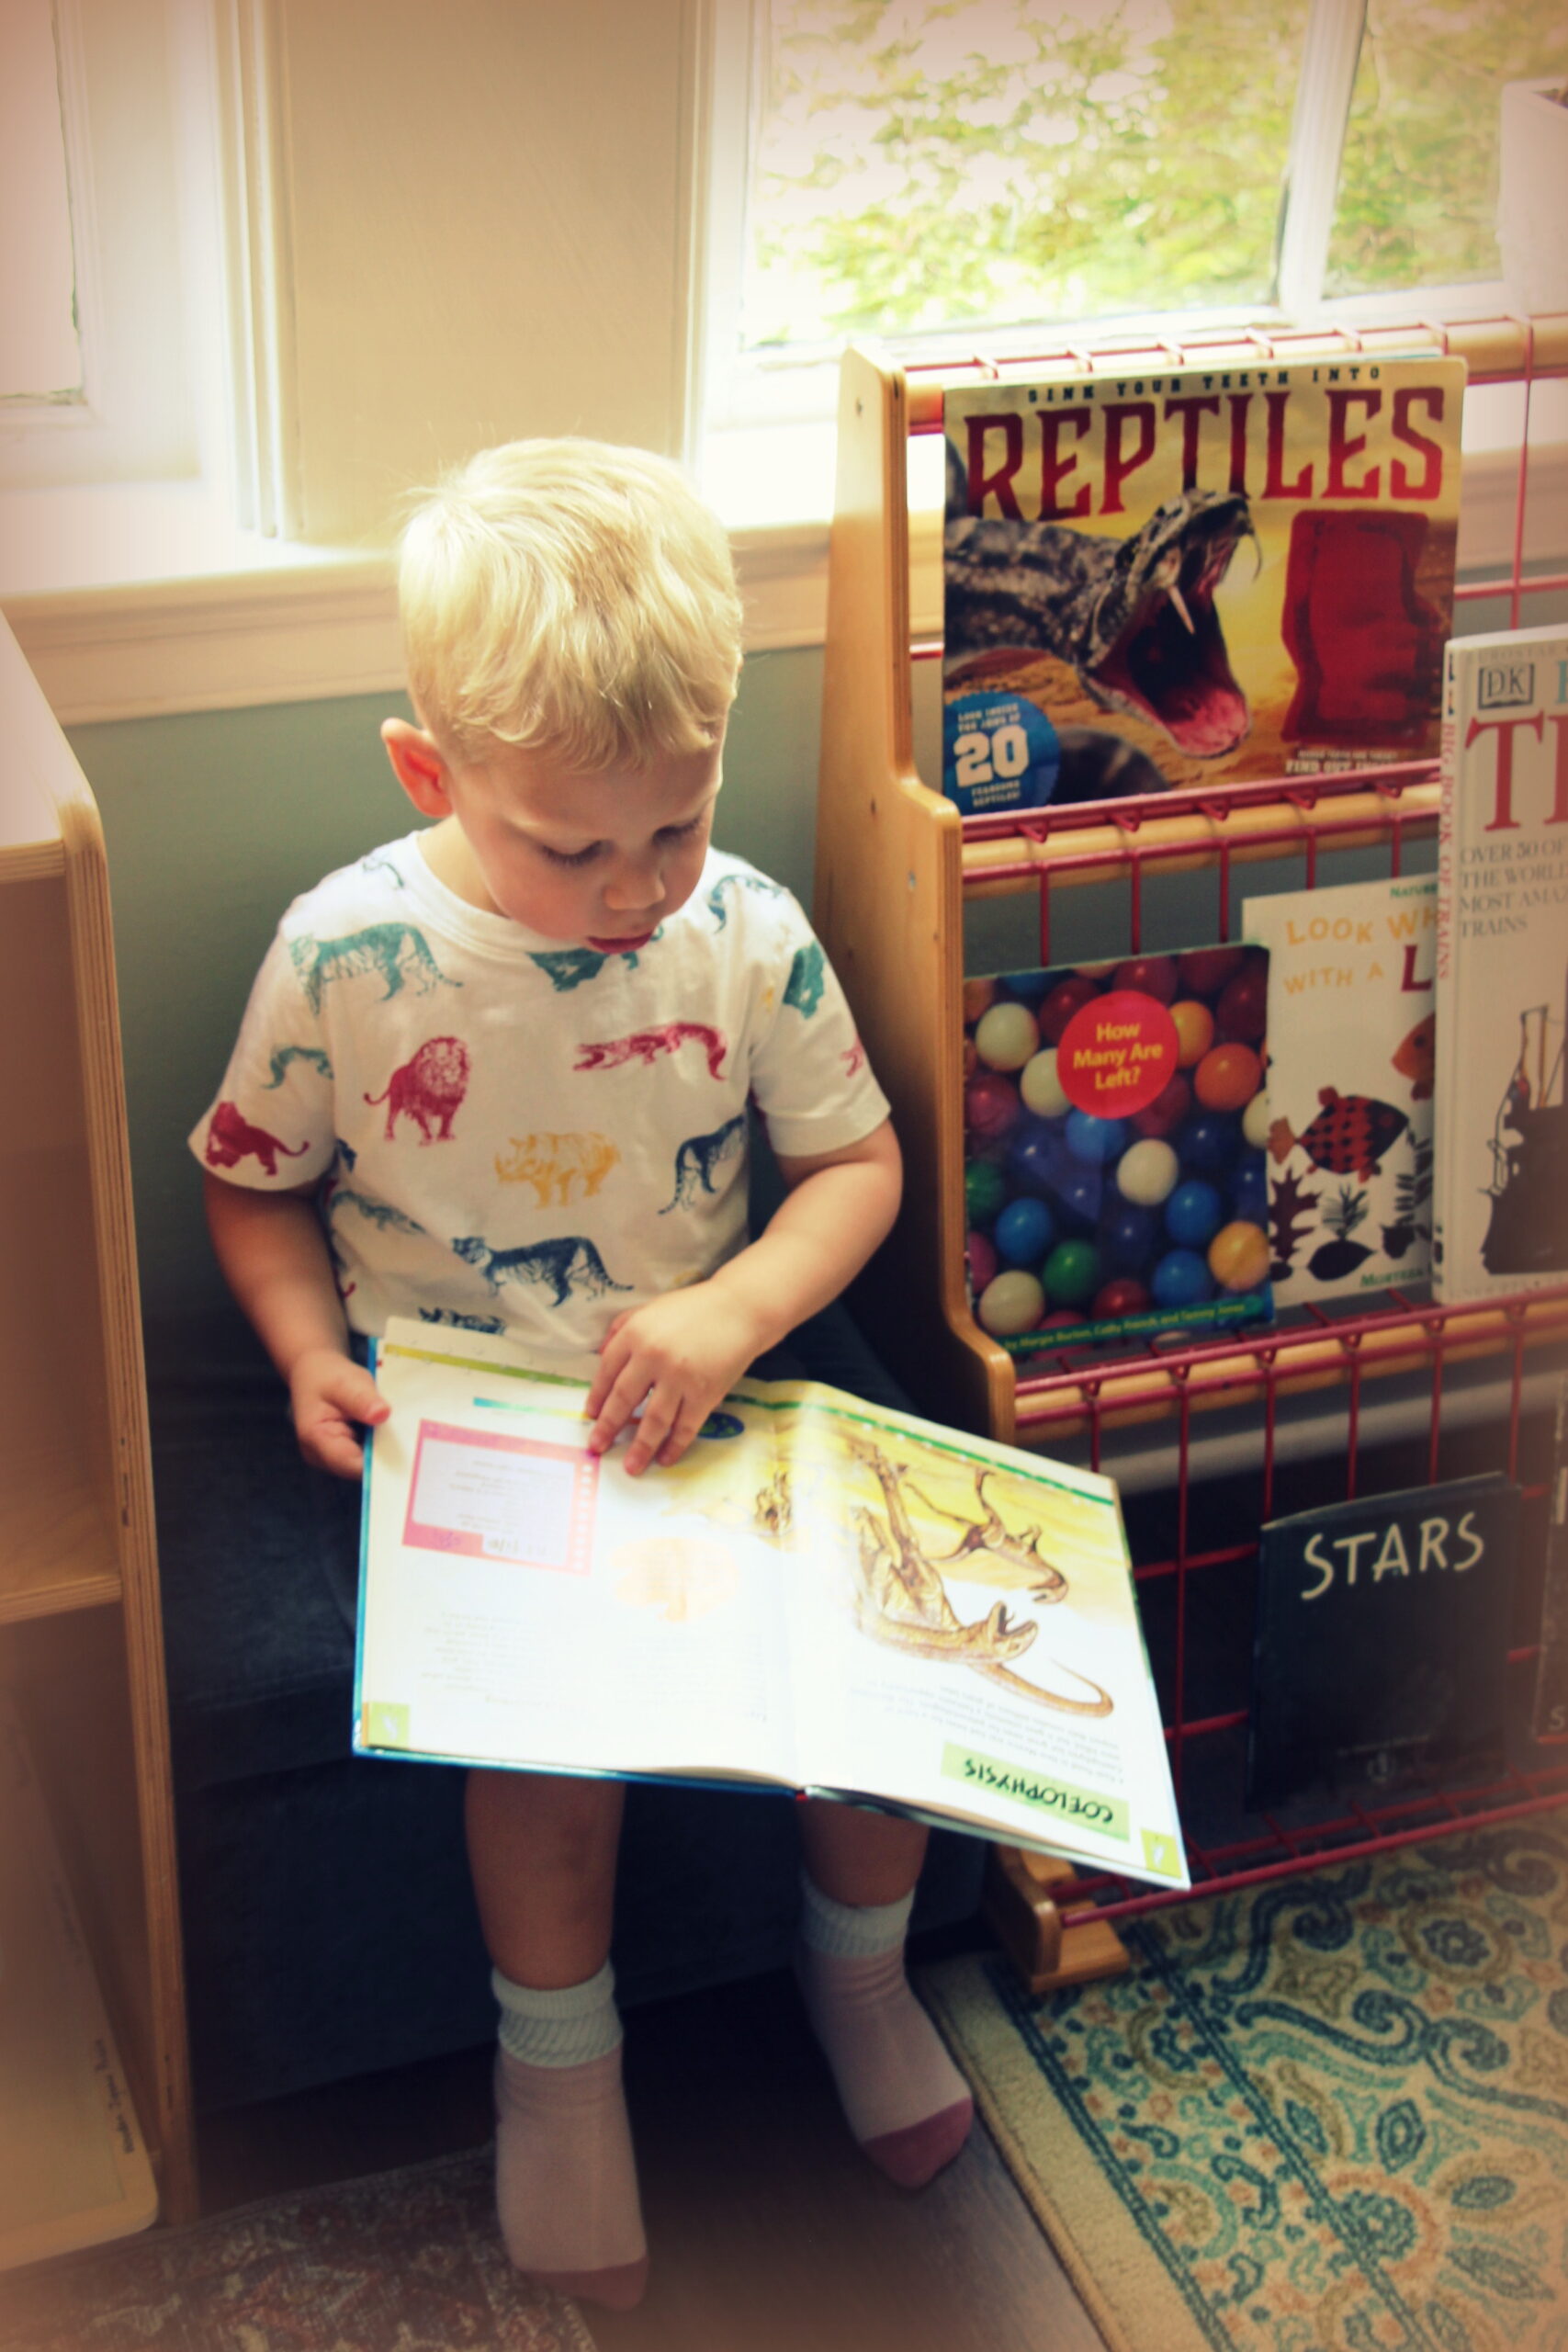
In a Montessori classroom, children learn about animal kingdoms, the parts of animals, and behaviors of animals. We cover vertebrates vs. invertebrates and the classes of vertebrates. Children will also learn continent locations where animals can be found as well as animal habitats, life cycles, and more!
So far, we have given lessons on the following:
Parts of a Mammal. Lessons on 3 part cards and wooden puzzles to teach the parts of the body of a mammal. Children are taught to build the wooden animal puzzles off to the side of the board, to emphasize on the vocabulary of body parts – also a fine motor activity for space recognition.
Animal Matching Wooden Tablets. Wooden tablets with beautiful imagery of matching pairs for sorting and learning new animals.
Botany
We have a section in the classroom that teaches about plants, including the parts of plants, the purposes of plants, the life cycles of plants, and beyond. We gradually add materials to these shelves as we teach on more complex topics. So far, we have covered the parts of a tree and a leaf, along with many fun facts about our classroom plants.
“Parts of a Plant” Puzzles. So far, we are especially working on our wooden peg puzzles for “parts of a tree,” very challenging puzzles to re-build next to the puzzle frame, since the roots and branches can be confusing if we are not careful with our movements. Children have also been enjoying our “parts of a leaf puzzle” and “parts of a flower puzzle.”


Lessons on Classroom Plants. We have at least 20 potted plants throughout the classroom this year! We also have many clipped vines with stems of growing roots in clear vases, beakers, and test tubes filled with water for children to observe as they are learning all about propagation and bringing new life into the classroom. In addition, they are learning about how plants release oxygen and help to purify the air, playing a role in keeping our environment clean. While there are various studies out there that challenge this idea on whether houseplants really purify the air, we like to think with our glasses half full and truly feel that plants give us positive energy as we invite nature into our environment. In Montessori, we help guide children to connect with their environment while they find their place and role in the universe.
And now that autumn is here, children are learning about fun facts with the weather changing and leaves changing colors (i.e., how many leaves prepare for winter as they stop making chlorophyll, and so on).
“Science & Geography Area” – Biology, Geology, Geography & Other Sciences
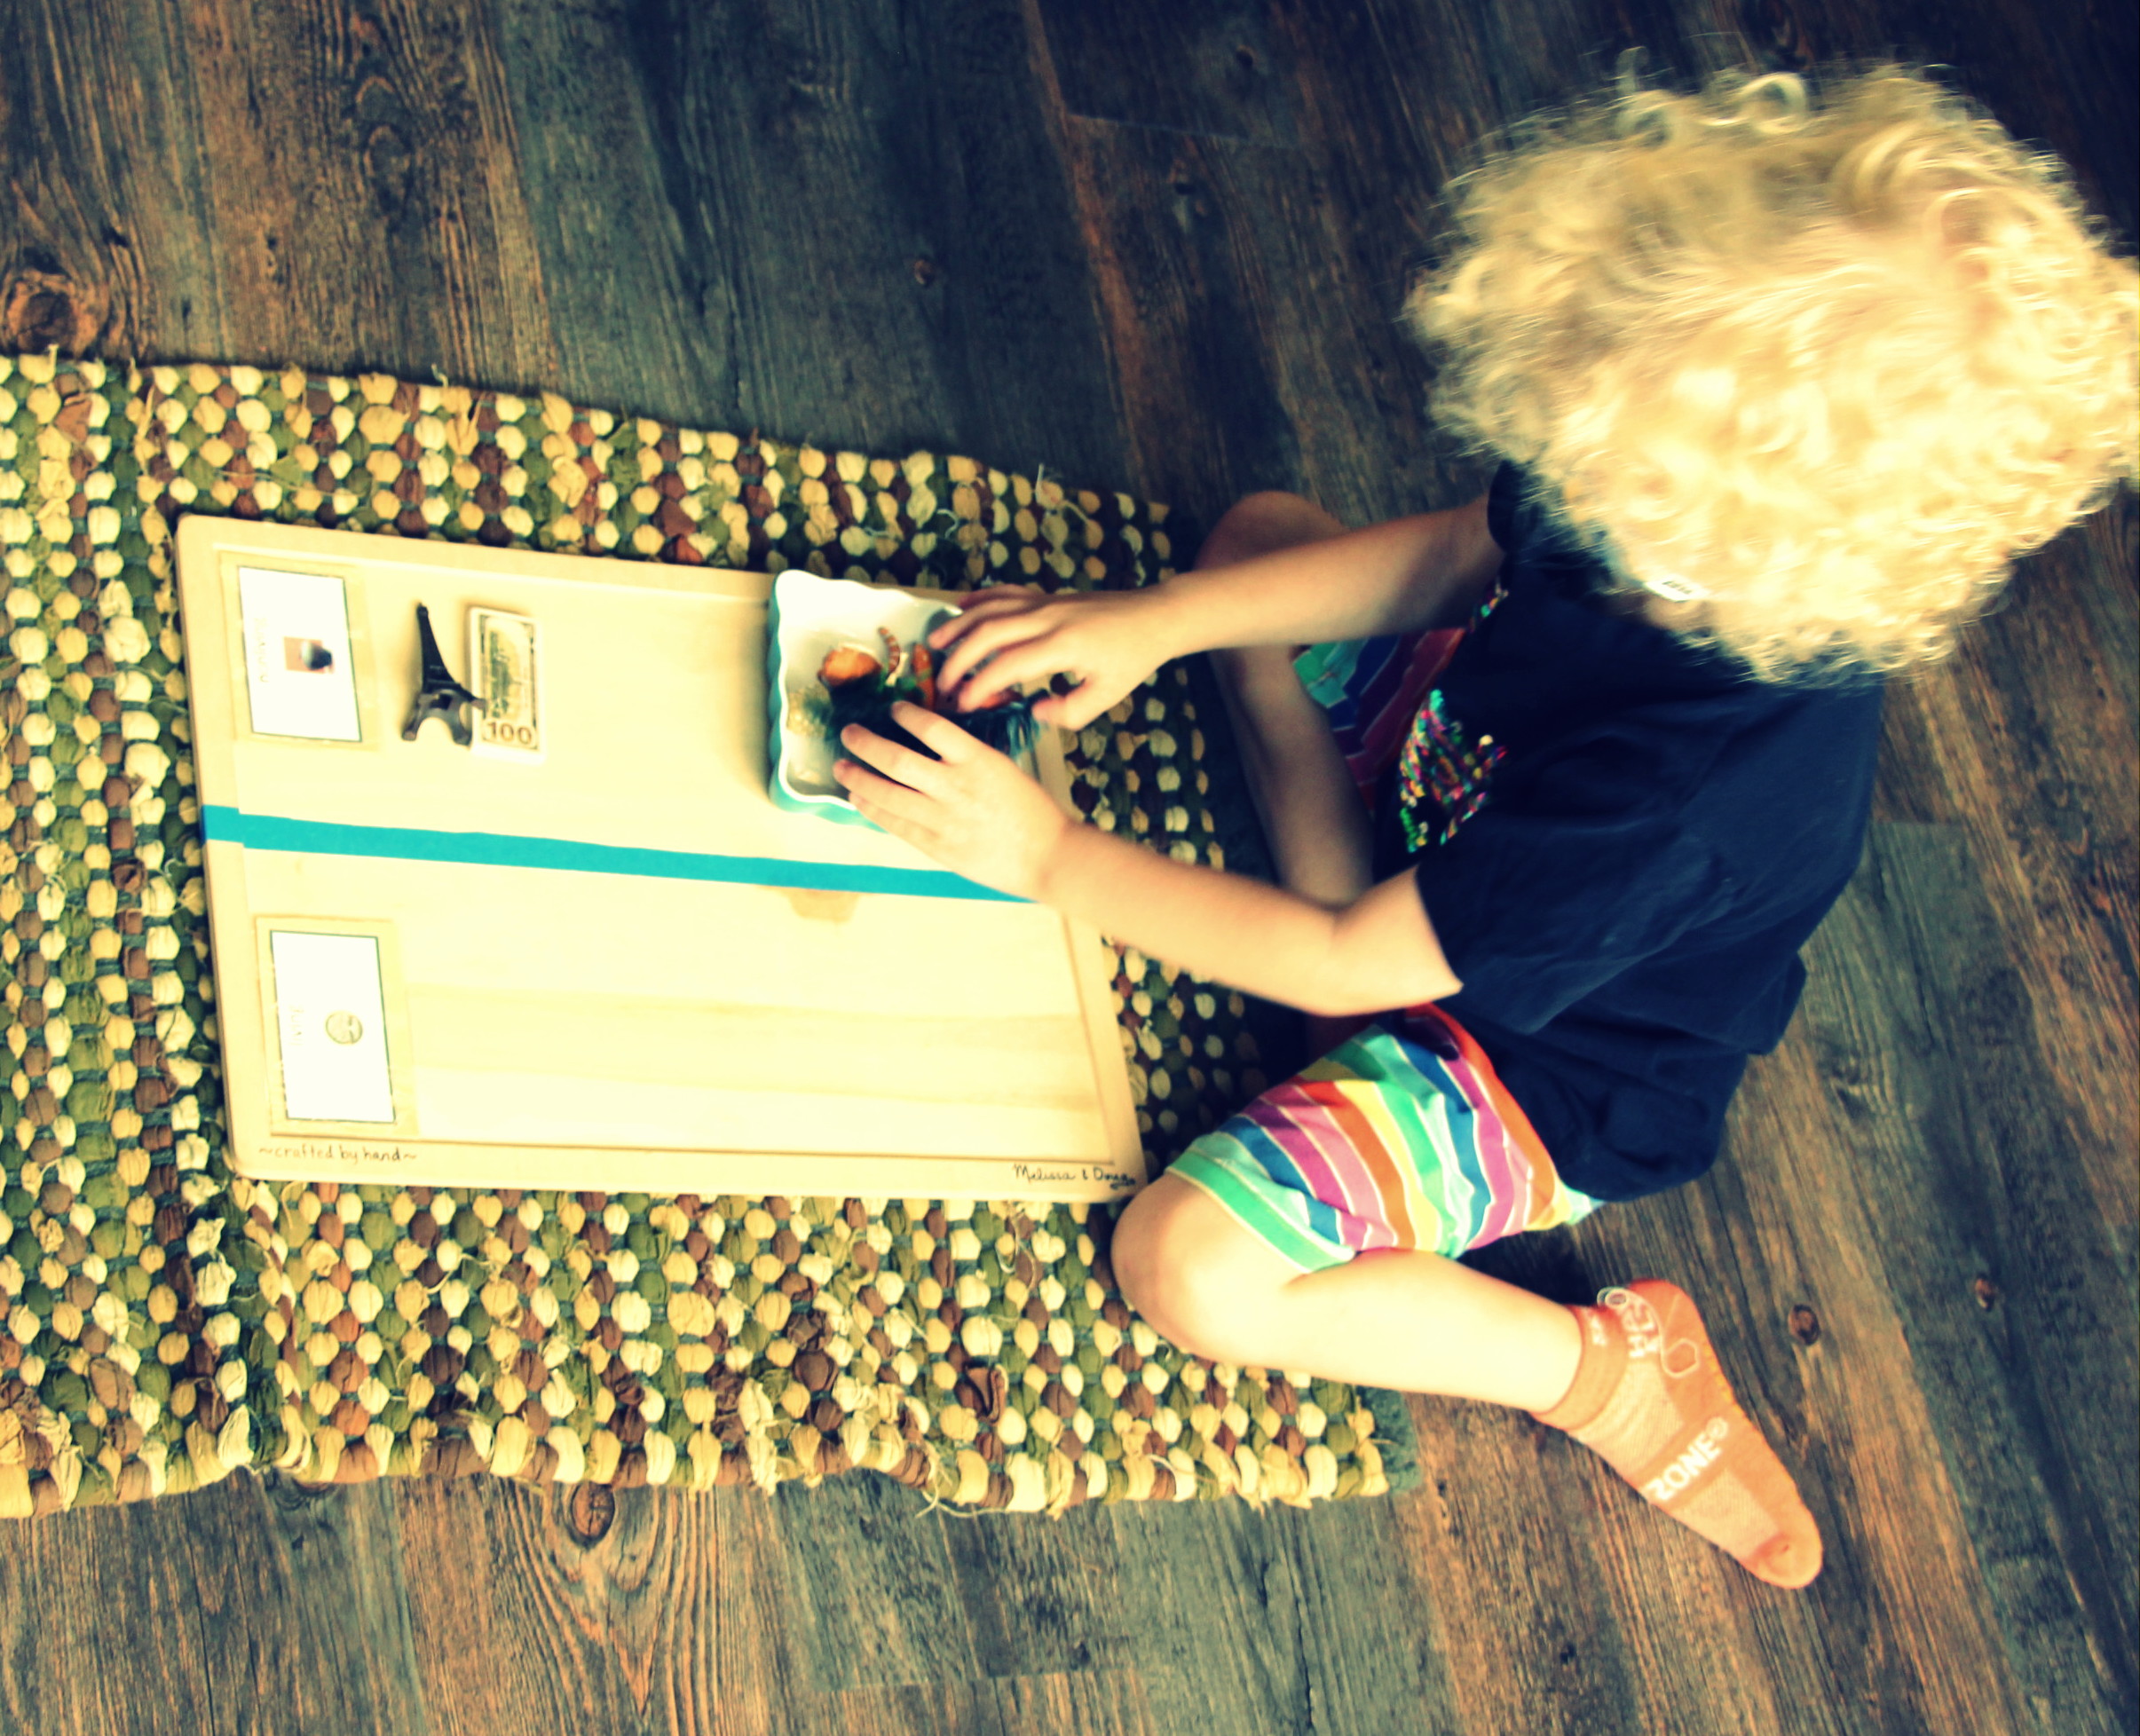
Branches of science topics tend to come up in various subject areas and vice versa, but are especially concentrated in our “Science / Geography Area” of the studio. We offer classic Montessori map puzzles, 3-part cards, and a variety of teacher-made works that allow children to explore science in a variety of ways. Cultural material also spills into our geography area as children learn about each continent.
Animals Vs. Plants Sorting Cards. This is a very basic card work for children to learn to divide materials up by categories. They sort through a stack of mixed up photo cards to line up a column of animal cards on one side of their rug and plants on the other side.
Living Vs. Nonliving Sorting Work. A “living” and “non-living” symbol card are placed at the top of a control board. Children are shown to sort through models of plants, animal figurines, and miscellaneous objects, placing each image below the appropriate symbol card to create columns of those that are living and those that are non-living.

Magnets & Magnetics Work.This is an exploratory science activity to get children thinking about the forces and uses of magnets. We will be bringing out our magnet sorting work soon, along with lessons around magnets & magnetics.
Intro. to Electricity & Electromagnetism. We learned about Ben Franklin’s “dangerous discovery” with a kite and key during a lightning storm, followed by safe ways to circulate electricity. We looked at diagrams of power stations and transformers that send electricity to our homes. And finally, we discussed the mysterious relationship between electricity and certain metals when producing electric currents to create magnetics. After looking at a variety of magnets around the world (made by magnetizing machines), a lesson on a Montessori work for sorting magnetic and non-magnetic materials was given for children to sort through and explore the forces of magnets/magnetics during the work cycle.
Color Mixing Tablets & Equations. Children use a control board to line up translucent color tablets in an equation form to learn what two primary colors make to get secondary colors.
Fossil Lesson & Matching Work. During a PowerPoint lesson, students learned about the formation of fossils through diagrams of land and water, followed by a presentation of matching cards to detailed models of historic fossils including a fish fossil, frog fossil, a tyrannosaurus rex tooth, and other historic creatures.

States of Matter: Solid, Liquid, & Gas. A PowerPoint presentation to show the microscopic forms of particles that make up solids, liquids, and gases, followed by an “exploratory matter work” with containers of the following materials: solid (land elements), liquid (food colored water), and gas (air).
Water Cycle Lesson. The water cycle was explained with the help of a moving diagram from a video clip, followed by a presentation on an exploratory water cycle work where children can lay out materials that represent parts of the water cycle.
Weather Lesson on Types of Clouds. A vocabulary lesson on 3 part cards with real-life photos of the many types of clouds.
Book about Recycling & Waste. Book and discussion around recycling and waste, an ongoing topic that we remind our students regularly in the art area and lunch area. Note: composting is also regularly discussed in our classroom as we have a composting bin at our self-serve snack station.

Sorting Work for Domains of Life: Plants, Animals, & Fungi. A sorting lesson with plant models, animal figurines, and models of toadstools/mushrooms, to sort and categorize under symbol cards for plants, animals, and fungi.

Sandpaper Globe & Continent Song. Lesson/review on land, water, and names of continents. We also have a “continent song” where we point to the continents as we sing to help us remember the locations of continents on the globe.

Learning Continents by Color Recognition. Lesson on our color-coded globe, hemispheres puzzle, and nomenclature continent cards for shape/color recognition of each continent: North America = orange, South America = pink, Europe = red, Africa = green, Asia = yellow, Australia = brown, Antarctica = white.
Continent Puzzle Maps. As we take a closer look at each continent, we offer individual continent puzzle maps with additional colors to locate countries within the continents. So far, we are especially focusing in on the continent in which we live, North America.
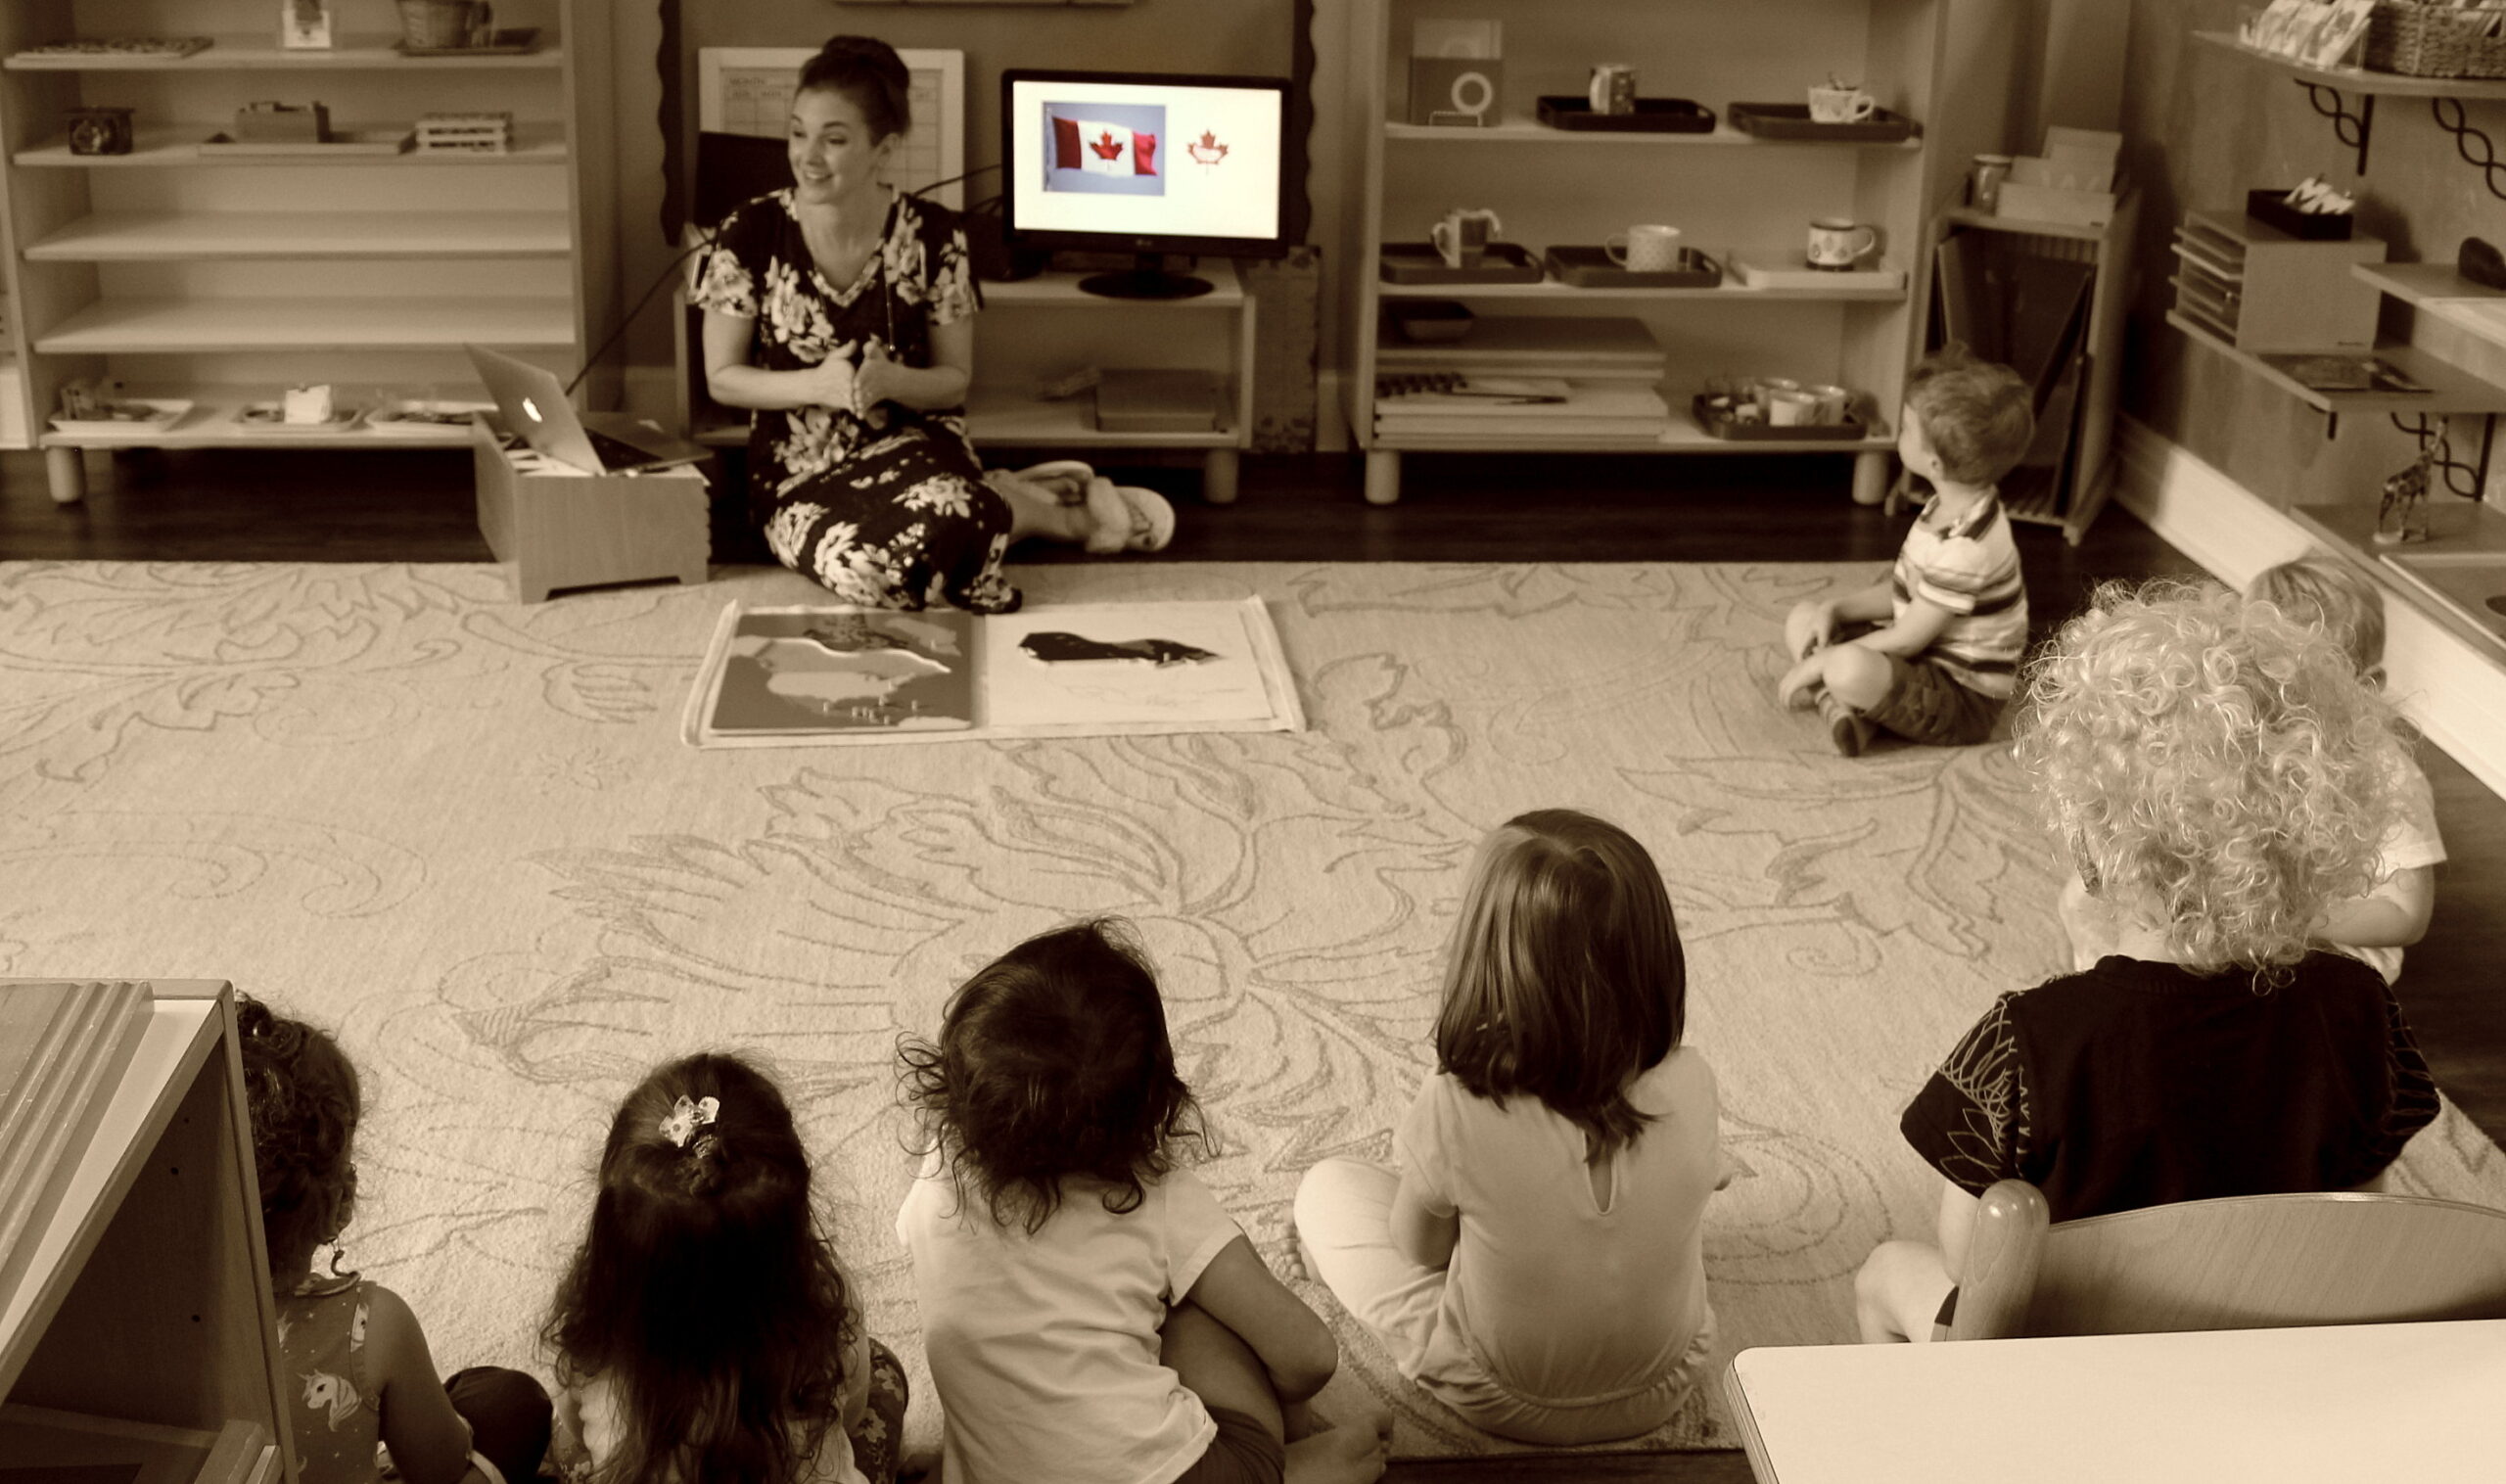
Seasons Changing & Upcoming Holidays in North America. Presentations on Autumn: fall books, slideshow imagery, and discussions about the changes we see in fall and particularly in North Carolina. “Fall basket” work of exploratory objects to create a fall scene such as a pumpkin patch on a sheet of grassy green felt.
We looked at imagery of the harvest season in Canada, along with the Canadian Thanksgiving traditions (October 11). We looked at celebrations that will begin in Mexico around Día de los Muertos (Oct 31 – Nov 2). Side note: Instead of using the term “Day of the Dead,” we focused on the idea of “celebrating people of the past,” especially focusing on the activity of the living. Last but not least, we had a class discussion on Halloween in the USA.

Math Area
Montessori math materials are very hands-on as we focus on teaching math first by offering concrete materials where children get to feel physical quantities and grasp the concept of large quantities vs. smaller quantities, and once they have a good grasp of quantities, we introduce symbolic materials that represent quantities through our color-coded math system. We always begin the year with reviews of Montessori materials made for numbers 1 – 10, because these fundamental Montessori materials serve as prerequisites for math extensions, going from simple to complex as we later get into equations and higher numbers.
“1 through 10” materials introduced / reviewed:
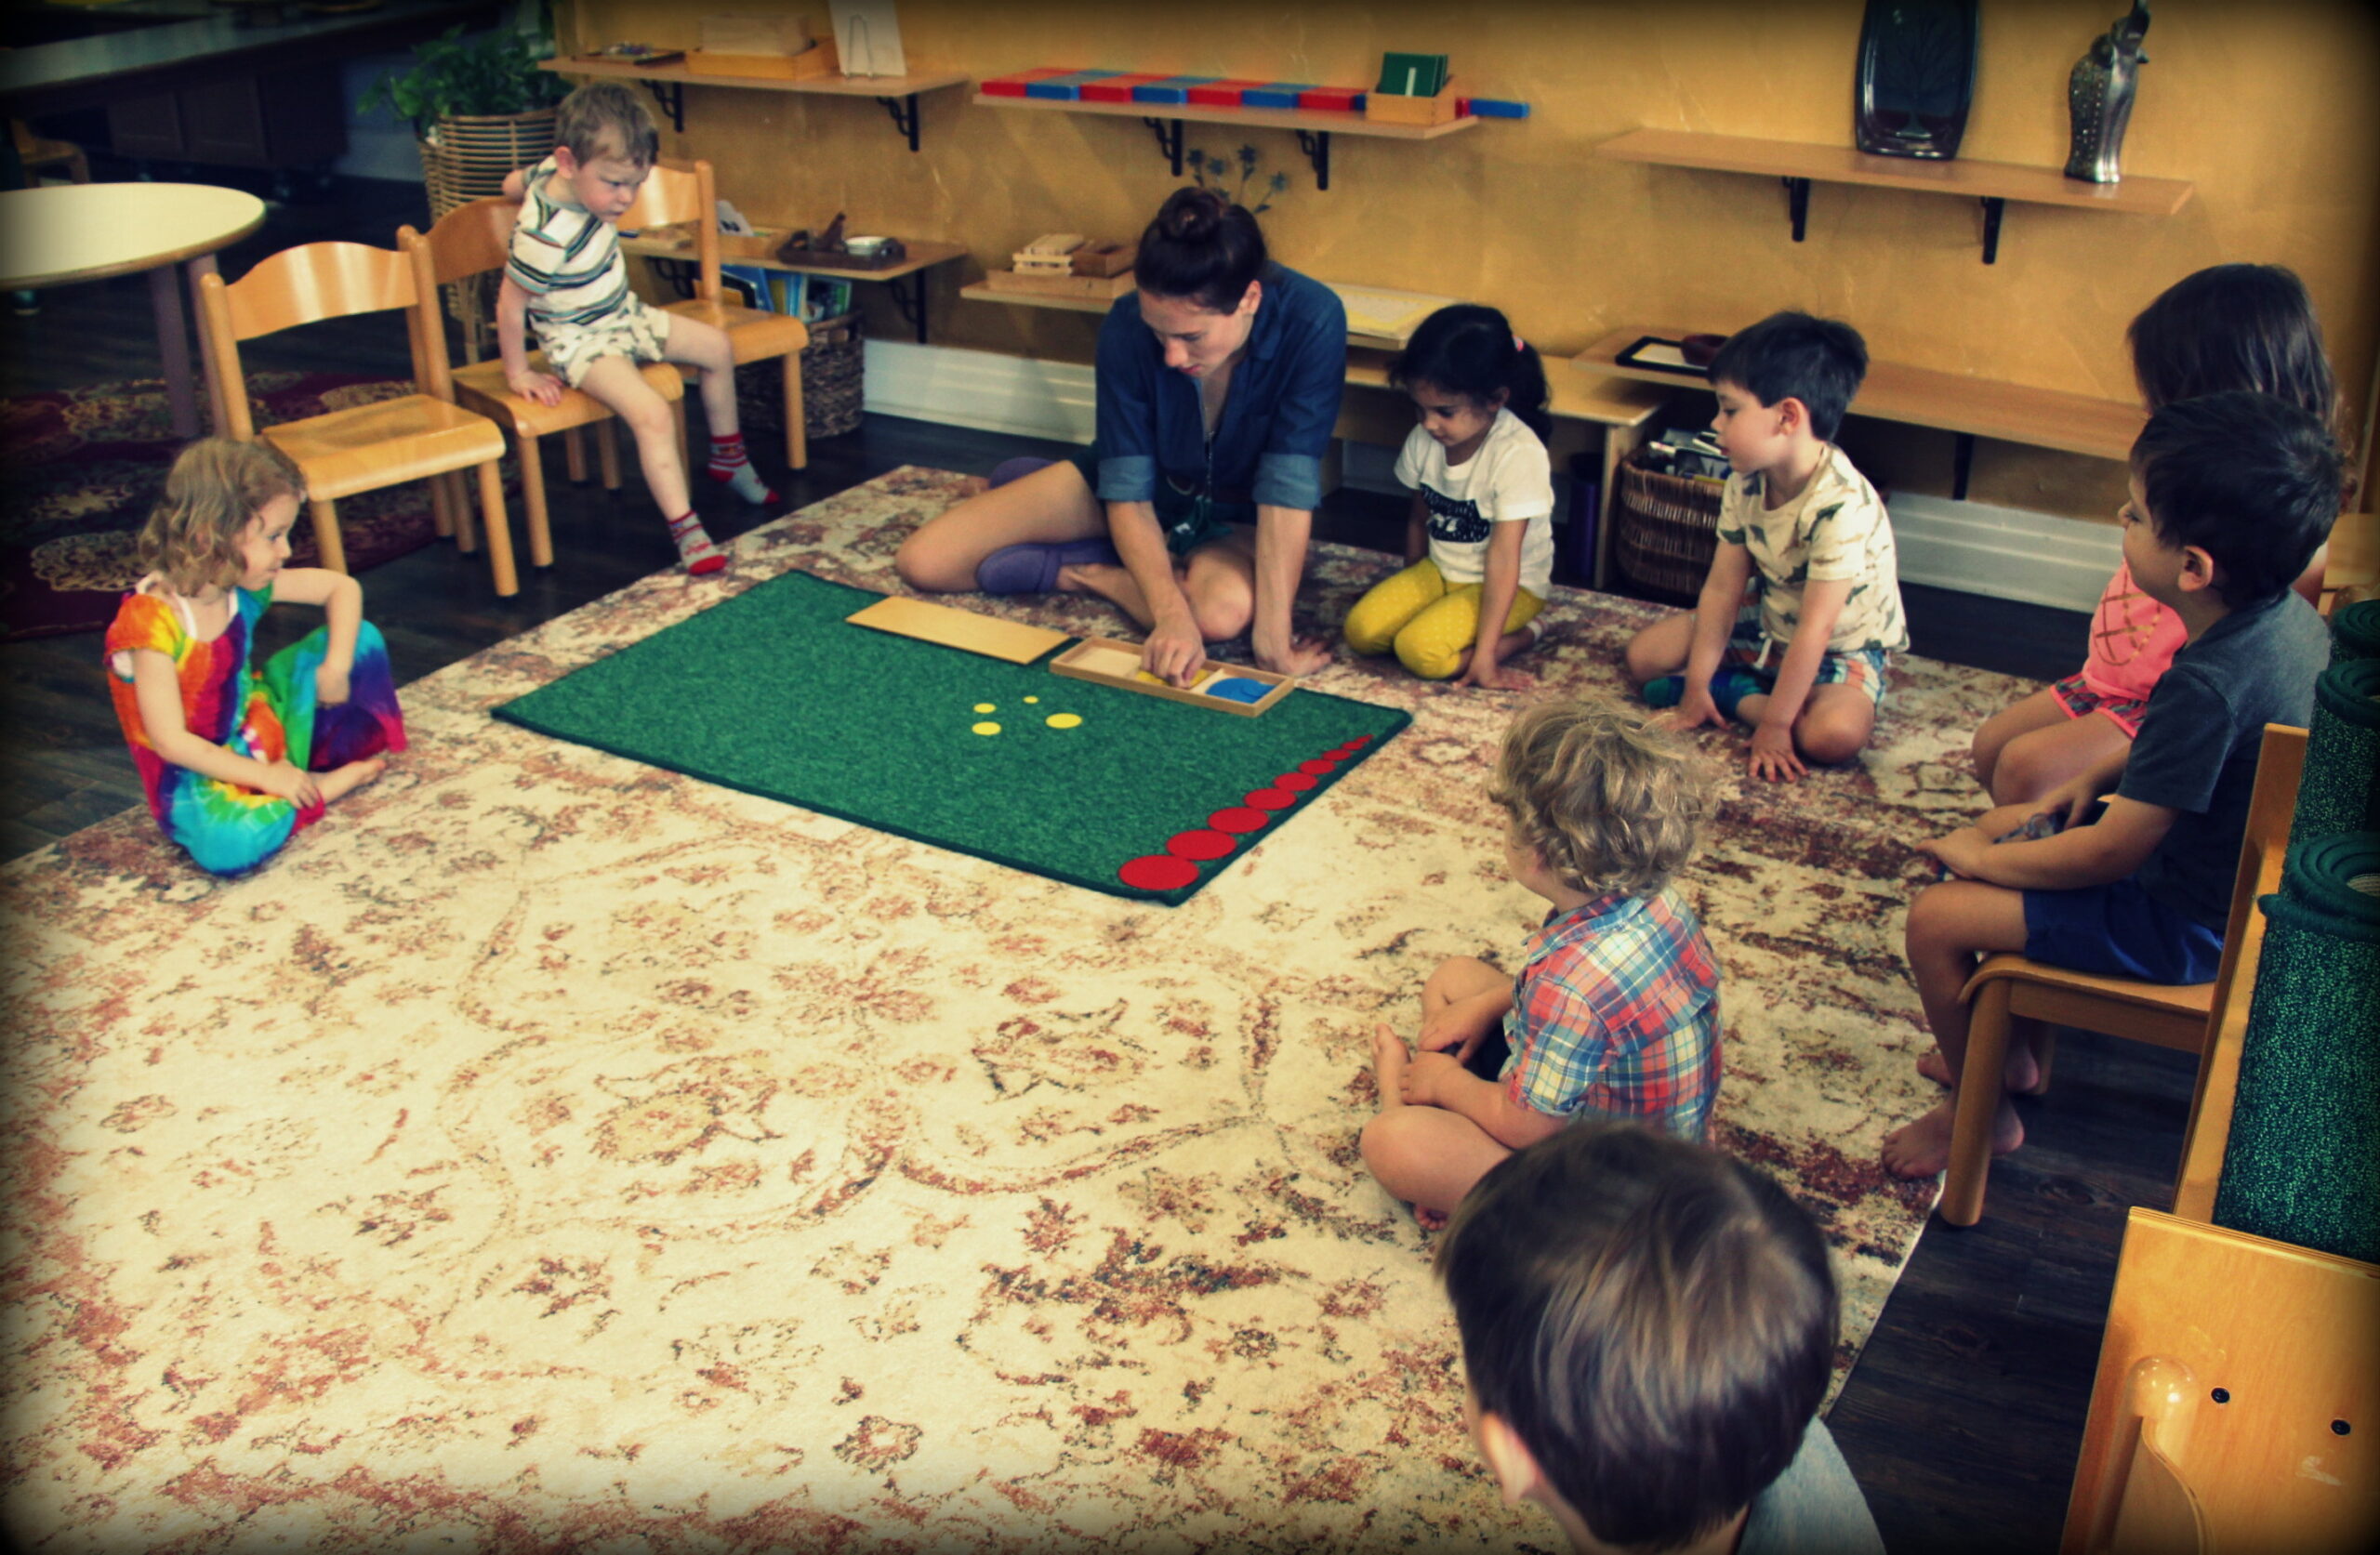
1 through 9 bead chains. Our color coded bead system has been introduced and reviewed. Children learn the colors of beads to count out on each chain, and eventually these colors will serve as symbols, and students will no longer need to count them out bead for bead. For now, students work on matching the bead quantities to a wooden digit tablet.
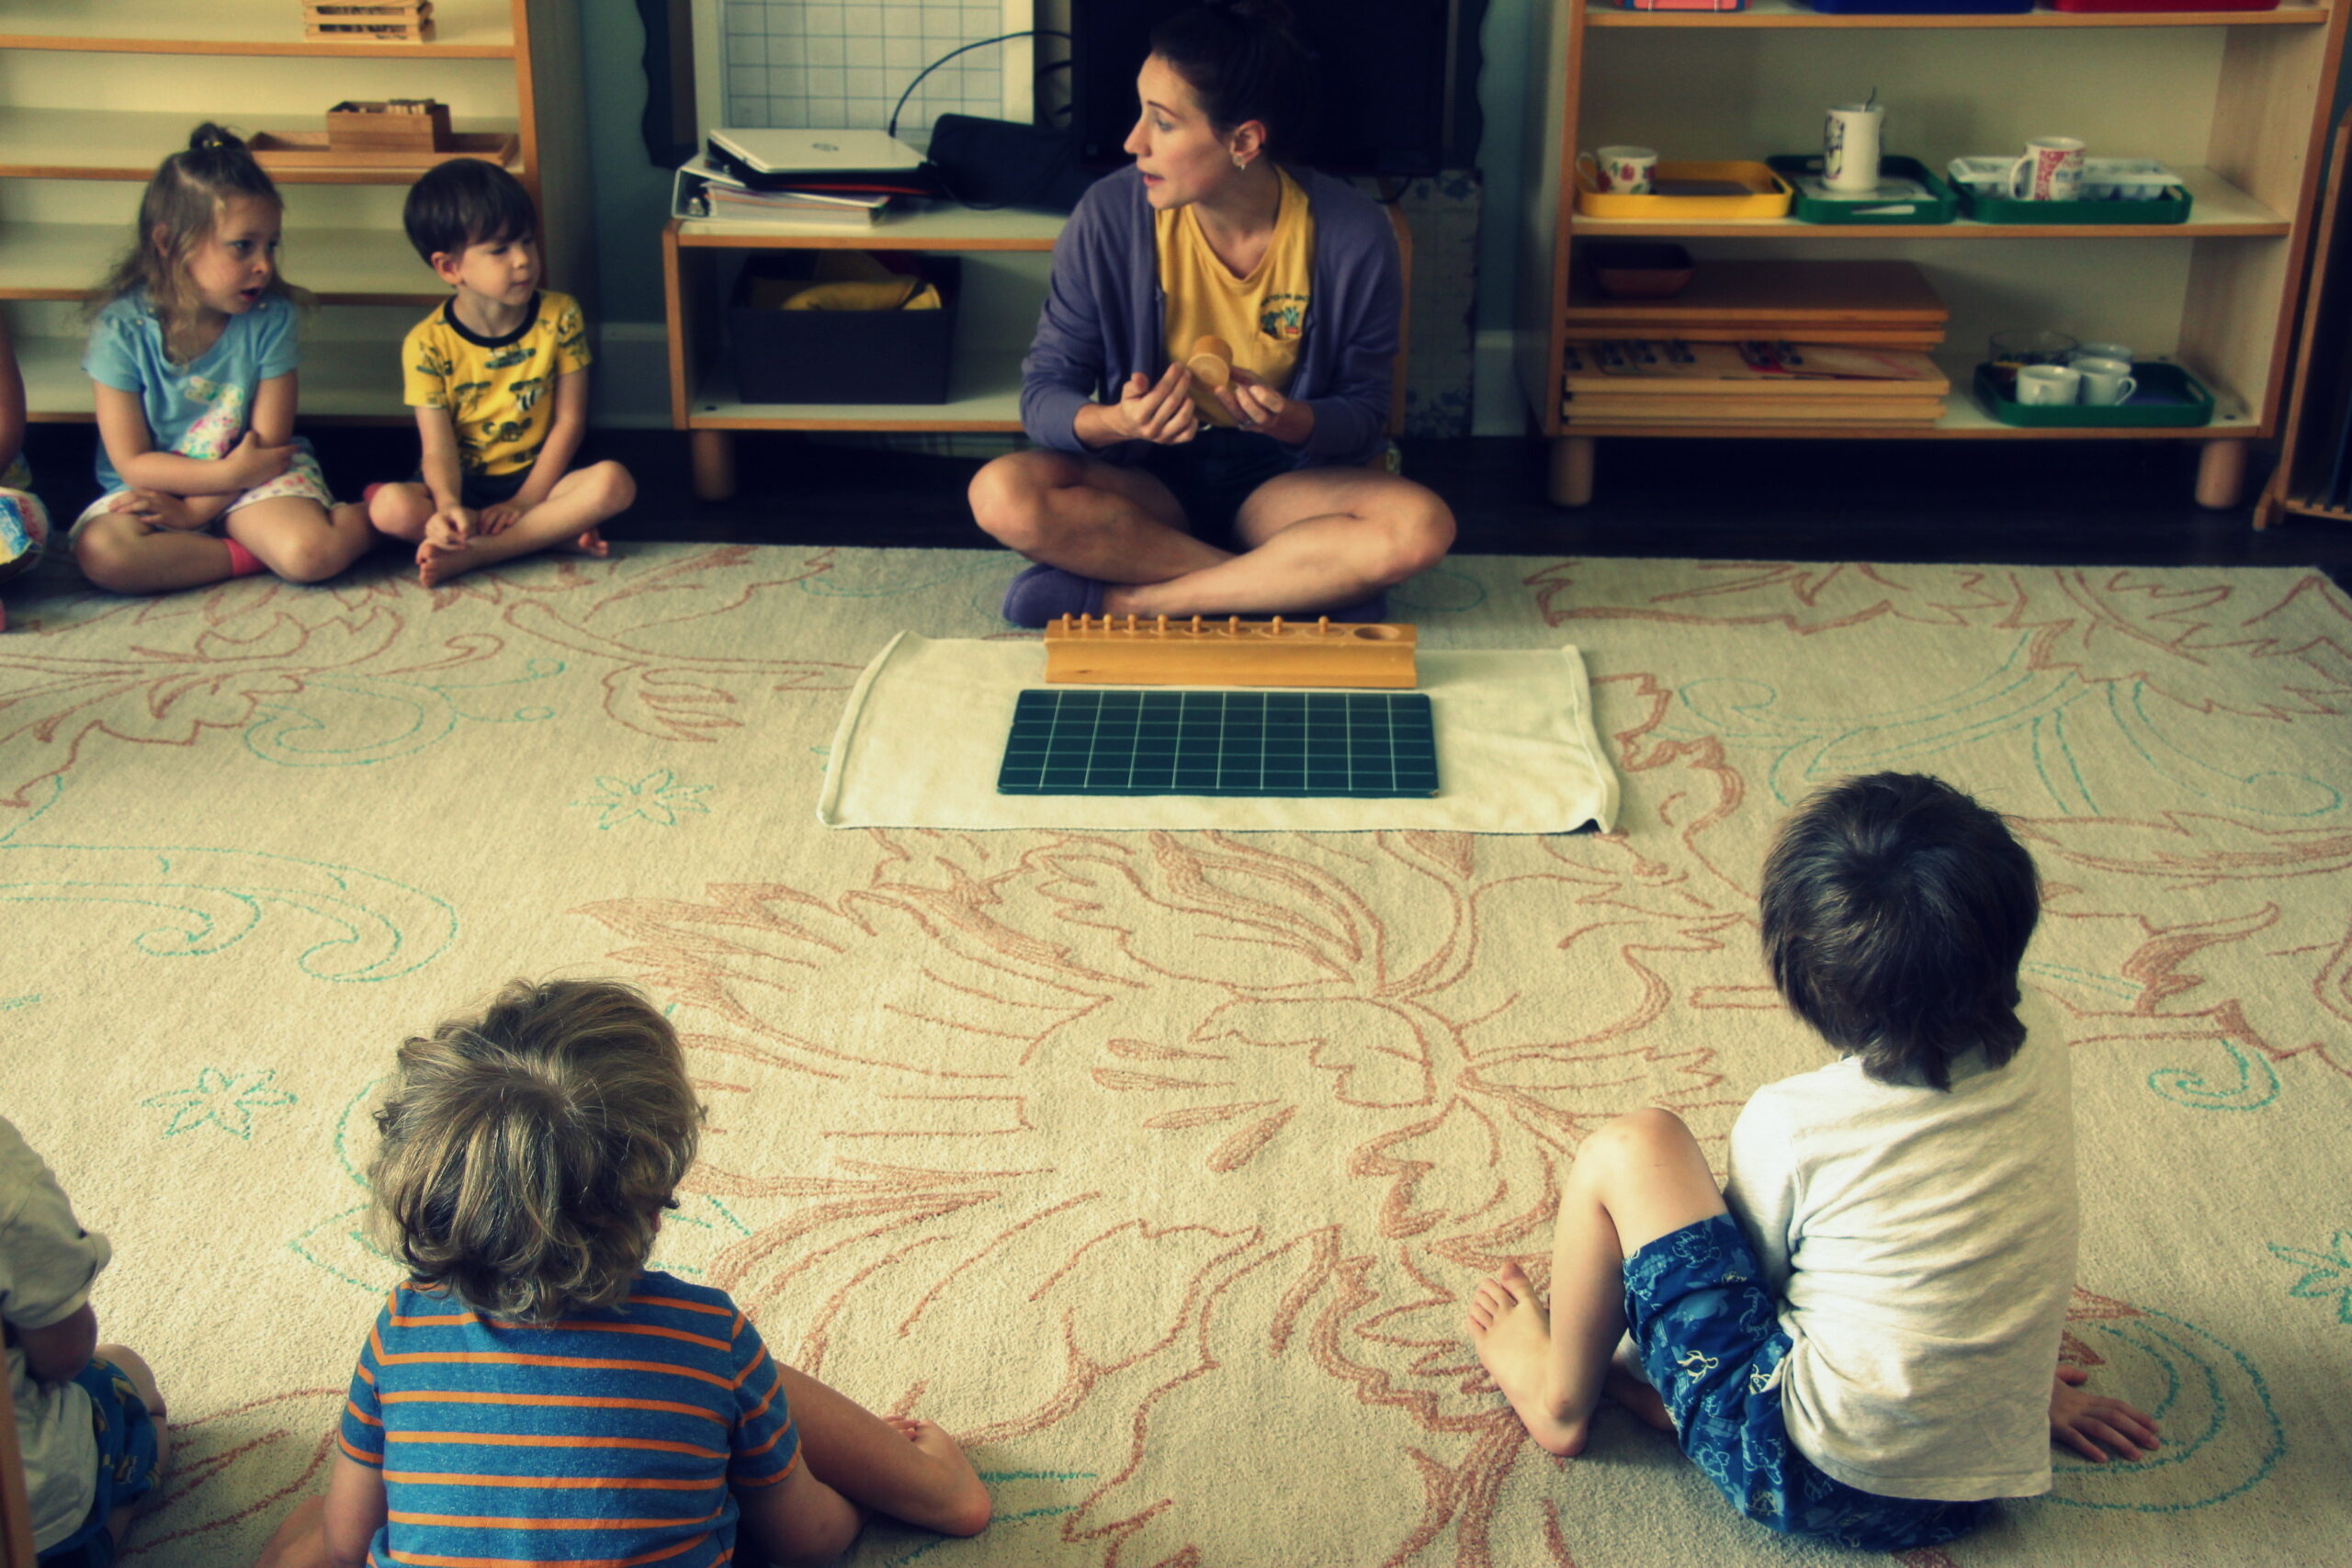
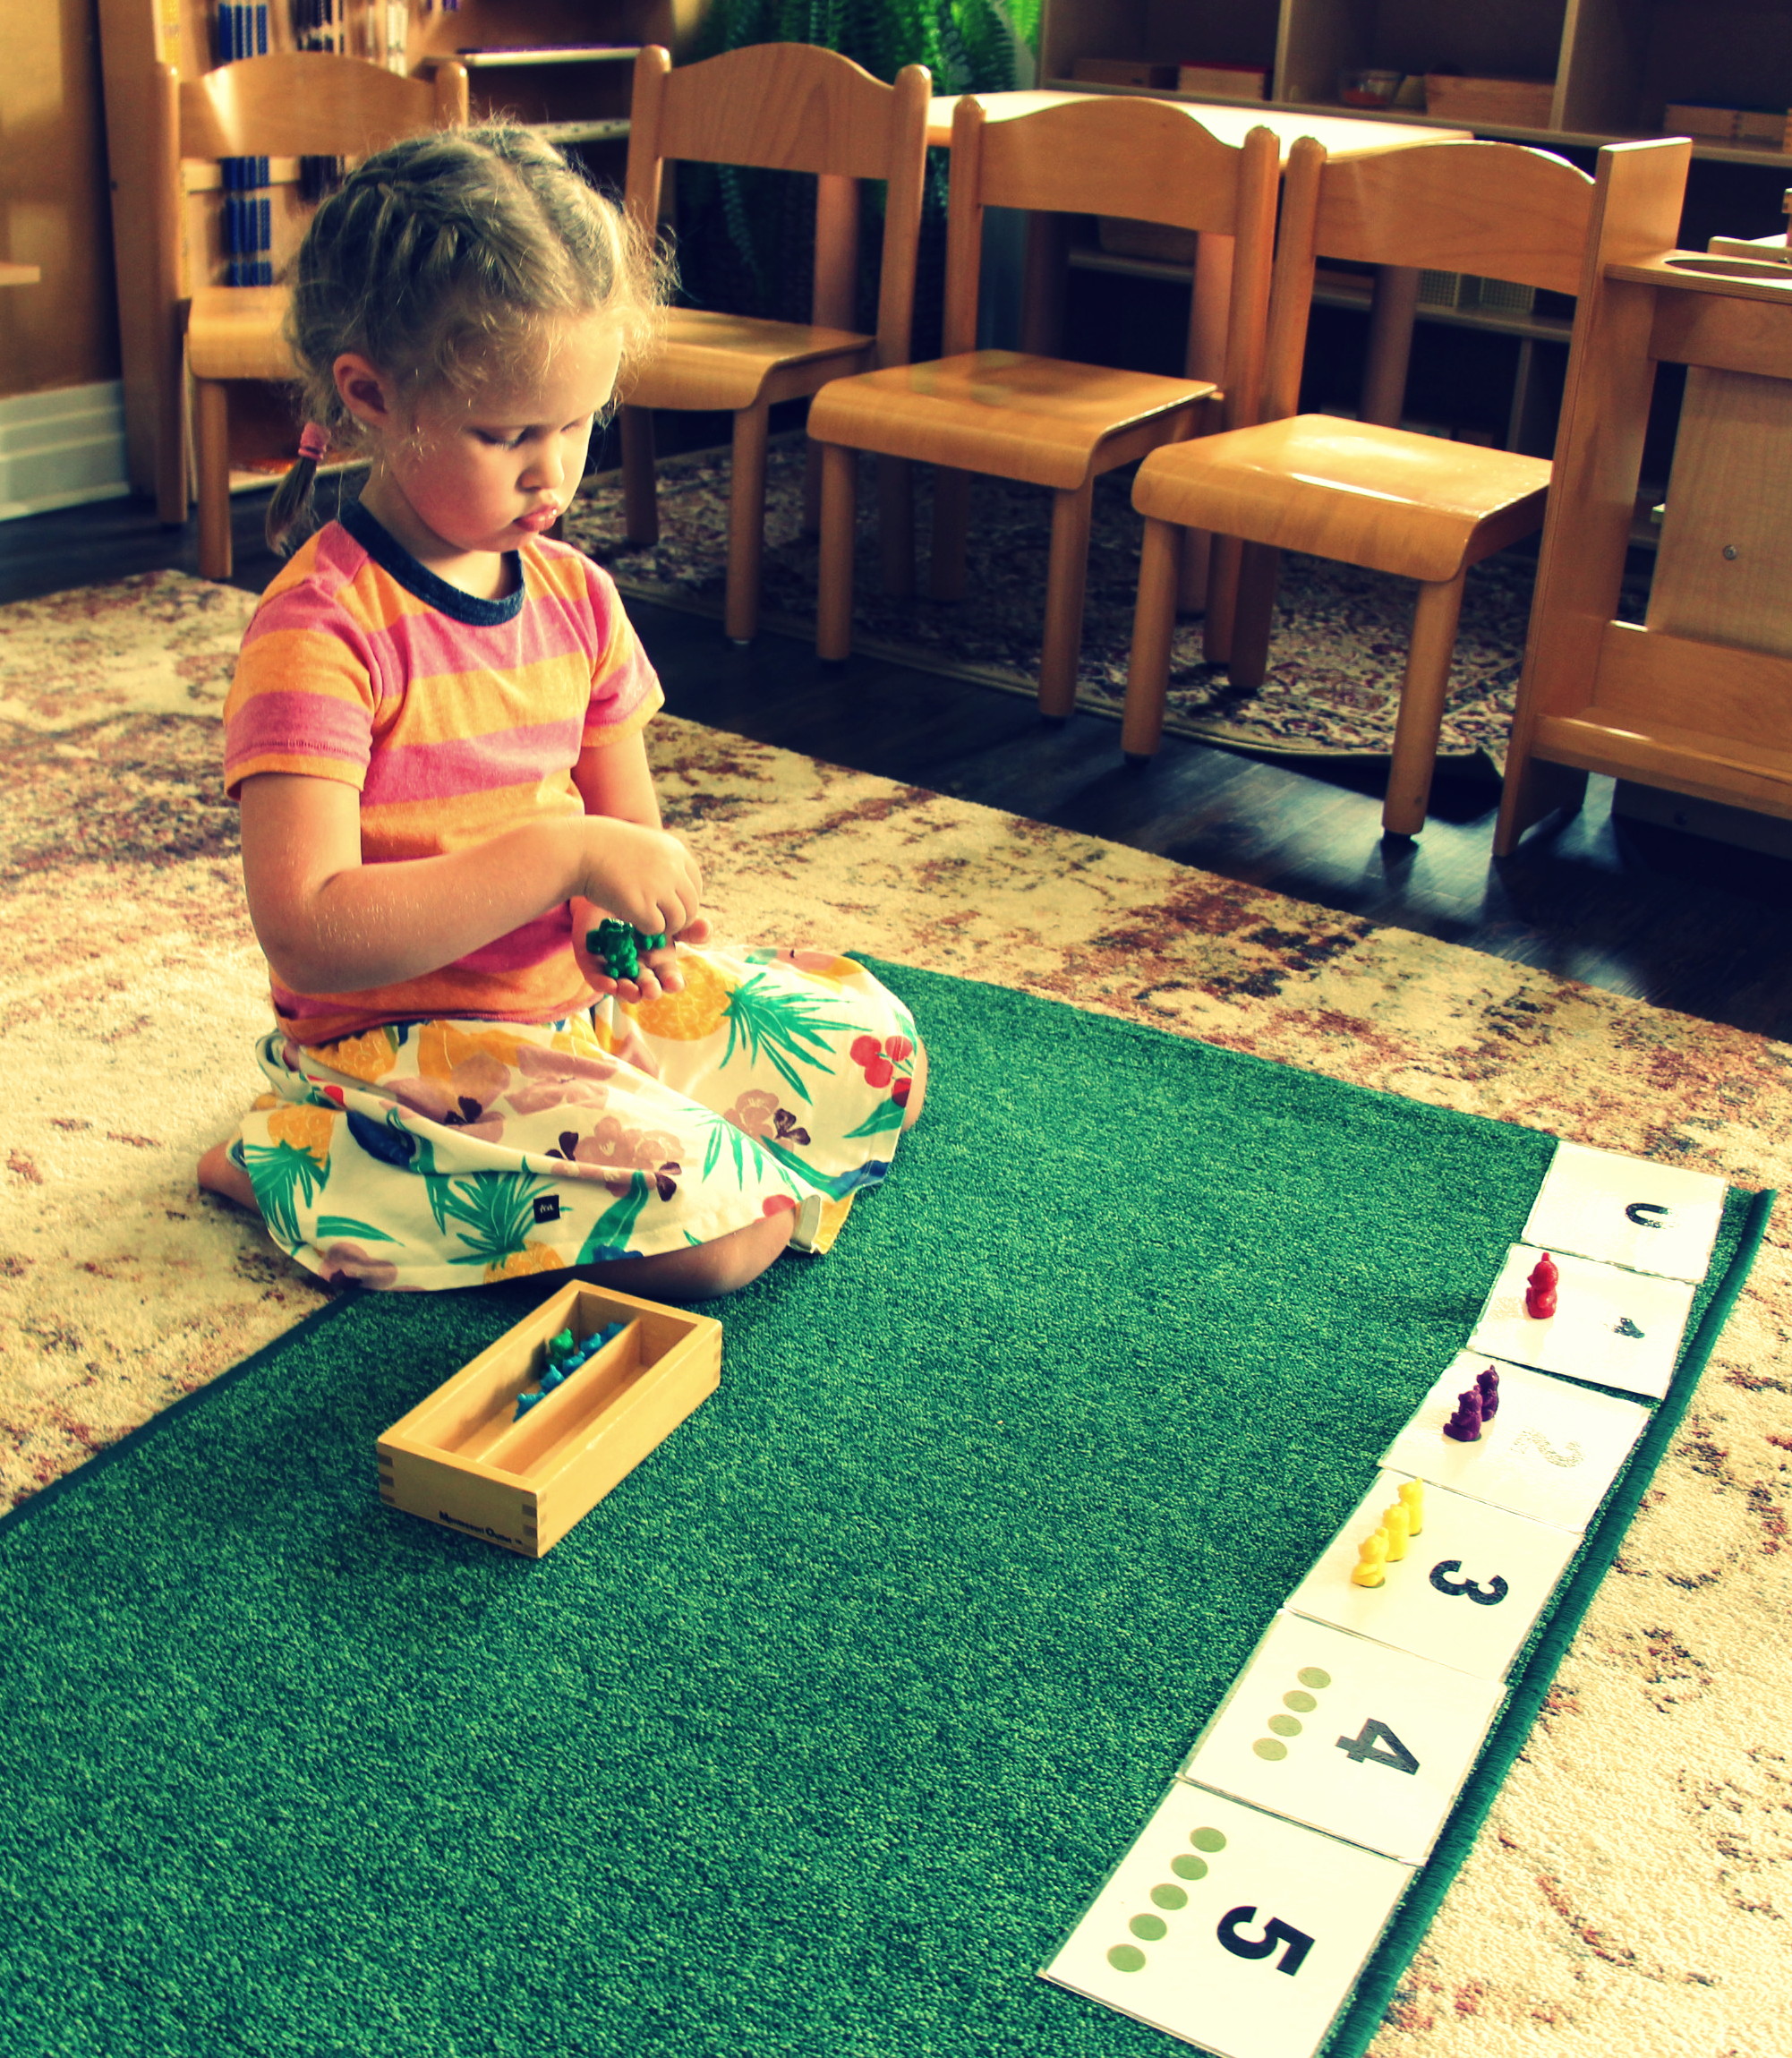
5 – 9 spindle box. A classic Montessori material that puts emphasis on the feeling of physical quantities as a child learns to count out wooden spindles, placing one spindle at a time in their hand, causing their grip to widen as the bundle grows.
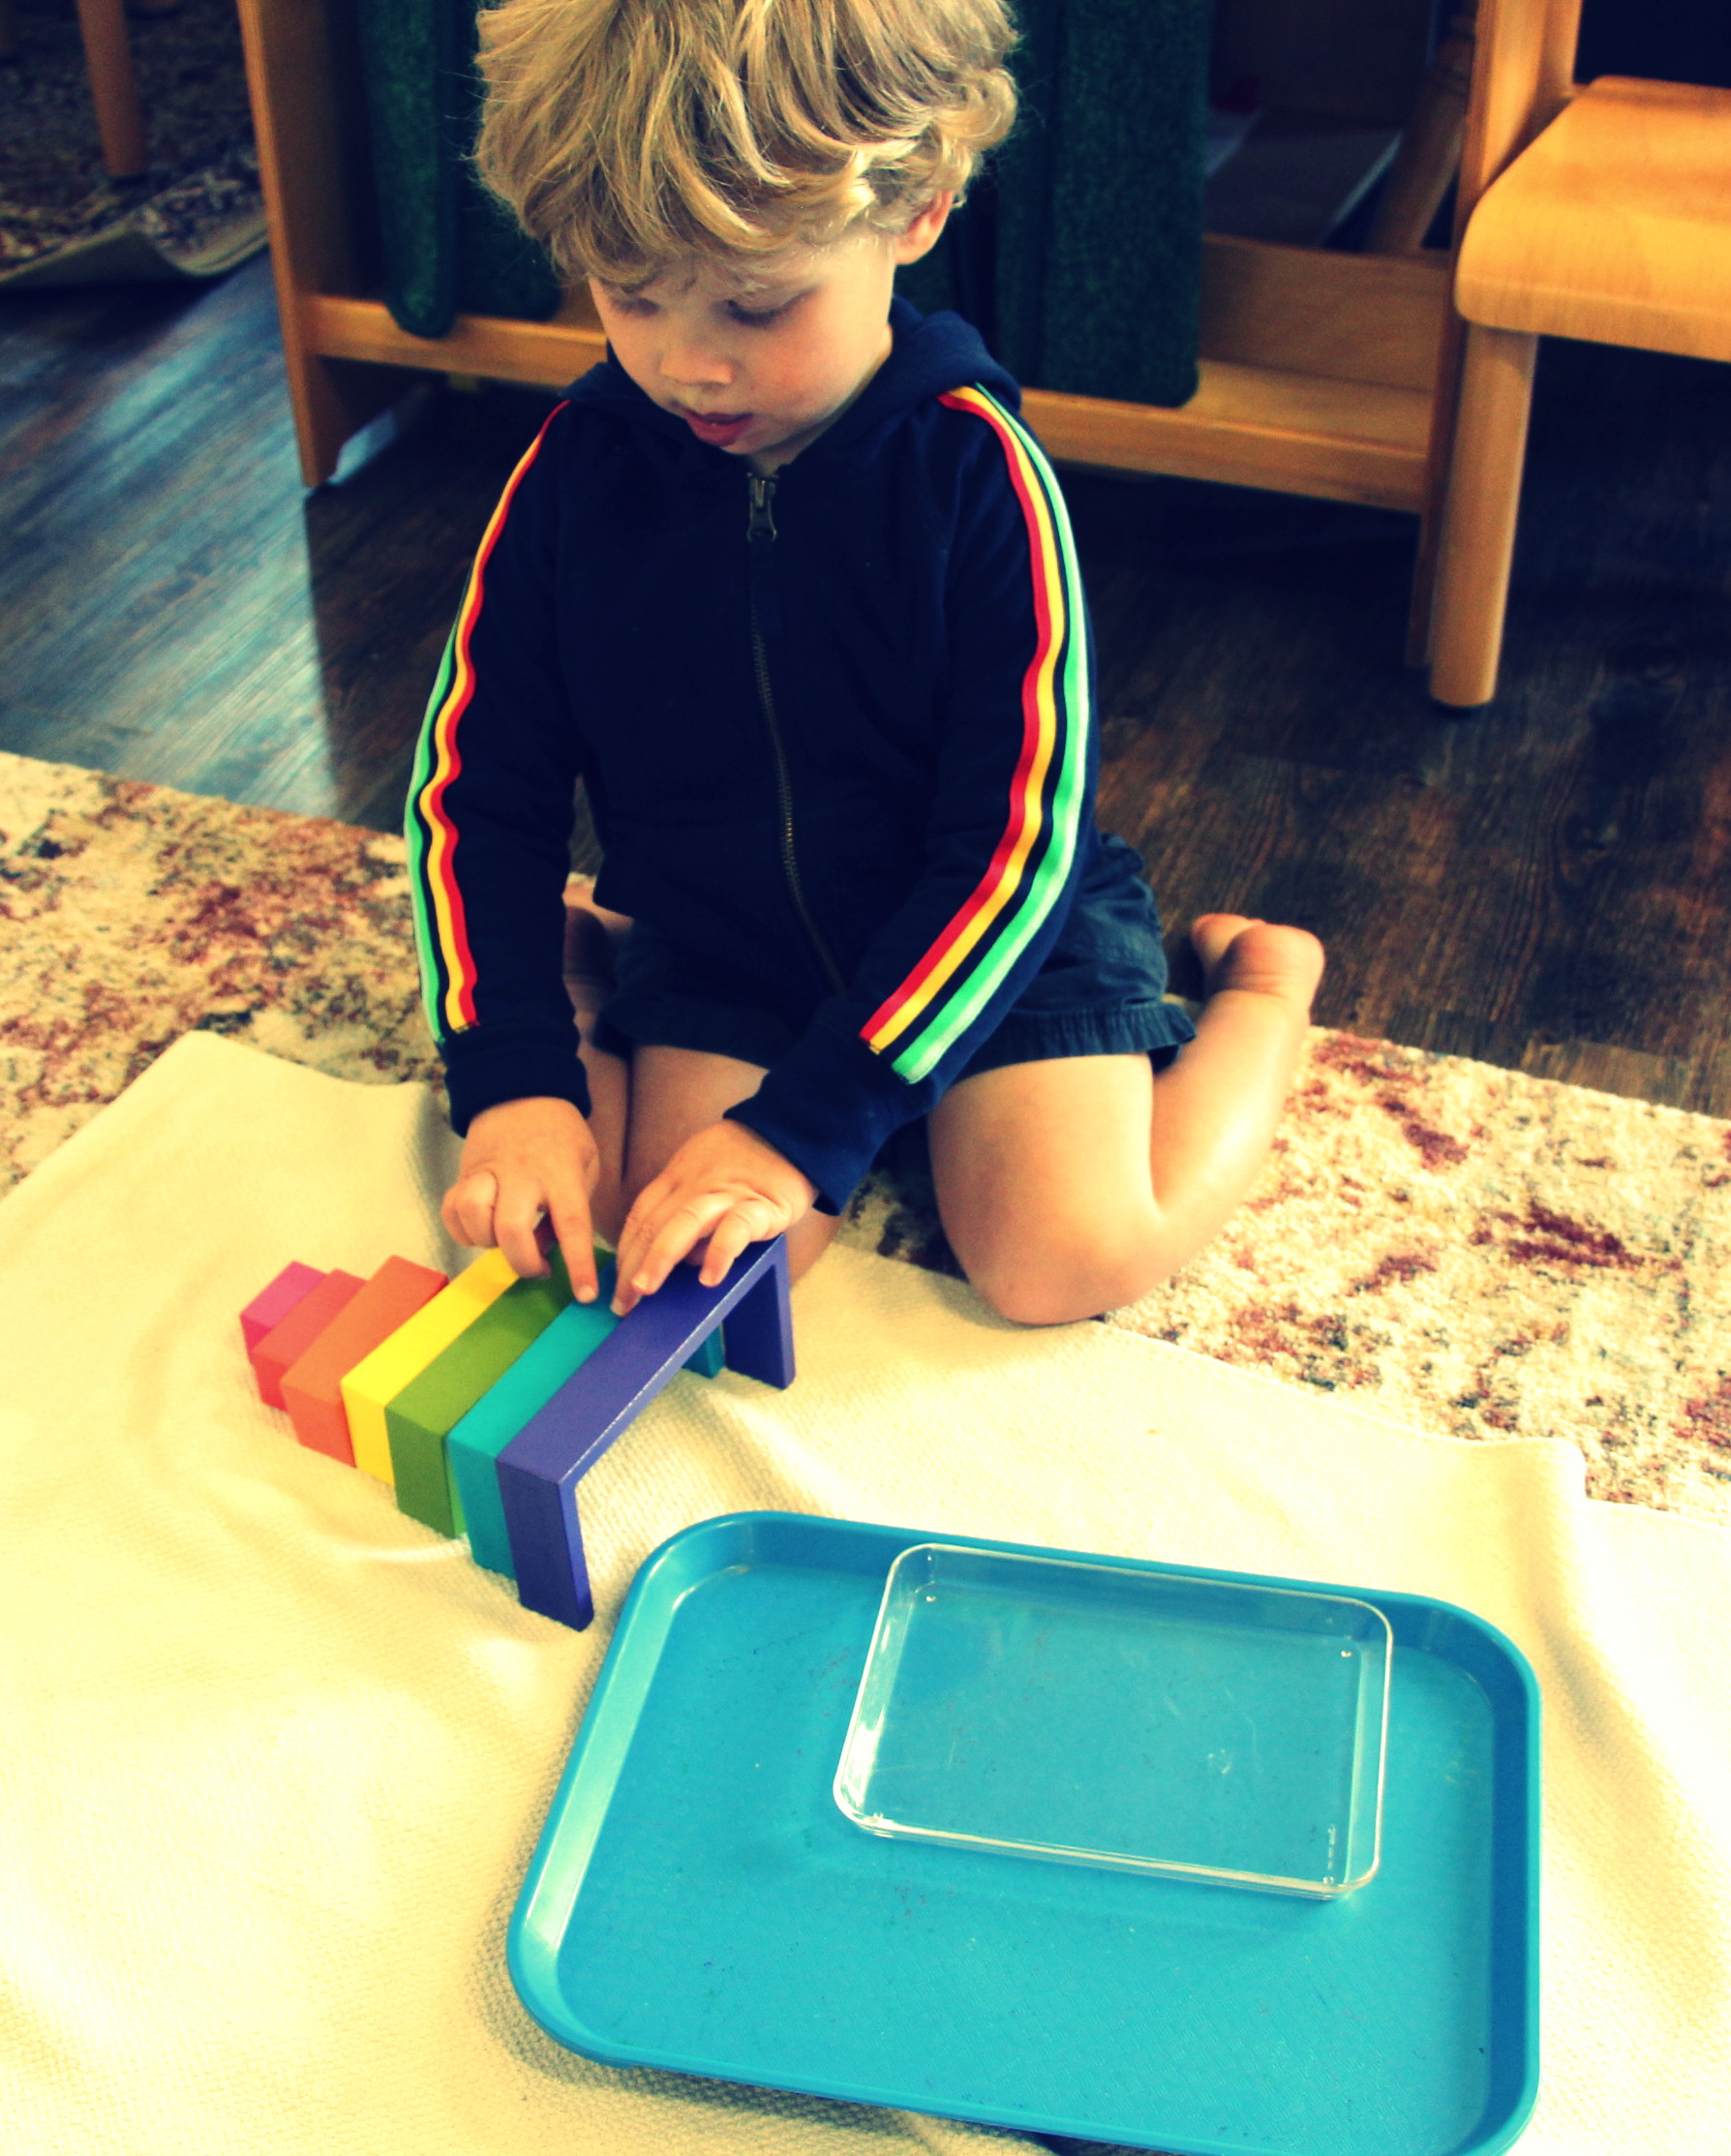
(Large) Number Rods. Number rods consist of 10 rods, ranging in length from 1 decimeter to 1 meter, each decimeter alternating between colors red and blue. This work has many purposes, especially to associate between the written/spoken digits and their physical quantities.

Small Wooden Number Rods. A small version of the large Montessori number rods.
Velvet Numbers. Tracing cards with velvet cut-outs of digits 1 through 10, along with intricate felt imagery for counting out quantities.
Math Squares Bead Work: An early introductory work to get children exploring the idea of square notations (i.e., the number multiplied by itself) without getting into multiplication just yet – at least not in the traditional way. Our students are simply learning to place color coded bead chains 1 through 9 on matching colored squares as the teacher points out simple facts. For example, “we place two of the two-bead chains (the green chains) to fit within the green square card, and if we add them all up, they make four!” For many students, this especially serves as a fun color matching activity.
3-Part Wooden Math Cards 1 – 10. These wooden tablets have colorful imagery of quantities, along with the digit and written word of the number for matching.
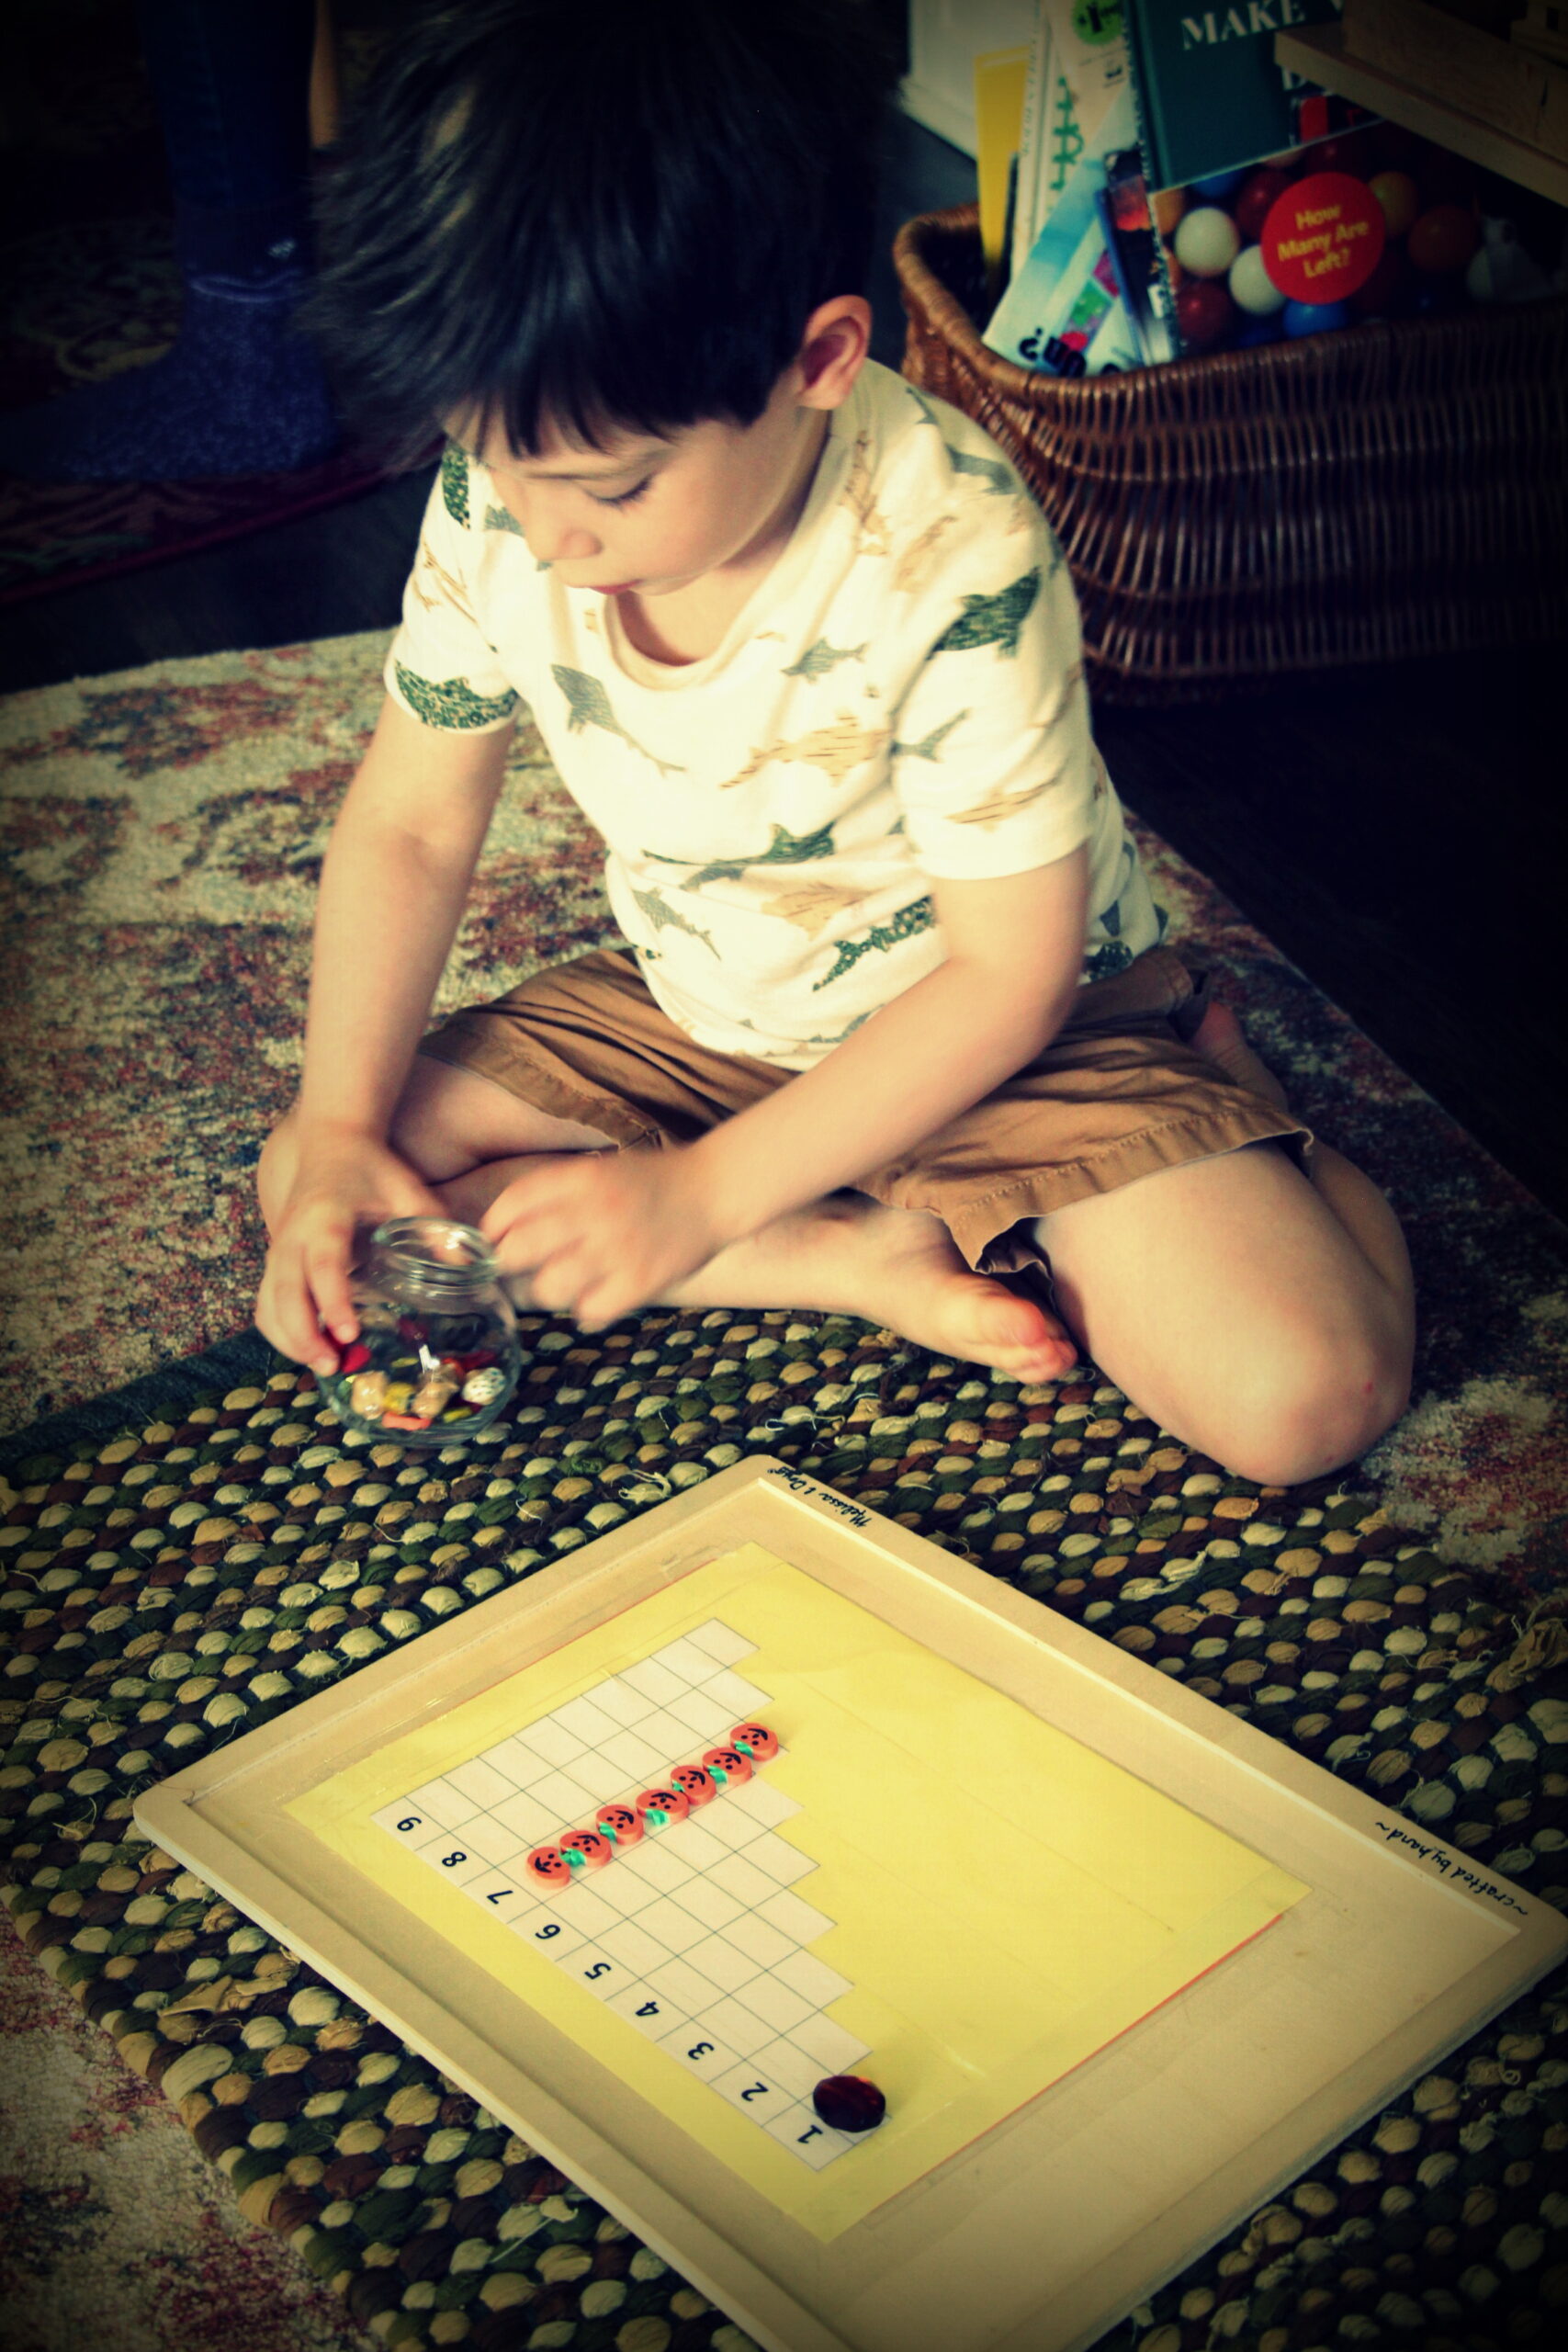
1-9 Numbers and Quantities Sorting Work. Sorting interesting objects on a grid with digits 1 – 9.
Numbers Tracing Game. Montessori tracing game – peers take turns with eyes closed, guessing numbers while tracing our sand-paper number boards.
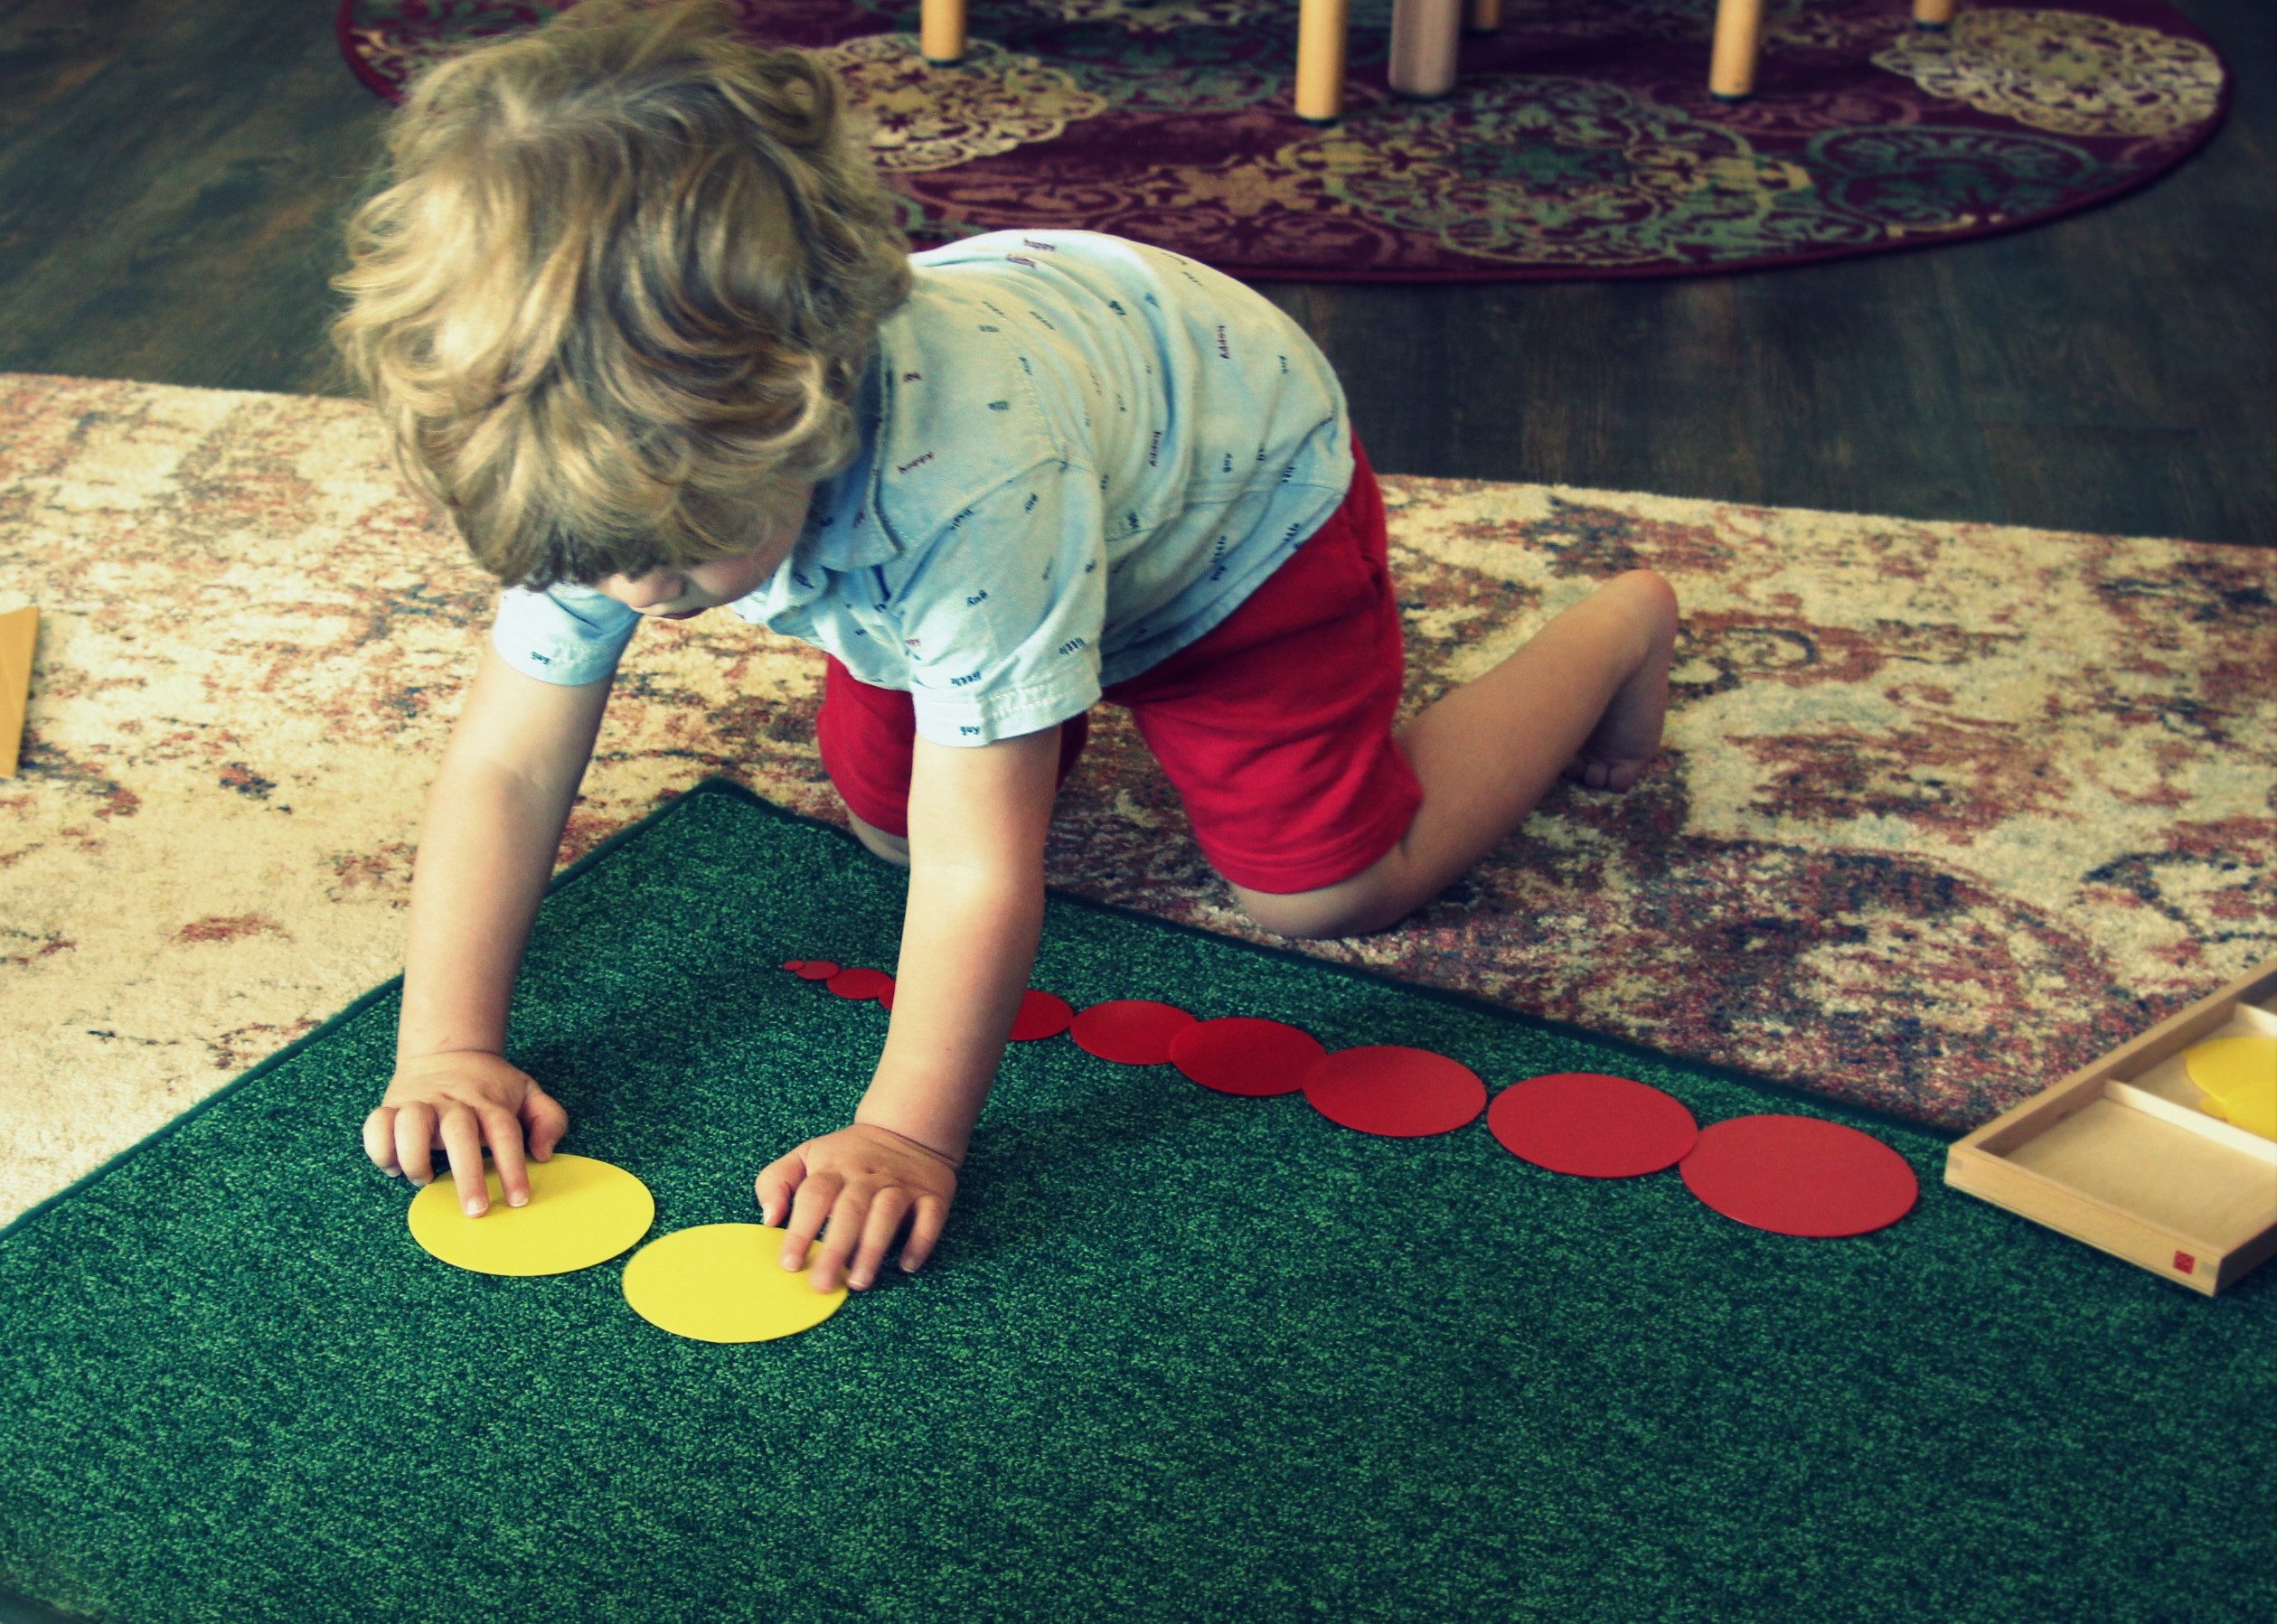
Even and Odds numbers. Montessori wooden numbers and glass gems presented to demonstrate the difference between even and odd numbers (also pointing out the pattern seen when counting out even & odd numbers).
Numbers Above 10:
Monthly Calendar. Calendar counting for September to learn ordinal counting.
Math Patterns. Finding and making patterns in math with interesting objects on a grid of 1 – 50.

Teens Board. Addition with quantities above 10 have just begun with our returning Primary Students only. The teens board is an addition work where children learn to add 10 to a single digit number to amount to a teen. Later in the school year, we will introduce new students once they have a good grasp of our above 1 – 10 works.
Sensorial Area
This area offers sensorial materials that help children to refine their five senses while finding a sense of order with physical objects. They learn words that will help them to talk about the world around them, such as comparative words around textures, temperatures, and colors. Children learn to organize and grade materials by isolating the senses, and they learn to self-correct through a built-in “control of error” found in many of the materials (a Montessori term for a design that offers a way for students to check whether the material is in the appropriate order). They also learn to describe various dimensions of geometric solids, and while organizing the materials to create structures, children have the opportunity to be creative and inventive.
How to Carry Heavy Objects. Presentation on how to handle large blocks and wooden boxes found on the shelves to work on gross motor skills. Teachers demonstrate safe ways to handle these materials through hand placement and body movement.
Pink Tower & Brown Stair Lessons. Most students have been introduced these materials in the Pre-Primary Studio, so now they are learning all about the relationship between these two materials, and how they can come together. The pink tower consists of 10 cubes from the first cube beginning at 1cm up to the 10th cube at 10cm, growing larger in increments of 1cm when placed from “smallest to largest.” Children have been learning descriptive vocabulary and comparative adjectives with this material to define their ability to discriminate differences in size, and now they are learning to compare the sizes to the “brown stair,” as they place each pink cube next to a brown stair in ascending or descending order. Each brown stair also has a thickness from 1cm – 10-cm (1 decimeter squared), but they are in forms of a rectangular prisms, each 20cm in length. When put together from thickest to thinnest, they make an even staircase. While we aren’t yet teaching about the sizes in centimeters, there is a “control of error” (i.e. a way that children can self-correct) built into this work as the children can check to make sure that the steps are in order by walking the last cube or rectangular prism up each step to see how it sits flush with the step above it.

Each Montessori Sensorial work has in-depth descriptions and presentations, and if you’ve made it this far in reading the details, you are a pro! We will spare you the long descriptions on the following sensorial works that have recently been covered, but please do reach out for anyone interested in learning more as we are always happy give you the in-depth versions of our presentations. Note: Many of the following shape works and geometric solids materials are directly teaching vocabulary about dimensions and shape relationships, while these materials are indirectly preparing our students for more complex lessons in geometry.
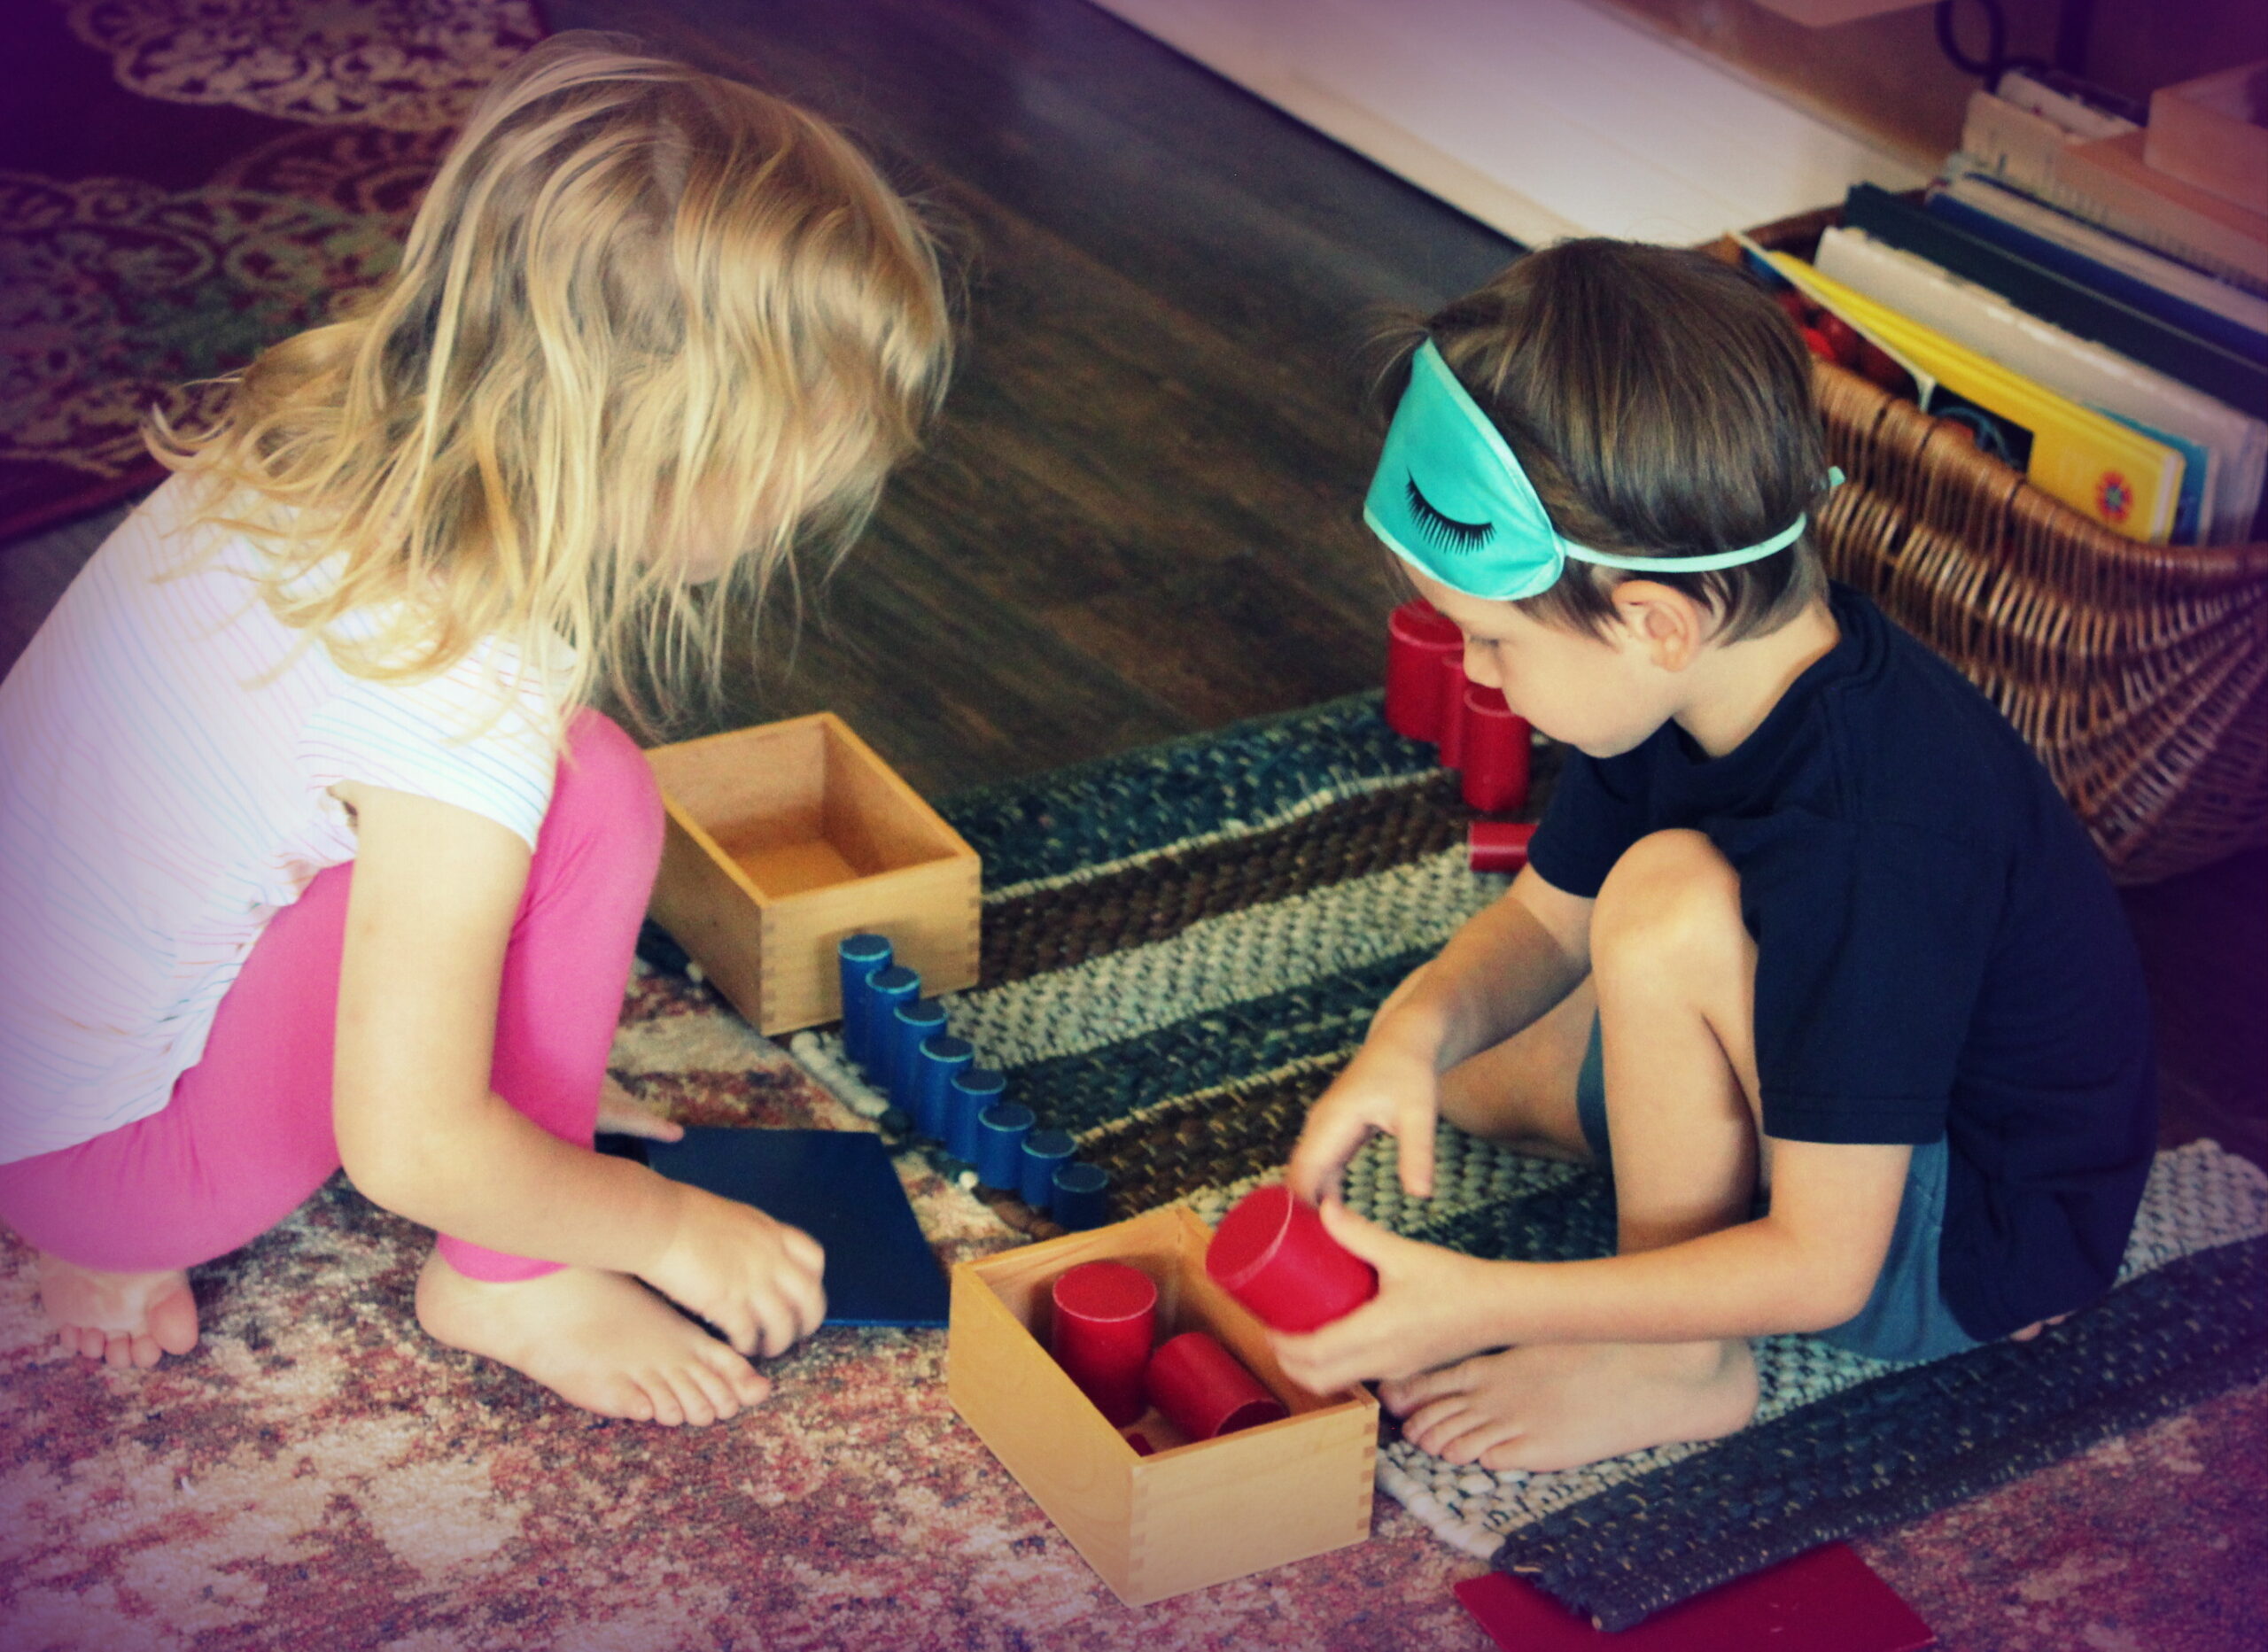
- Cylinder boxes – Grading cylinders of various dimensions in ascending/descending order.
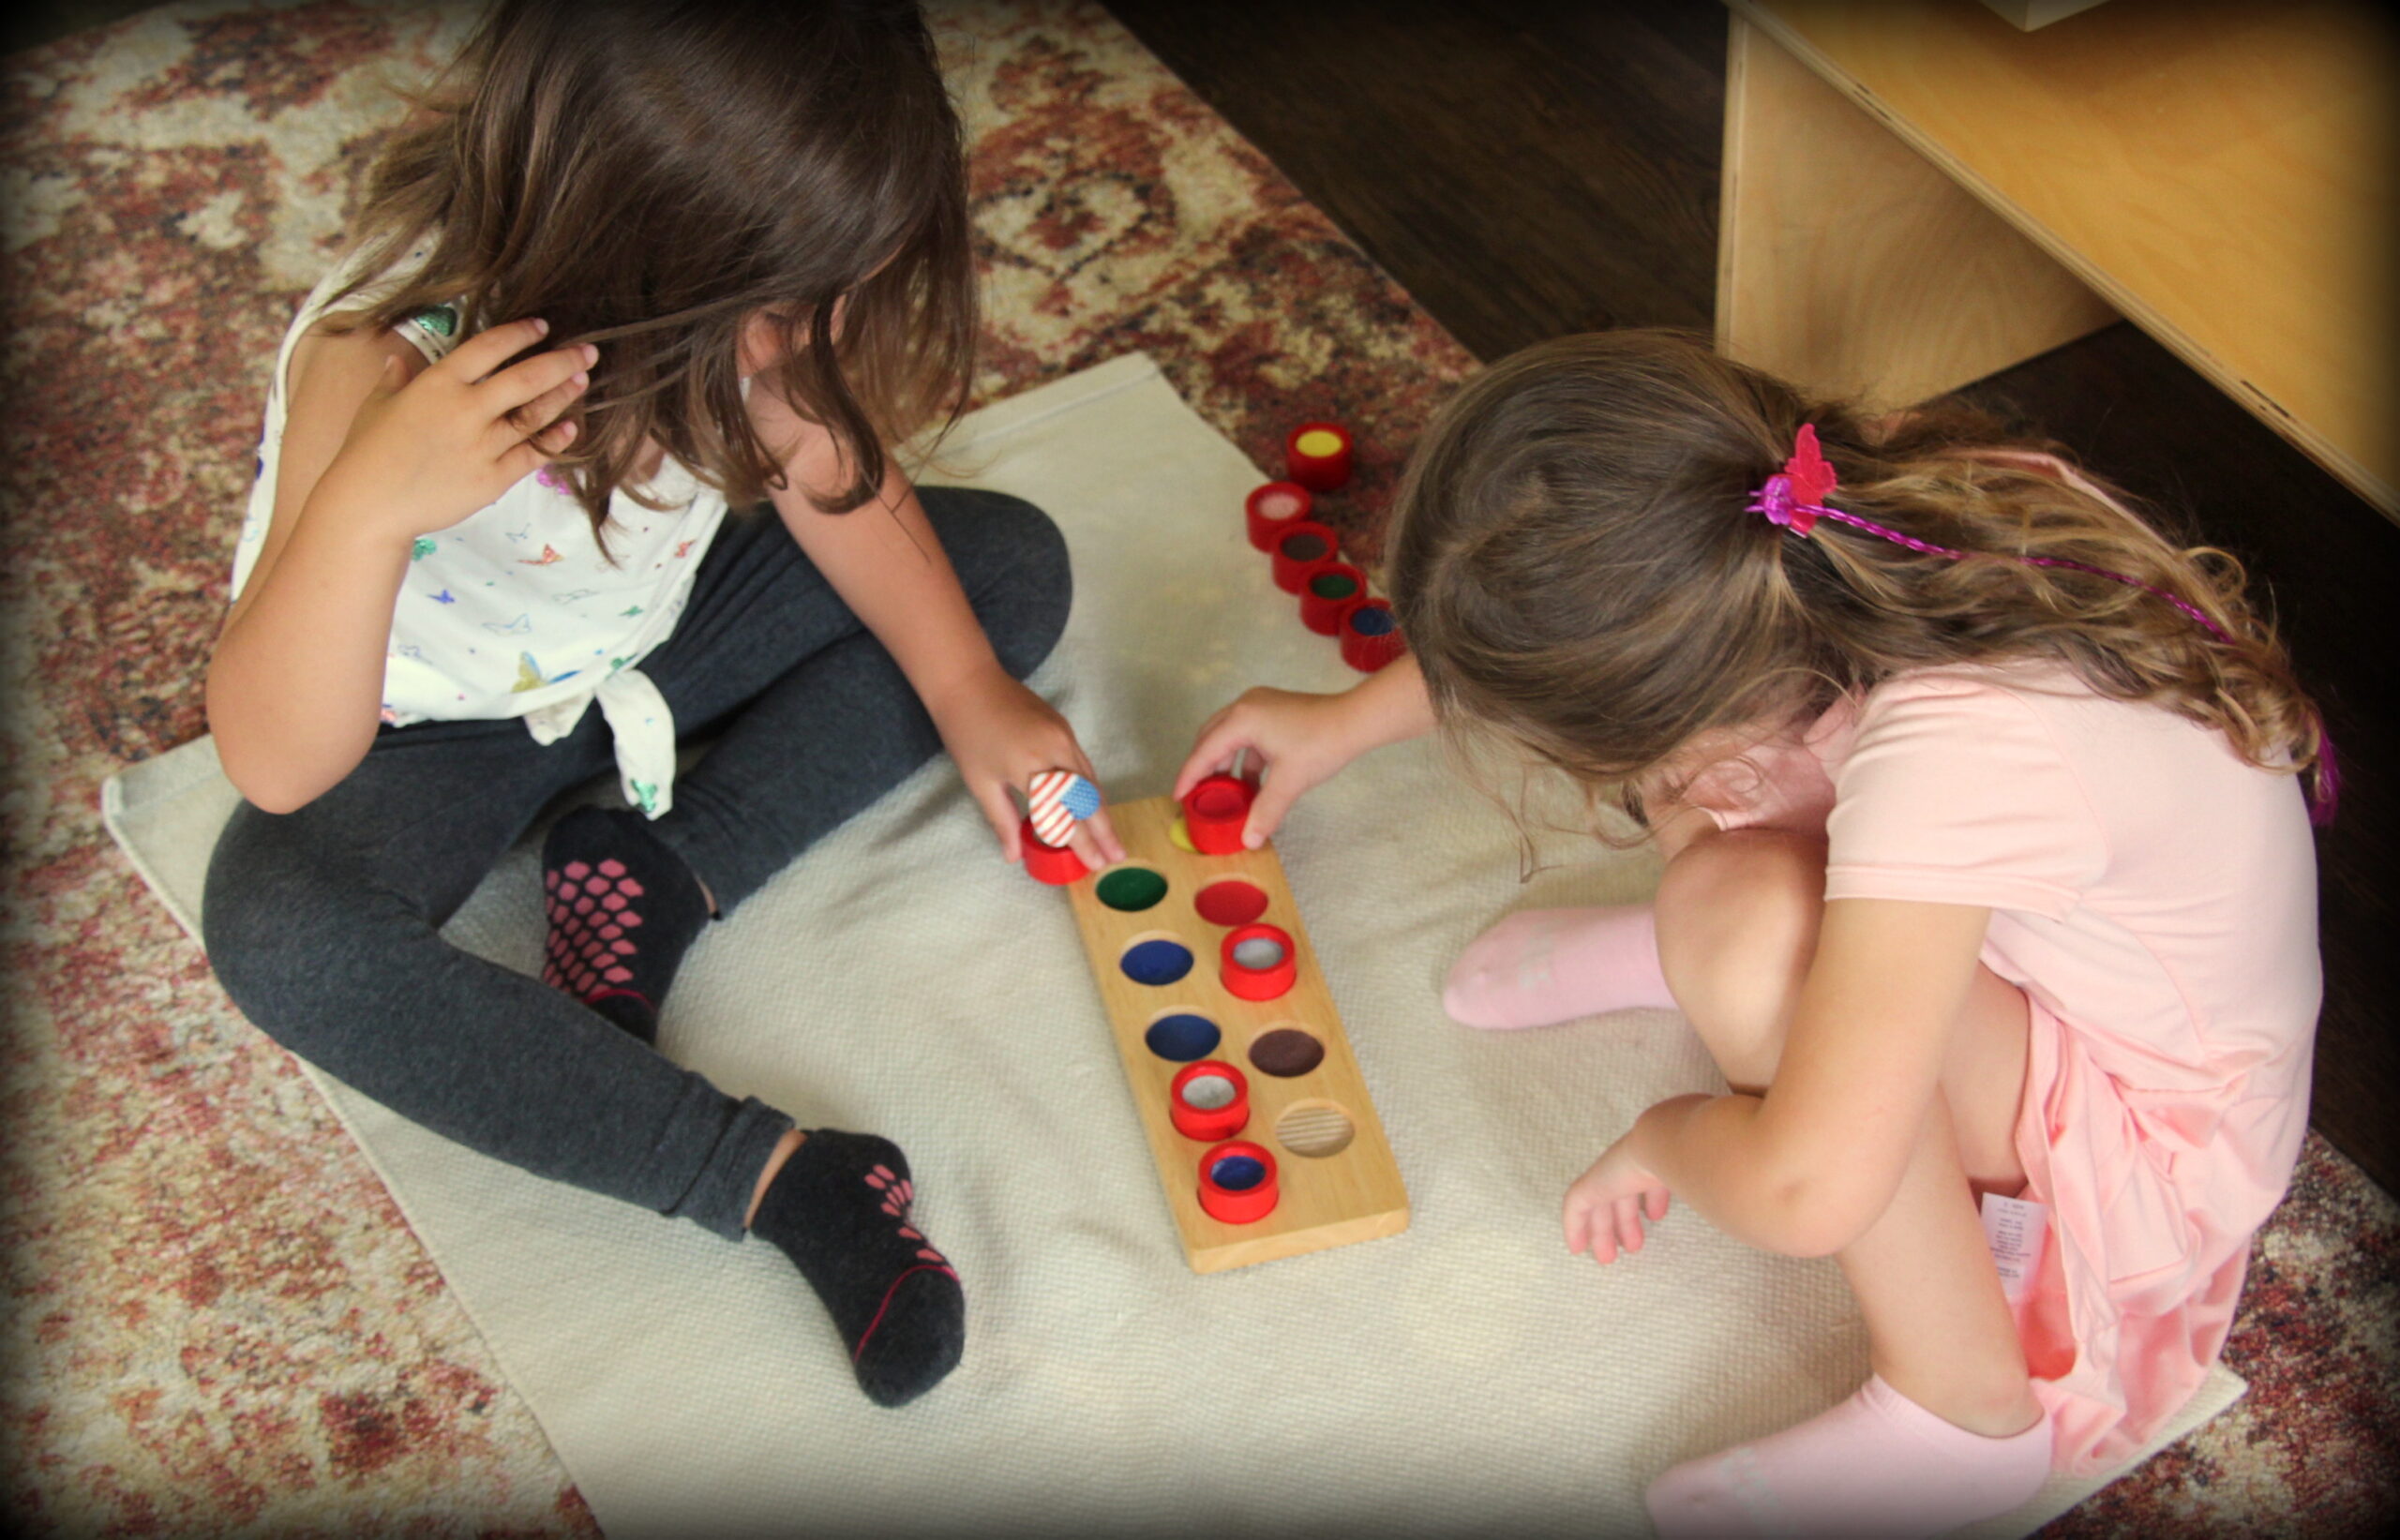
- Texture boards – Pairing of various textures using comparative adjectives.
- Wooden Sandpaper Boards – Rough v. smooth & fine vs coarse.
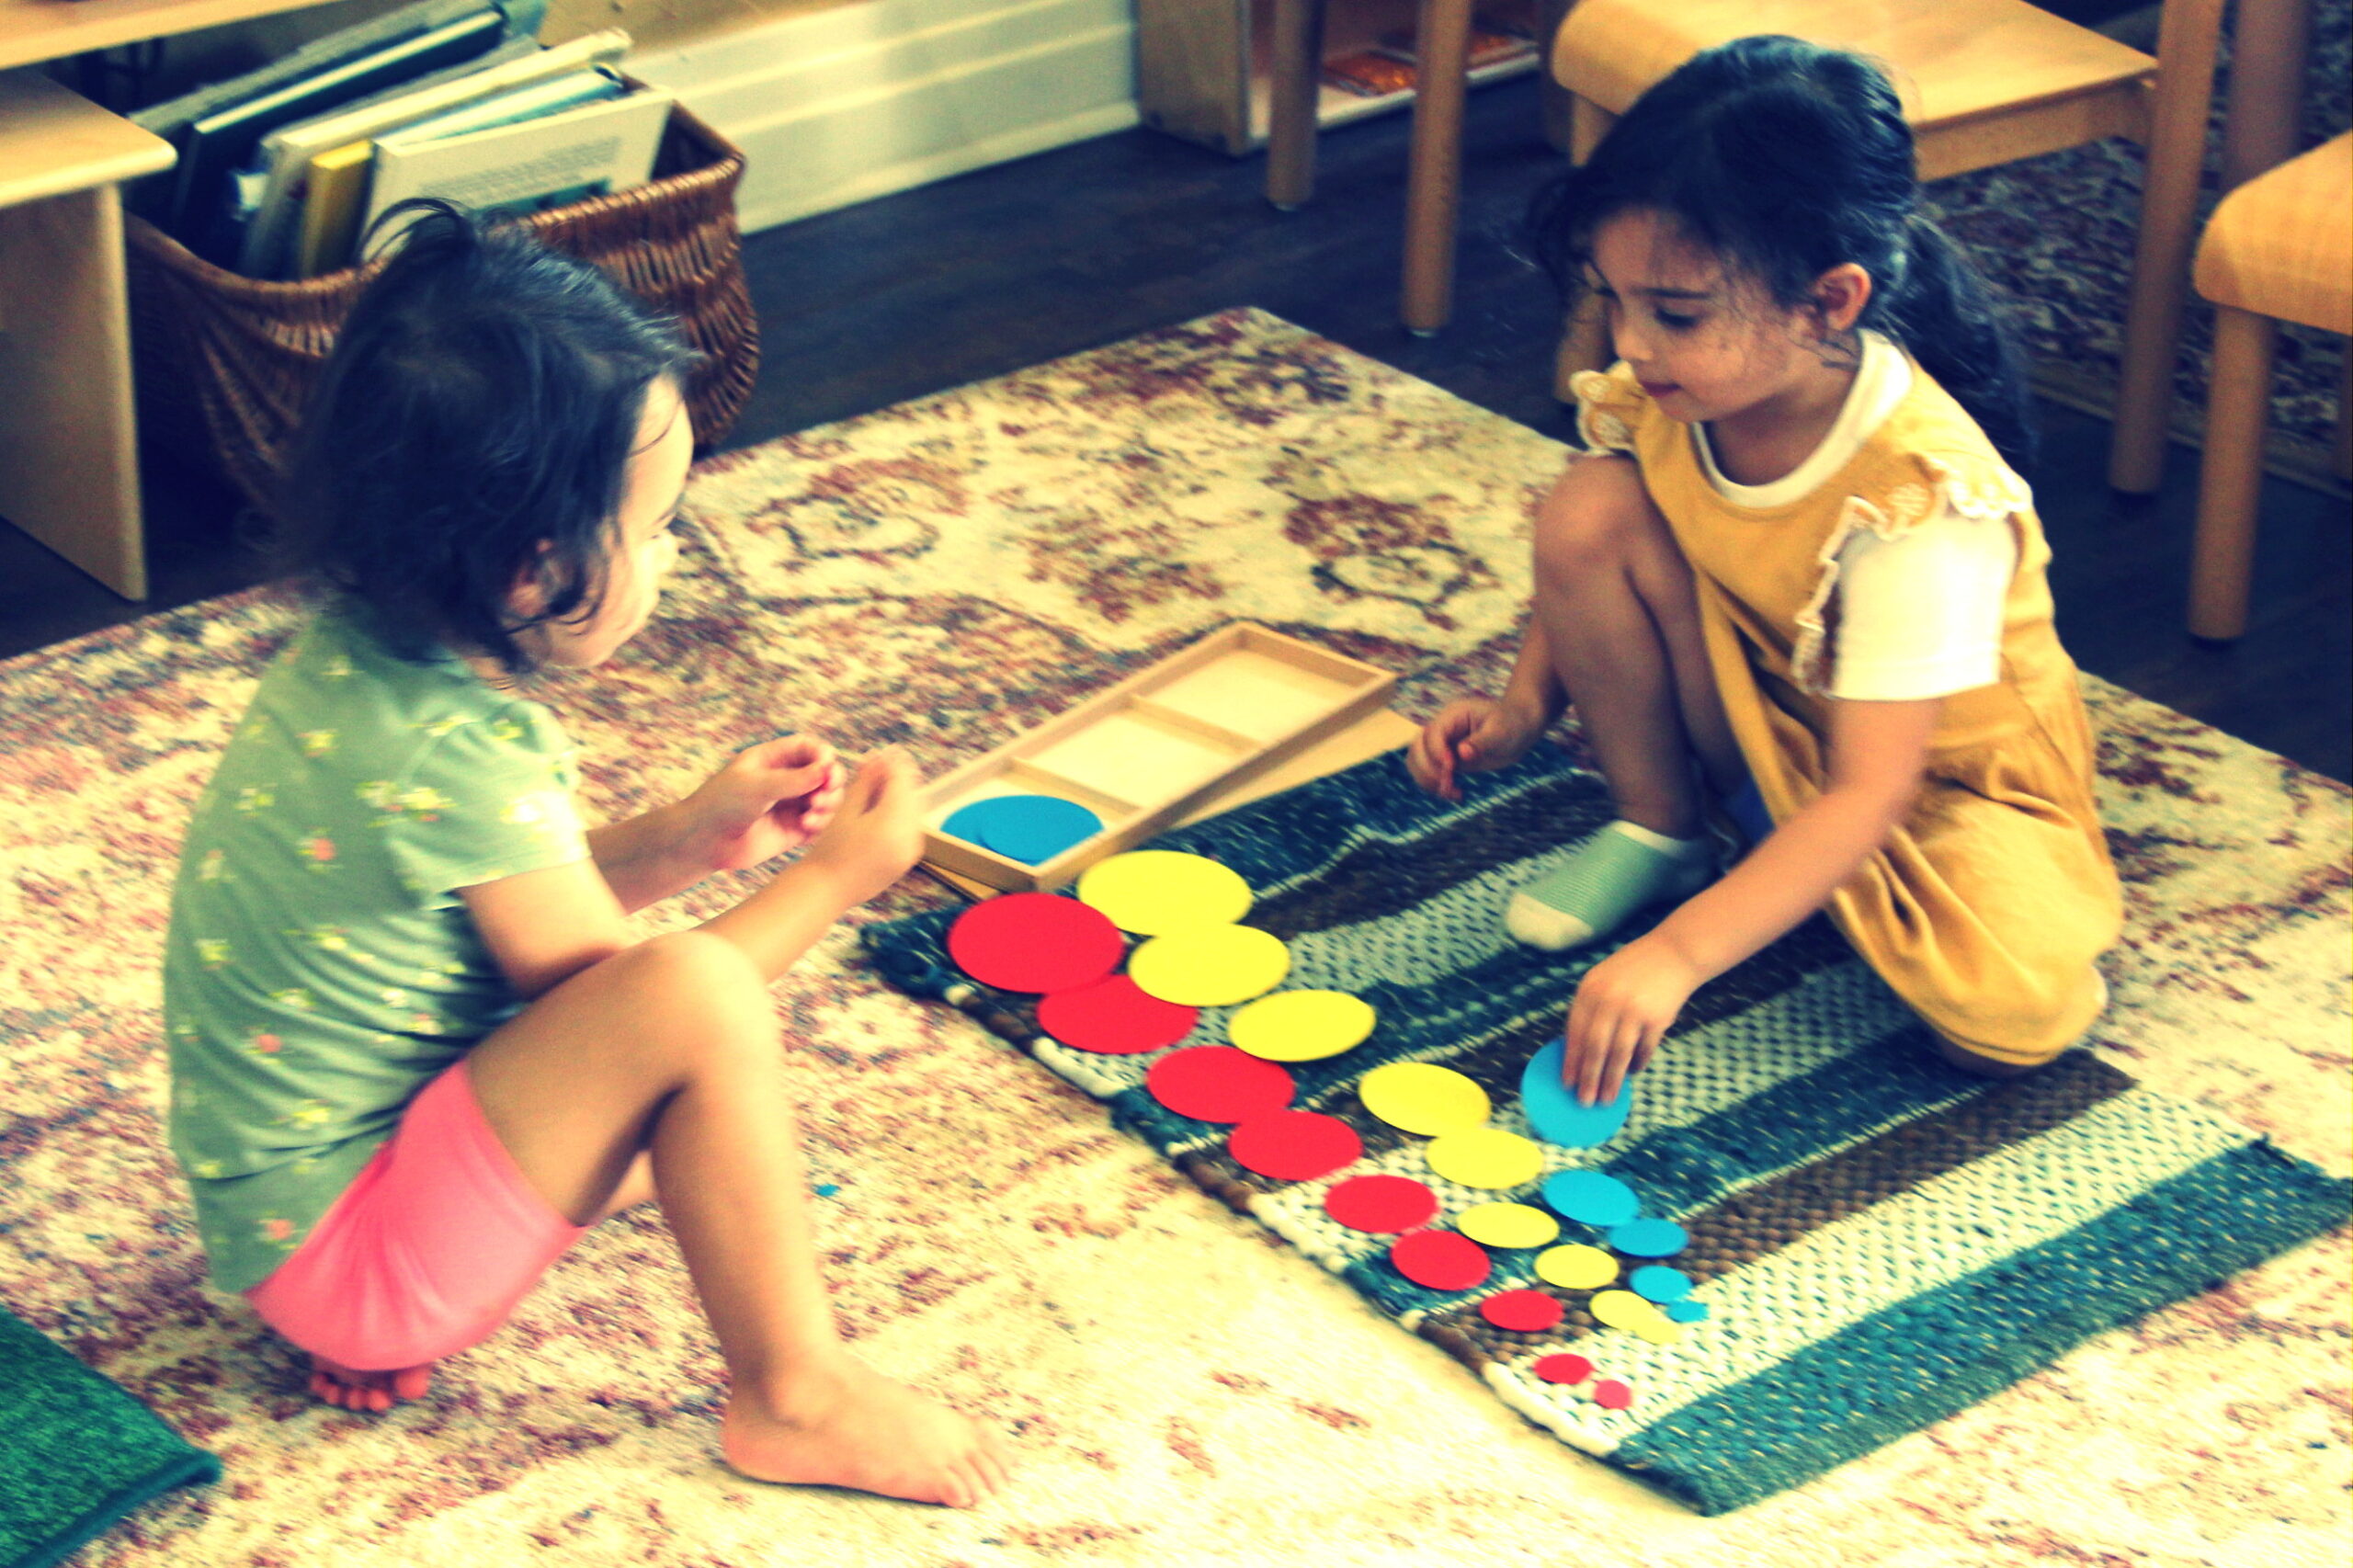
- Concentric Circles – Grading circles by size & creating patterns with order.
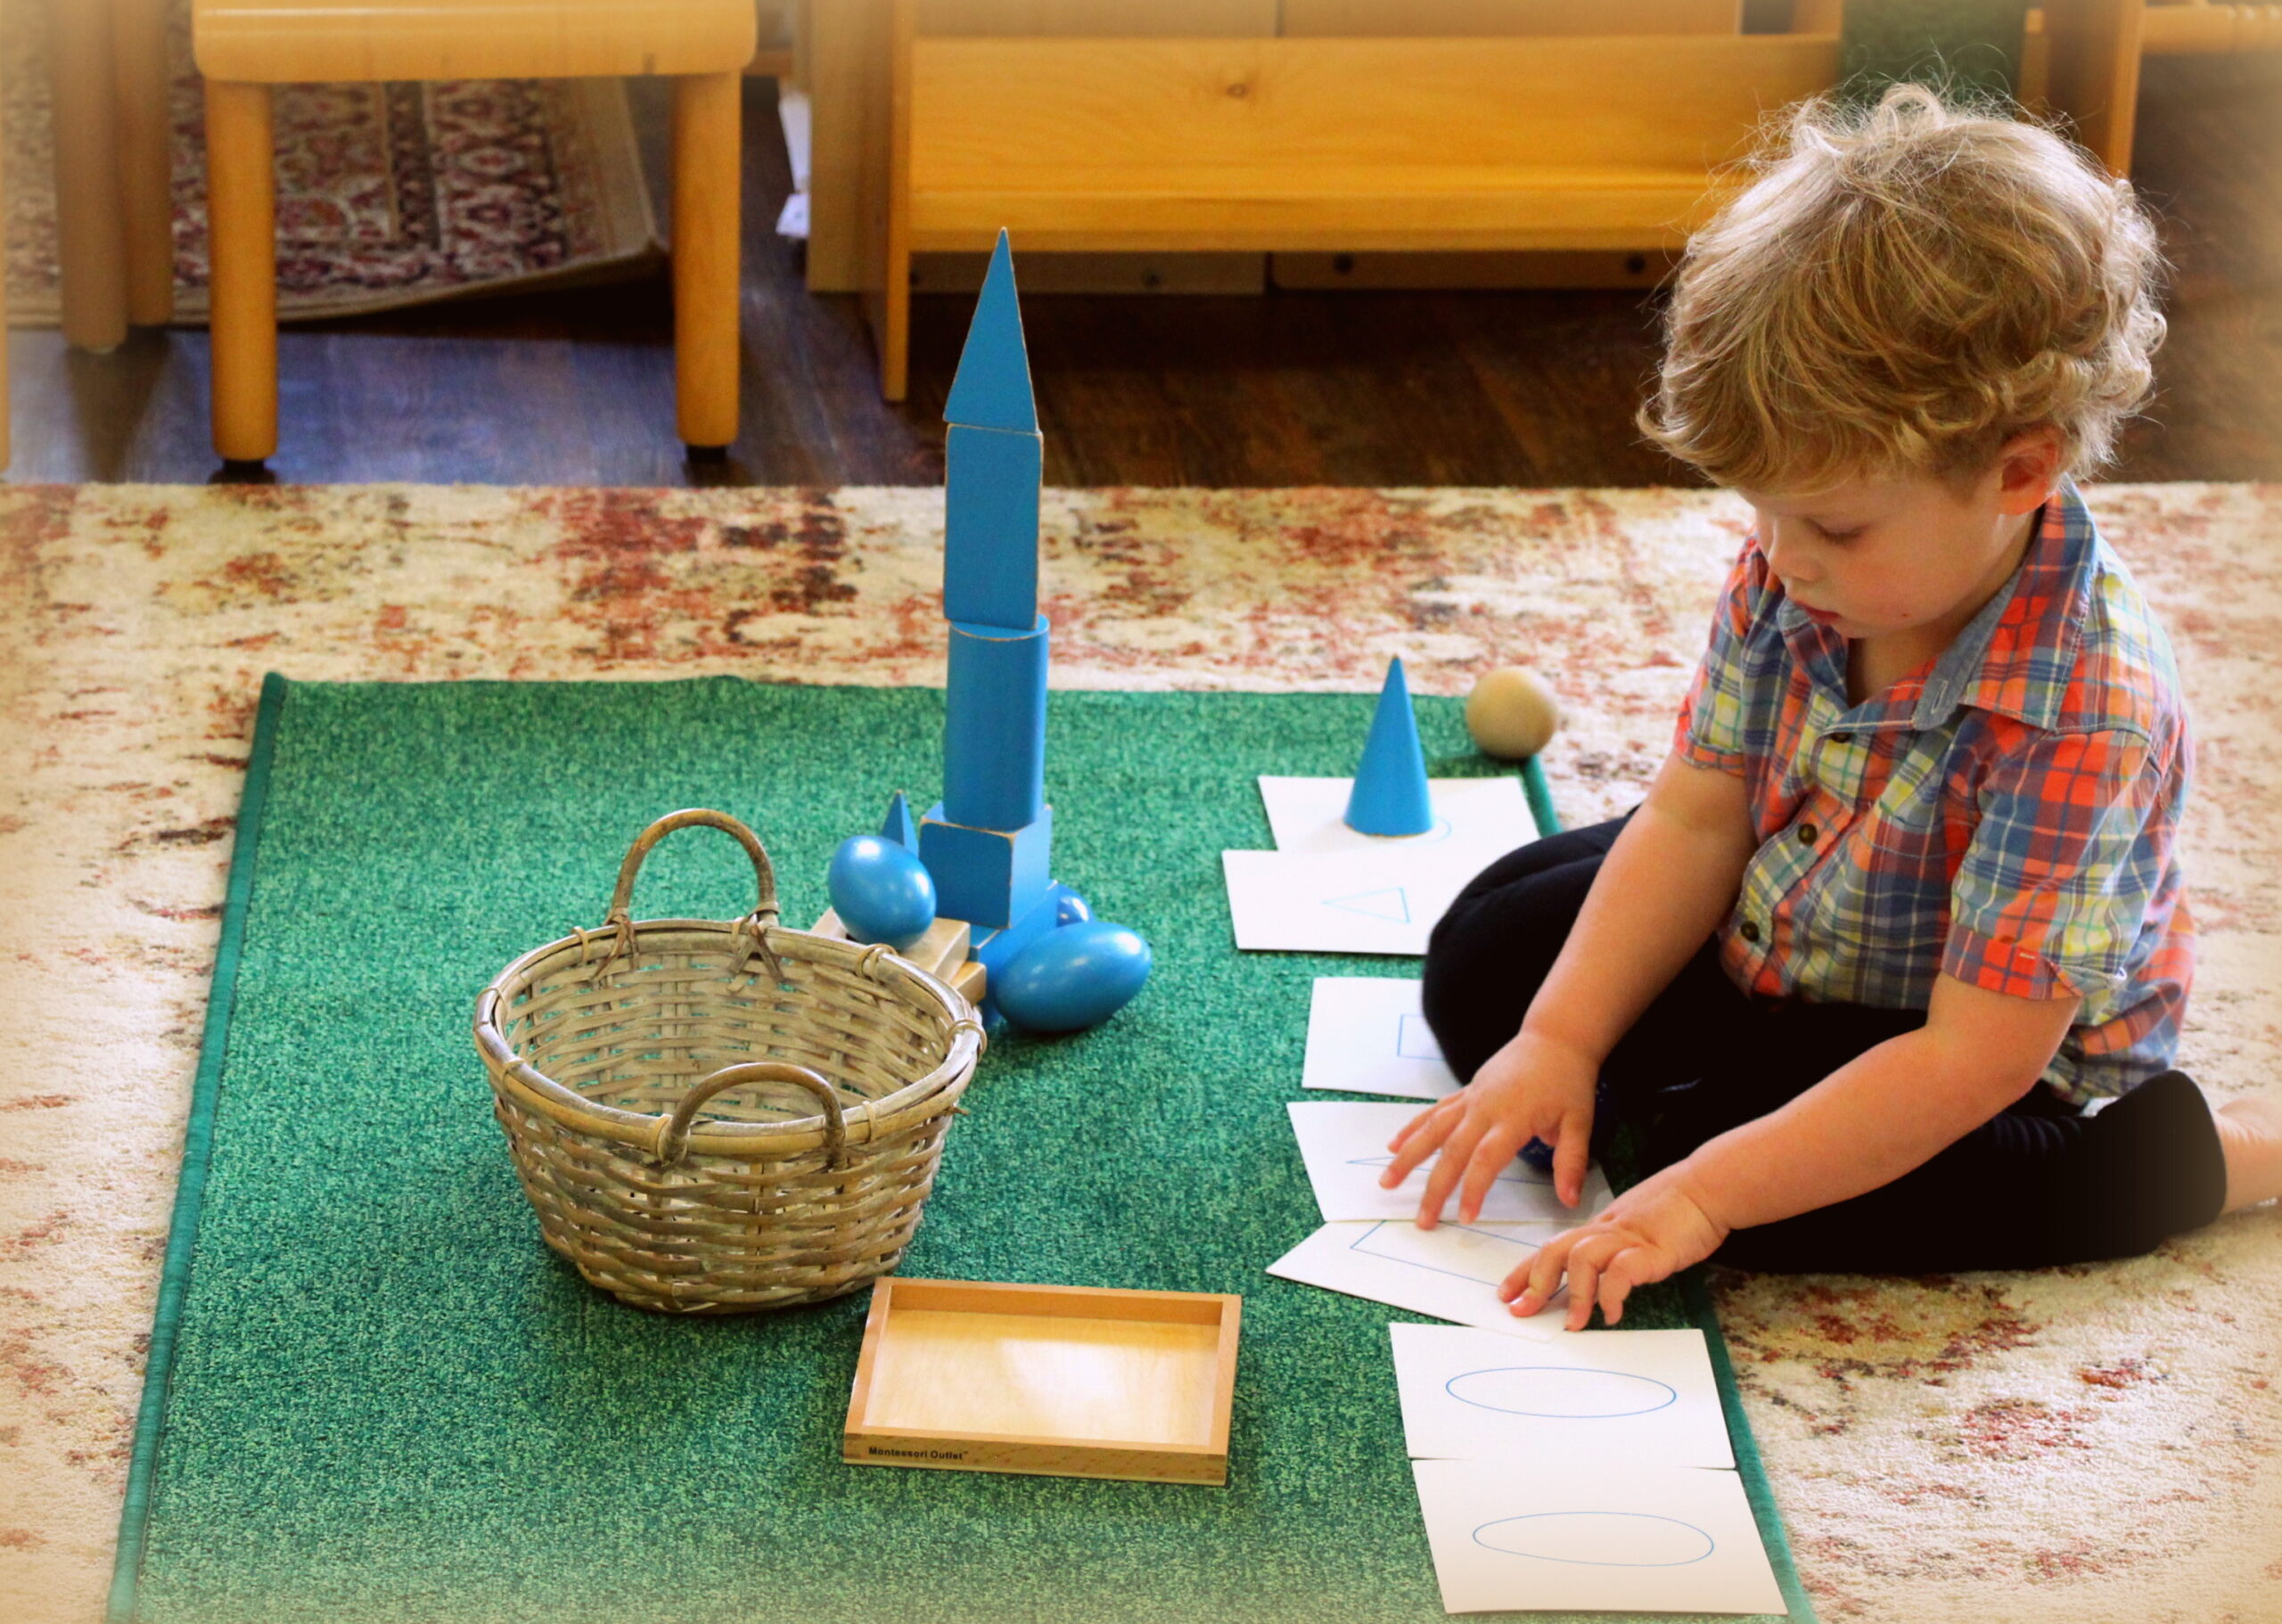
- Geometric Solids – Vocabulary to describe 3d objects.
- Montessori Color box no.2 – Pairing basic colors into two rows.
- 3-Part Geometric Solids Cards – Vocabulary cards for our geometric solids materials.
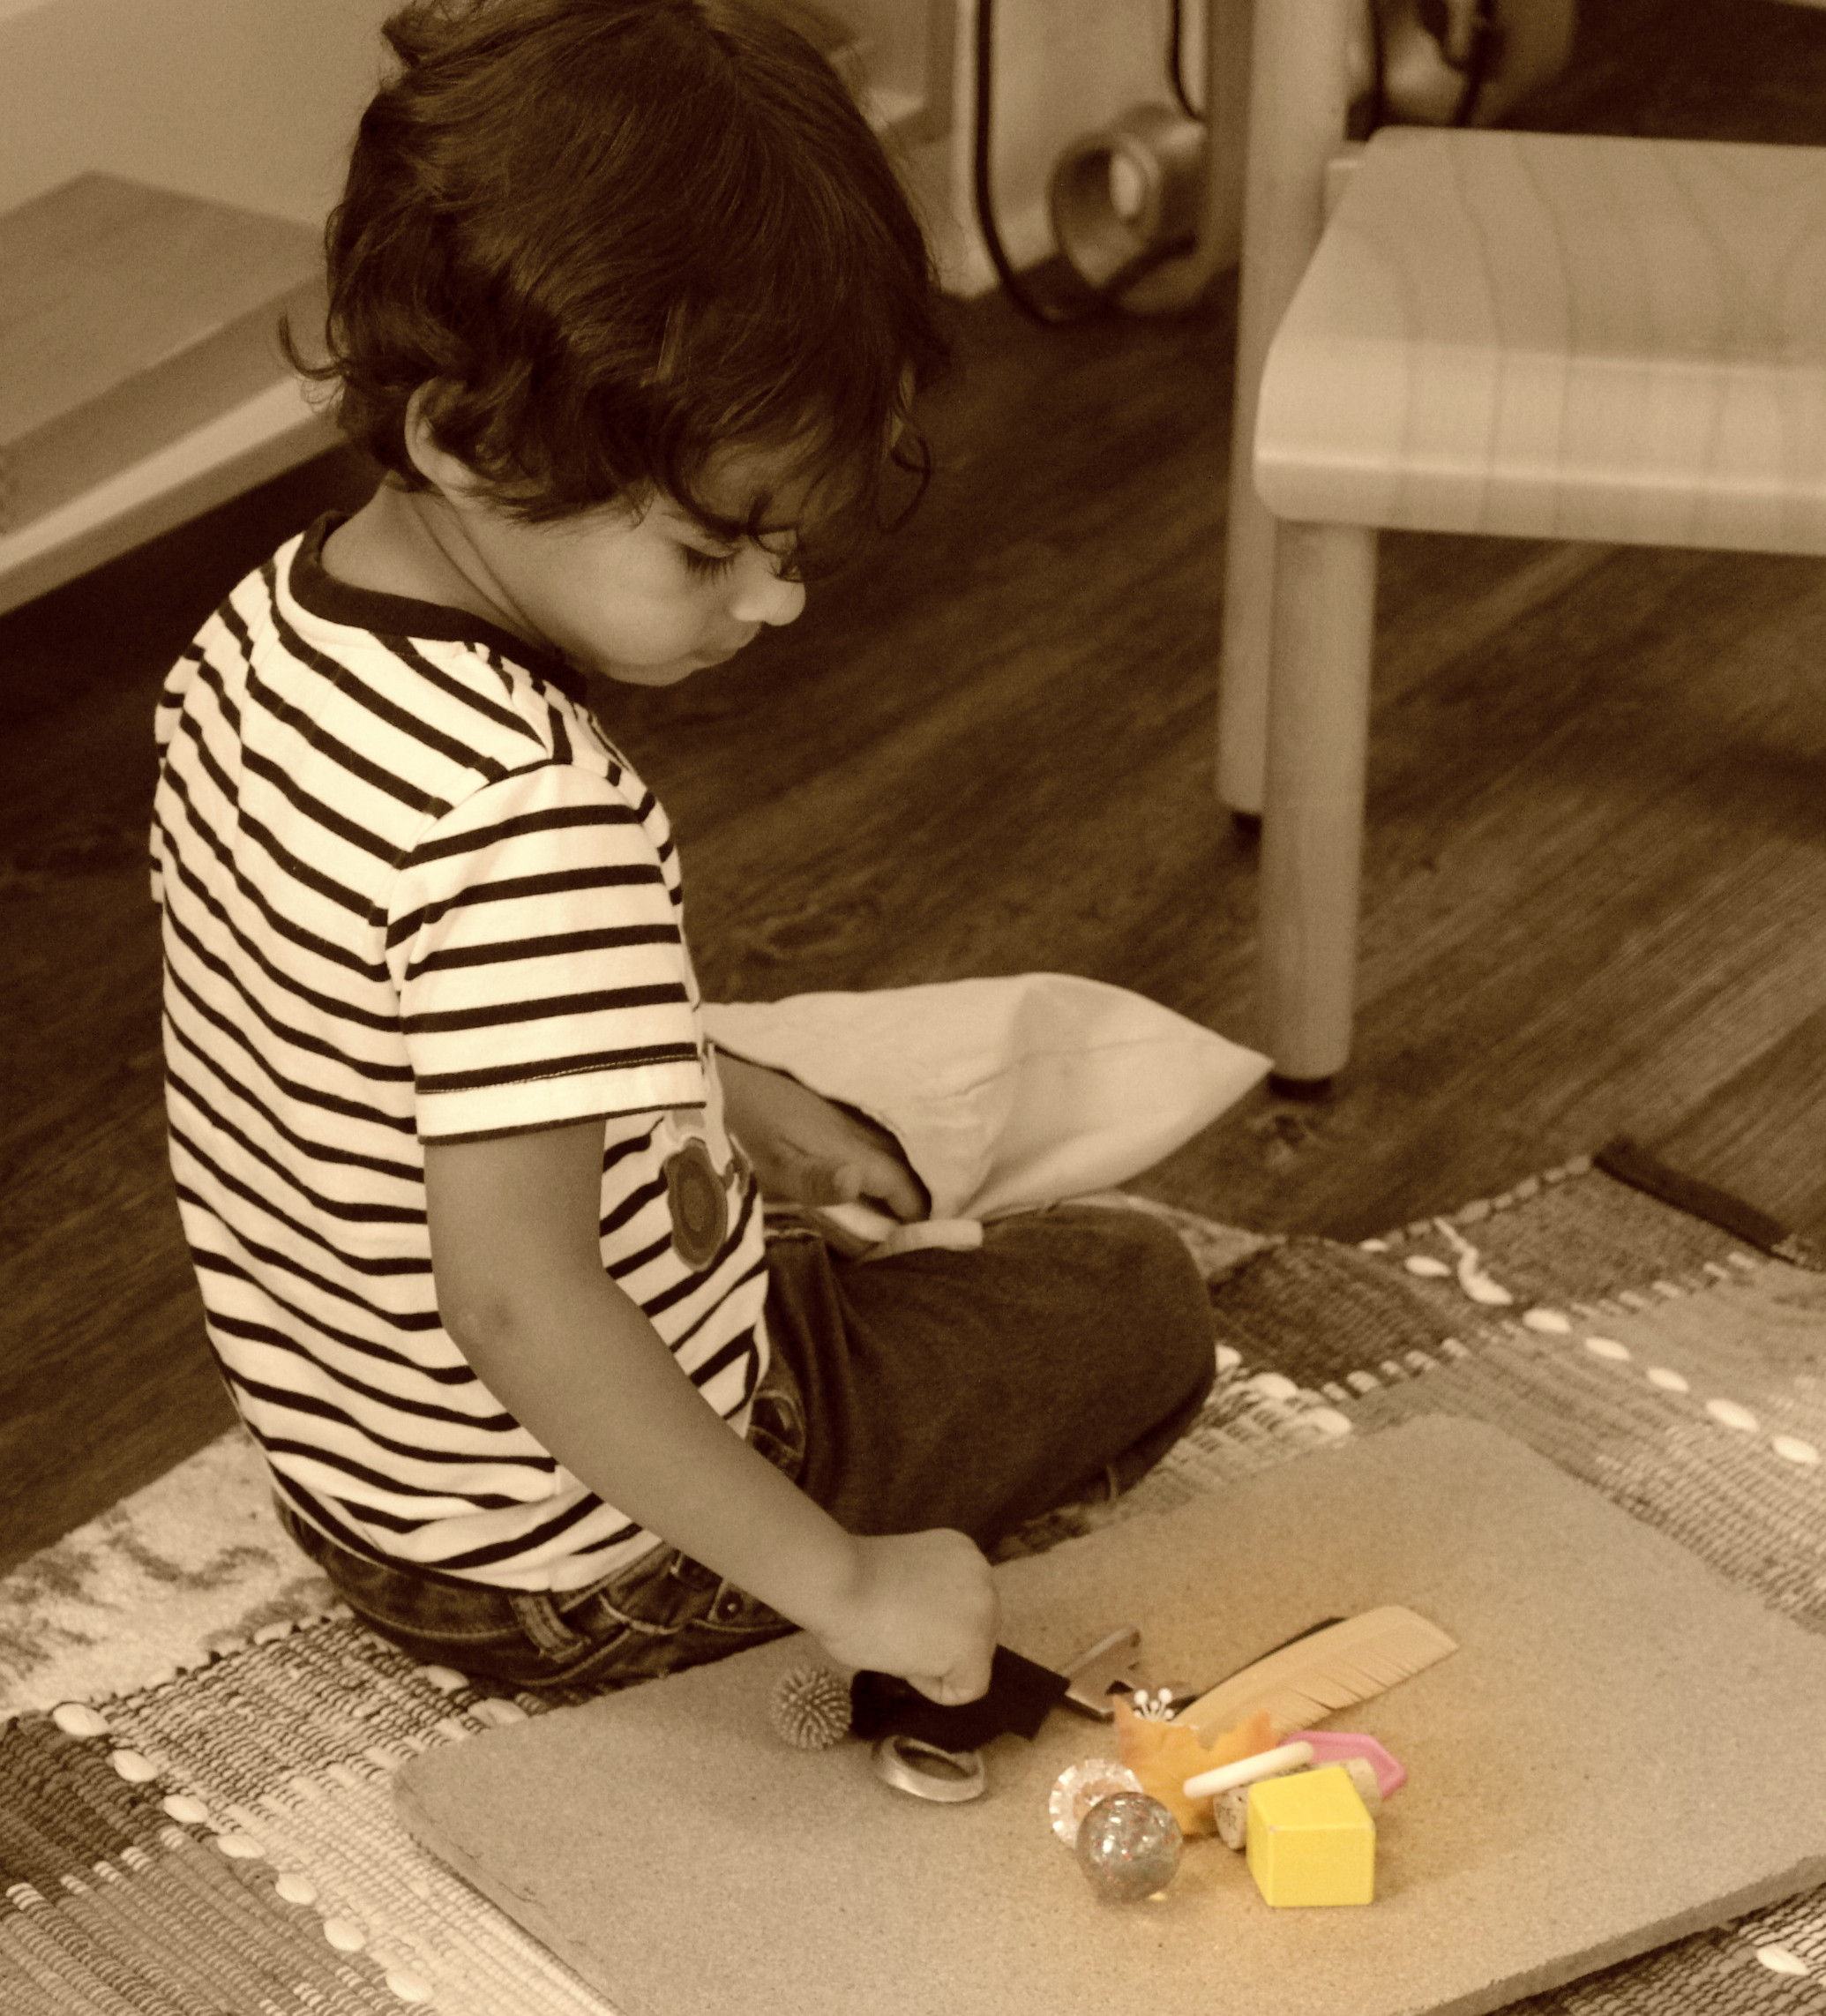
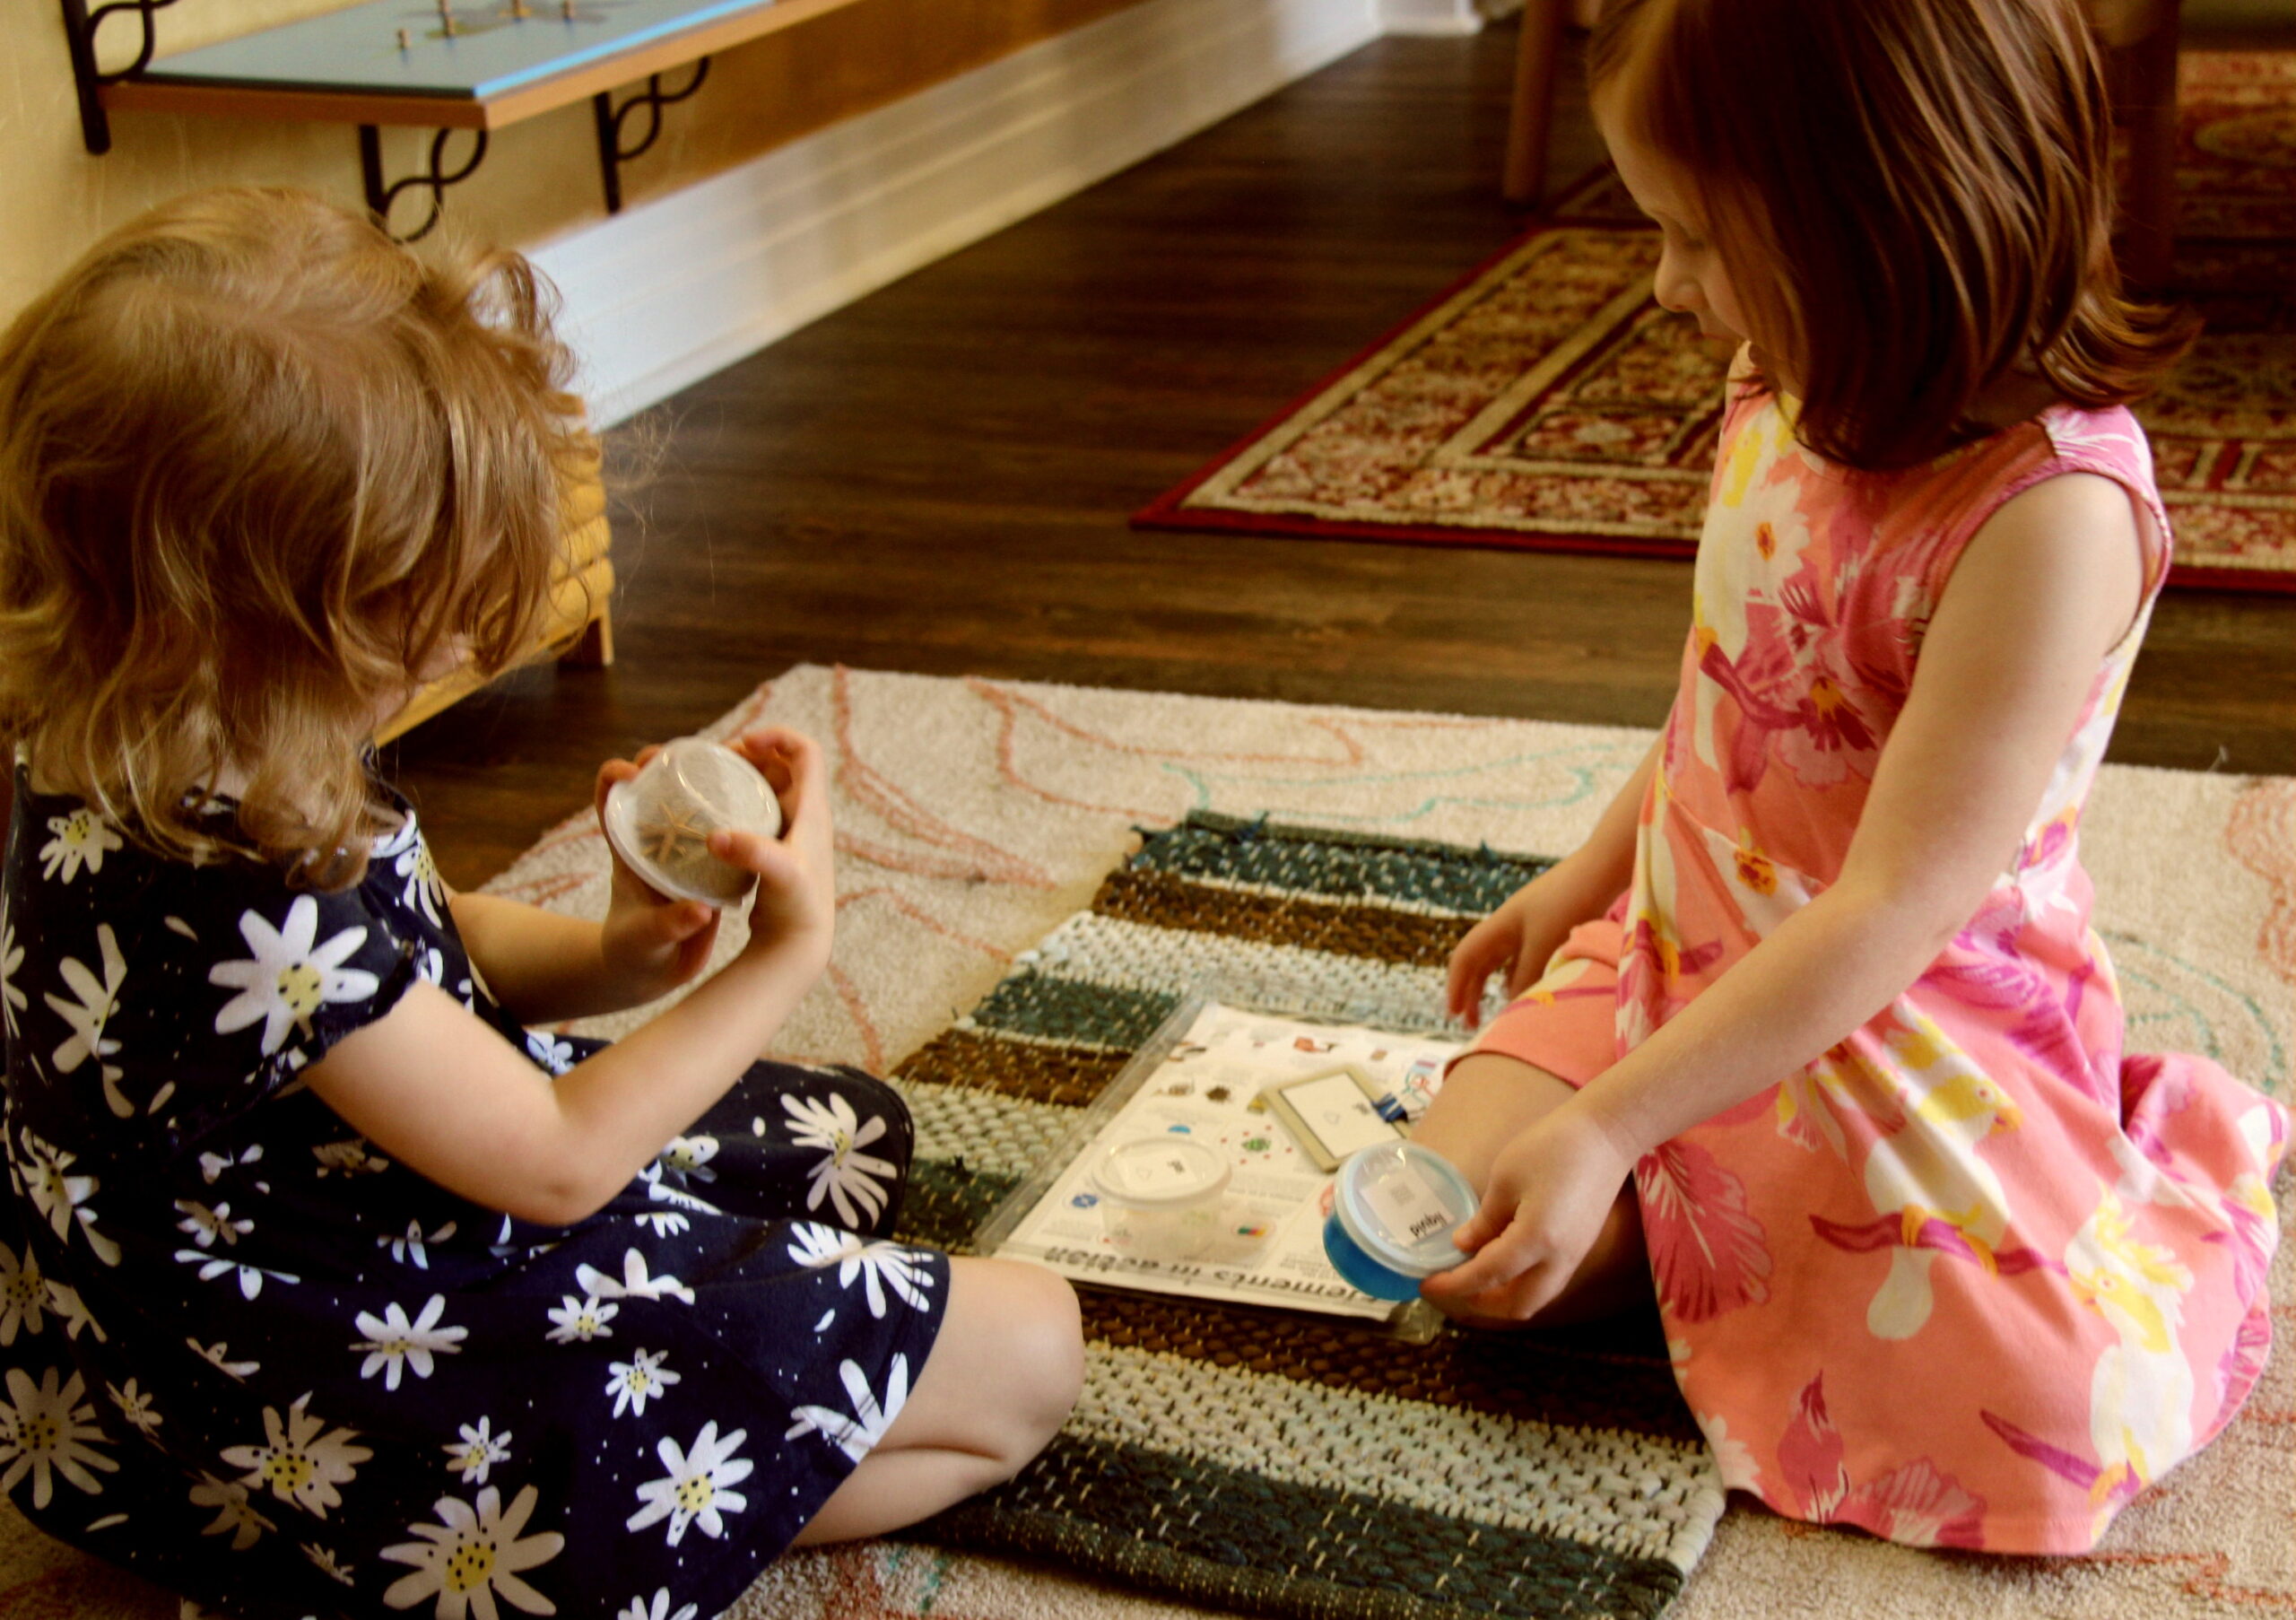
- Mystery Bag – Labeling and describing objects to refine the stereognostic sense.

- Sound Cylinders – Matching sounds with terminology around pitch and volume.

- Triangle Box – Use of different types of triangles to form equilateral triangles.

- Thermic Tablets – Matching temperatures of different materials.

- Wooden Inset Drawers – Insets to learn about rectangles, ellipses, trapezoids, quatrefoils, curvilinear shapes, pentagons, and concentric circles.
- Shapes Found in the World: Card Work. Identifying and sorting shapes in imagery of buildings and objects found in the world.

- Yellow Cylinder Box – Grading wooden cylinders by height and diameter.
- Large Hexagon Box – Joining triangles to create 4 sided shapes.

- Knobbed Cylinders – visual discrimination of dimensions. Vocabulary around depth & thickness.


Activities for Exercising Our Bodies
We offer safe places in the classroom for body movement such as stretching, yoga and dance. We also offer movement classes periodically throughout the school year. This year, we are happy to invite Ms. Rachael to start the year off with some peaceful dance moves, since this is an area of expertise for her. Rachael is a part-time dance instructor for a Raleigh dance company where she teaches hip-hop, ballet, and modern dance to a variety of age groups.

Recent lessons with Ms. Rachael:
- Balance and locomotor skills.
- Breathing exercises and peaceful yoga positions.
- 5 positions in ballet.
Transitional Activities.
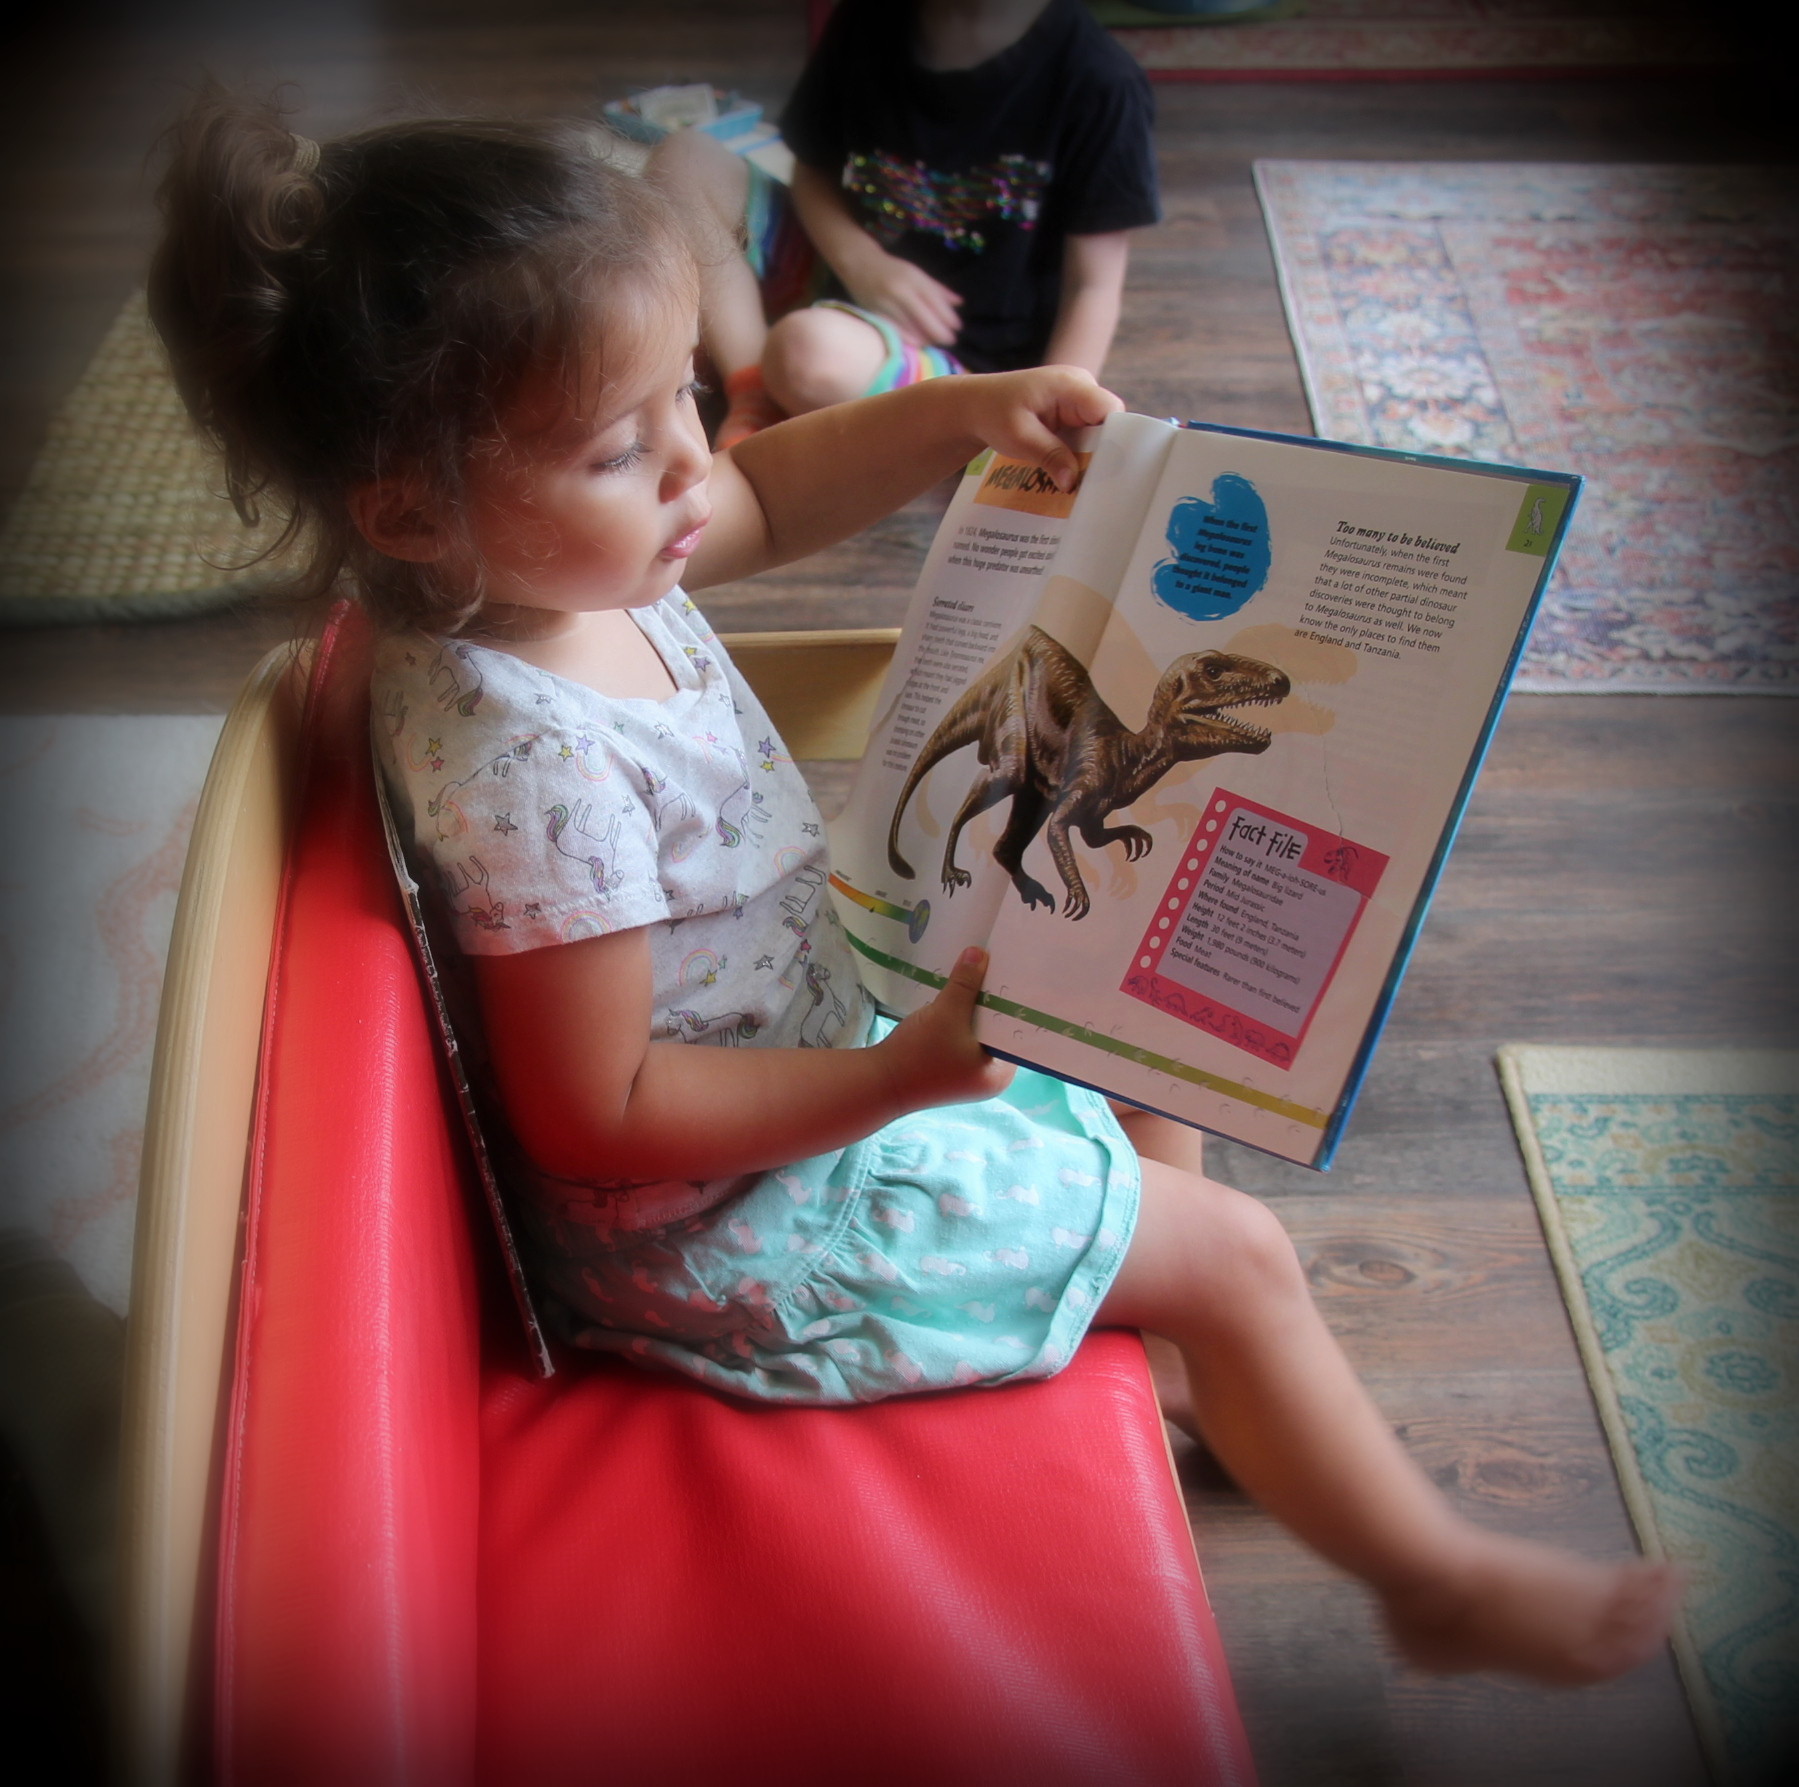
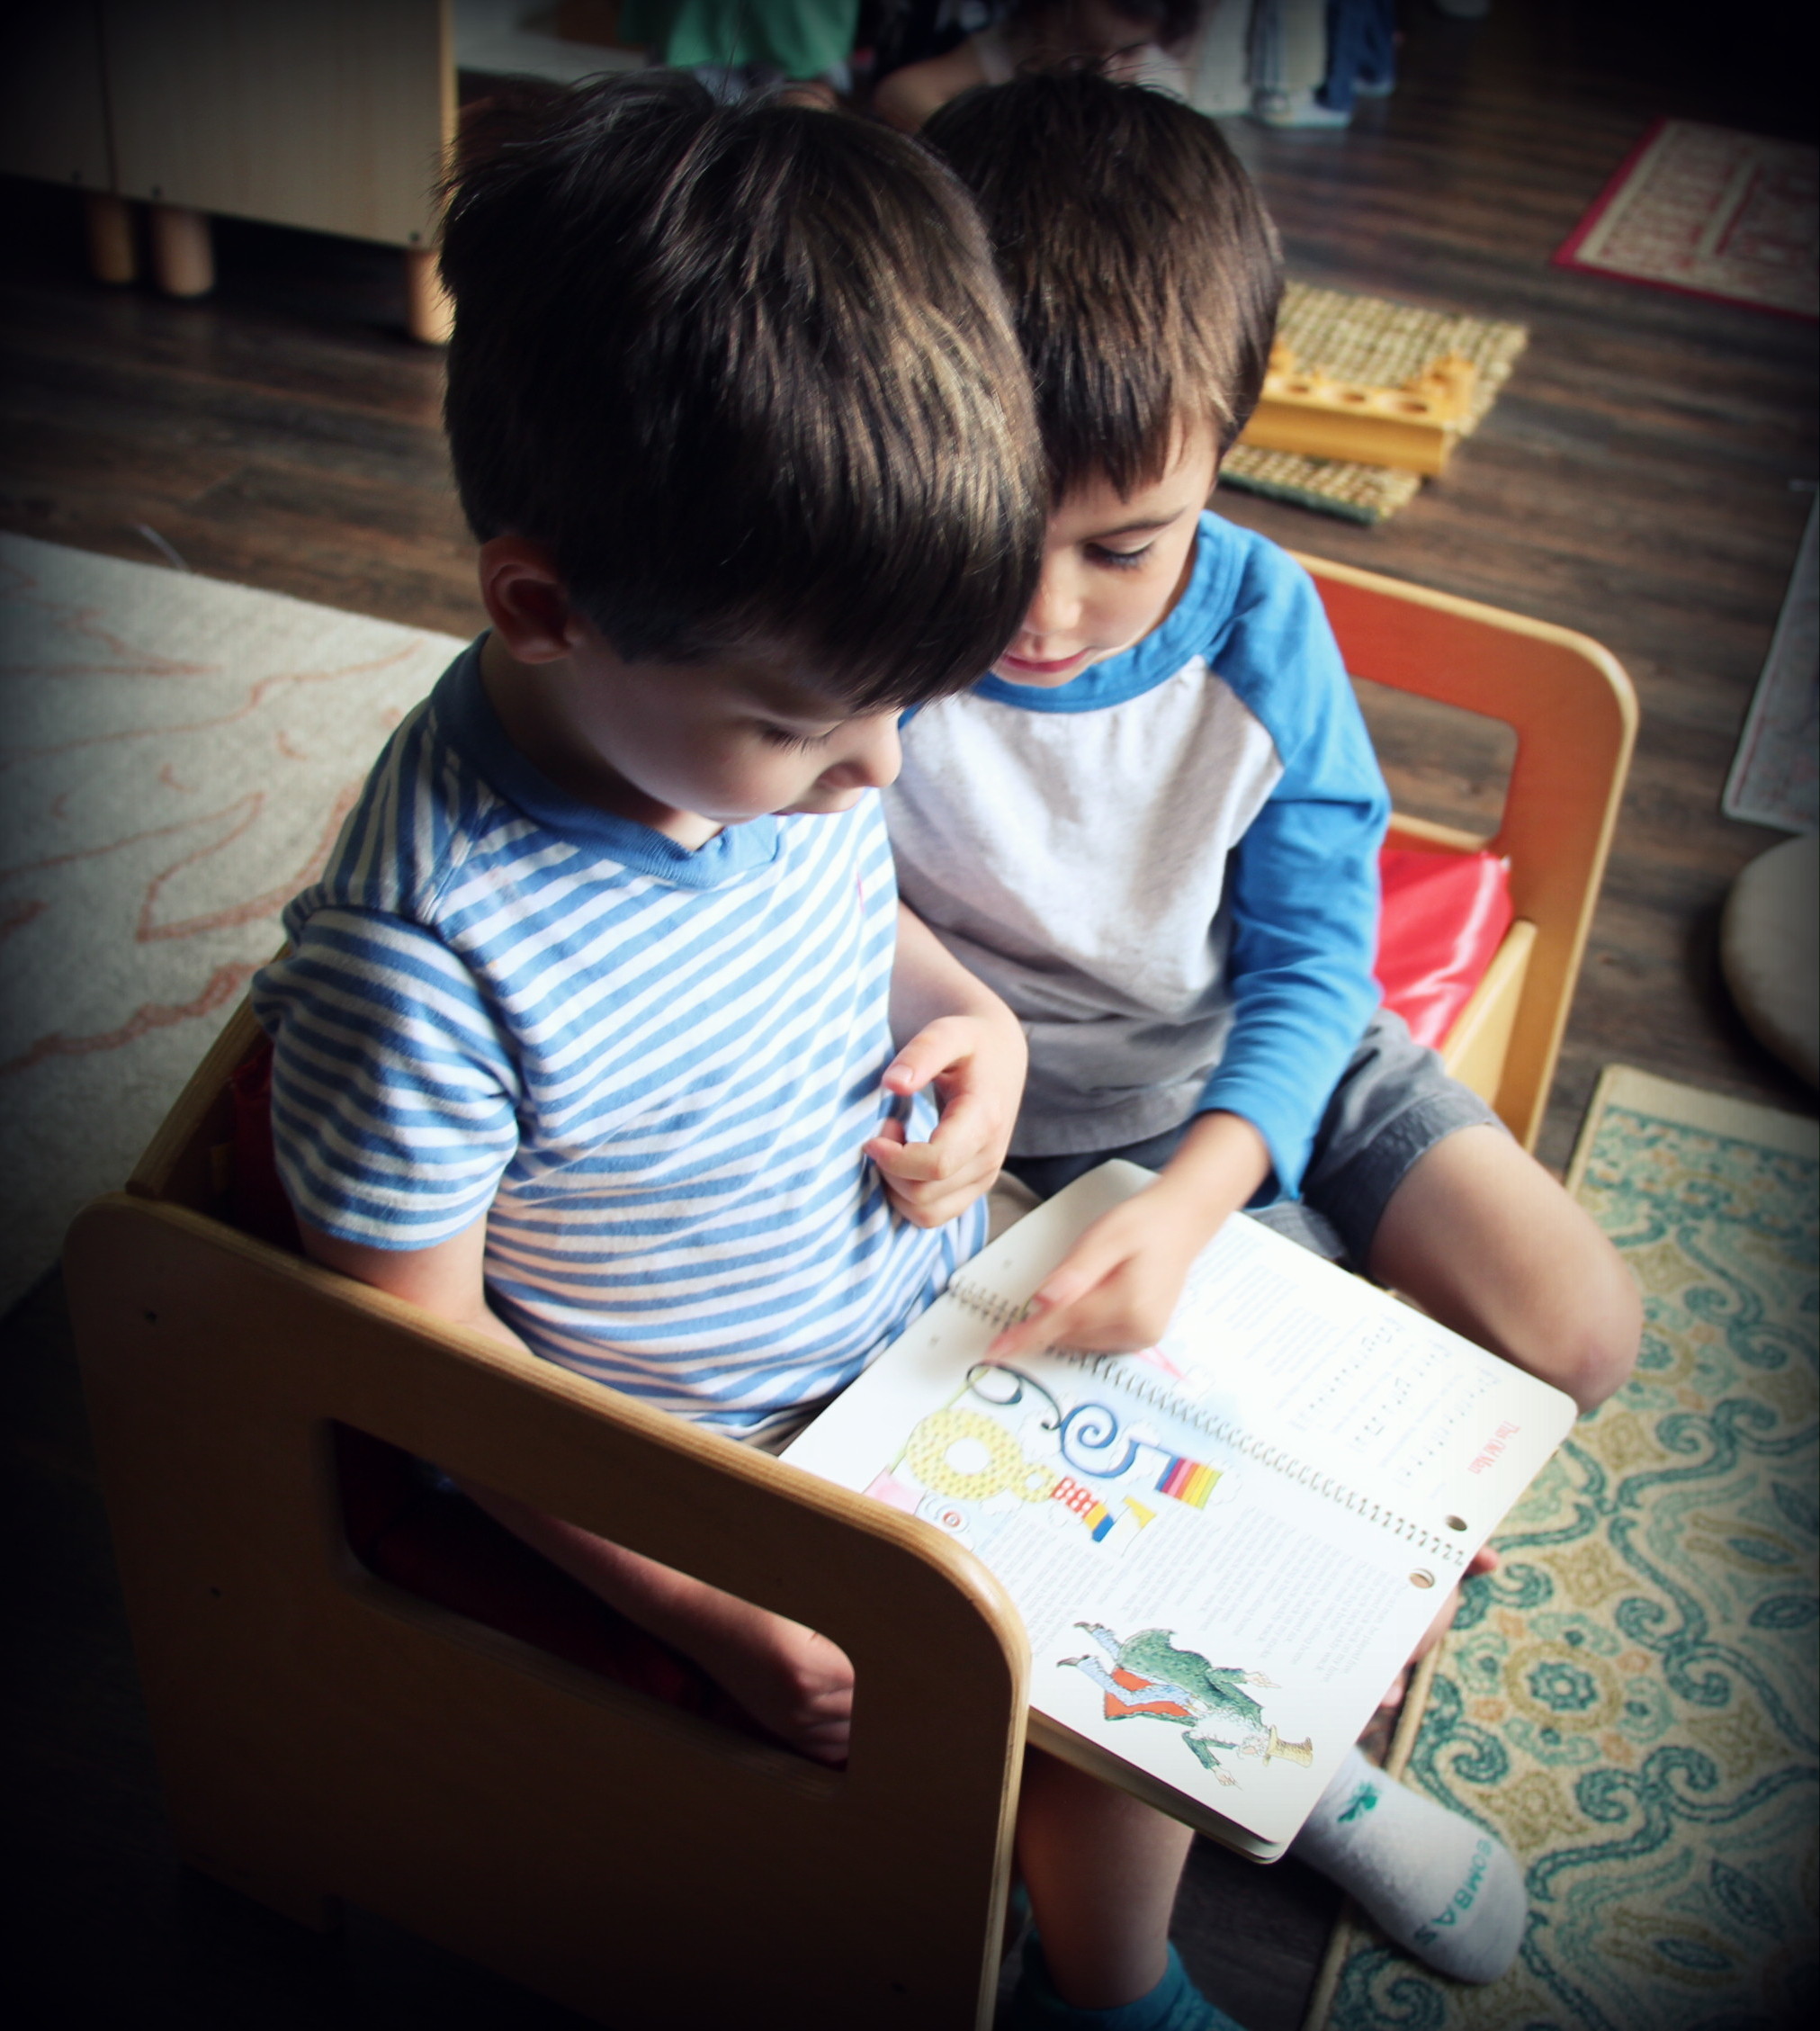
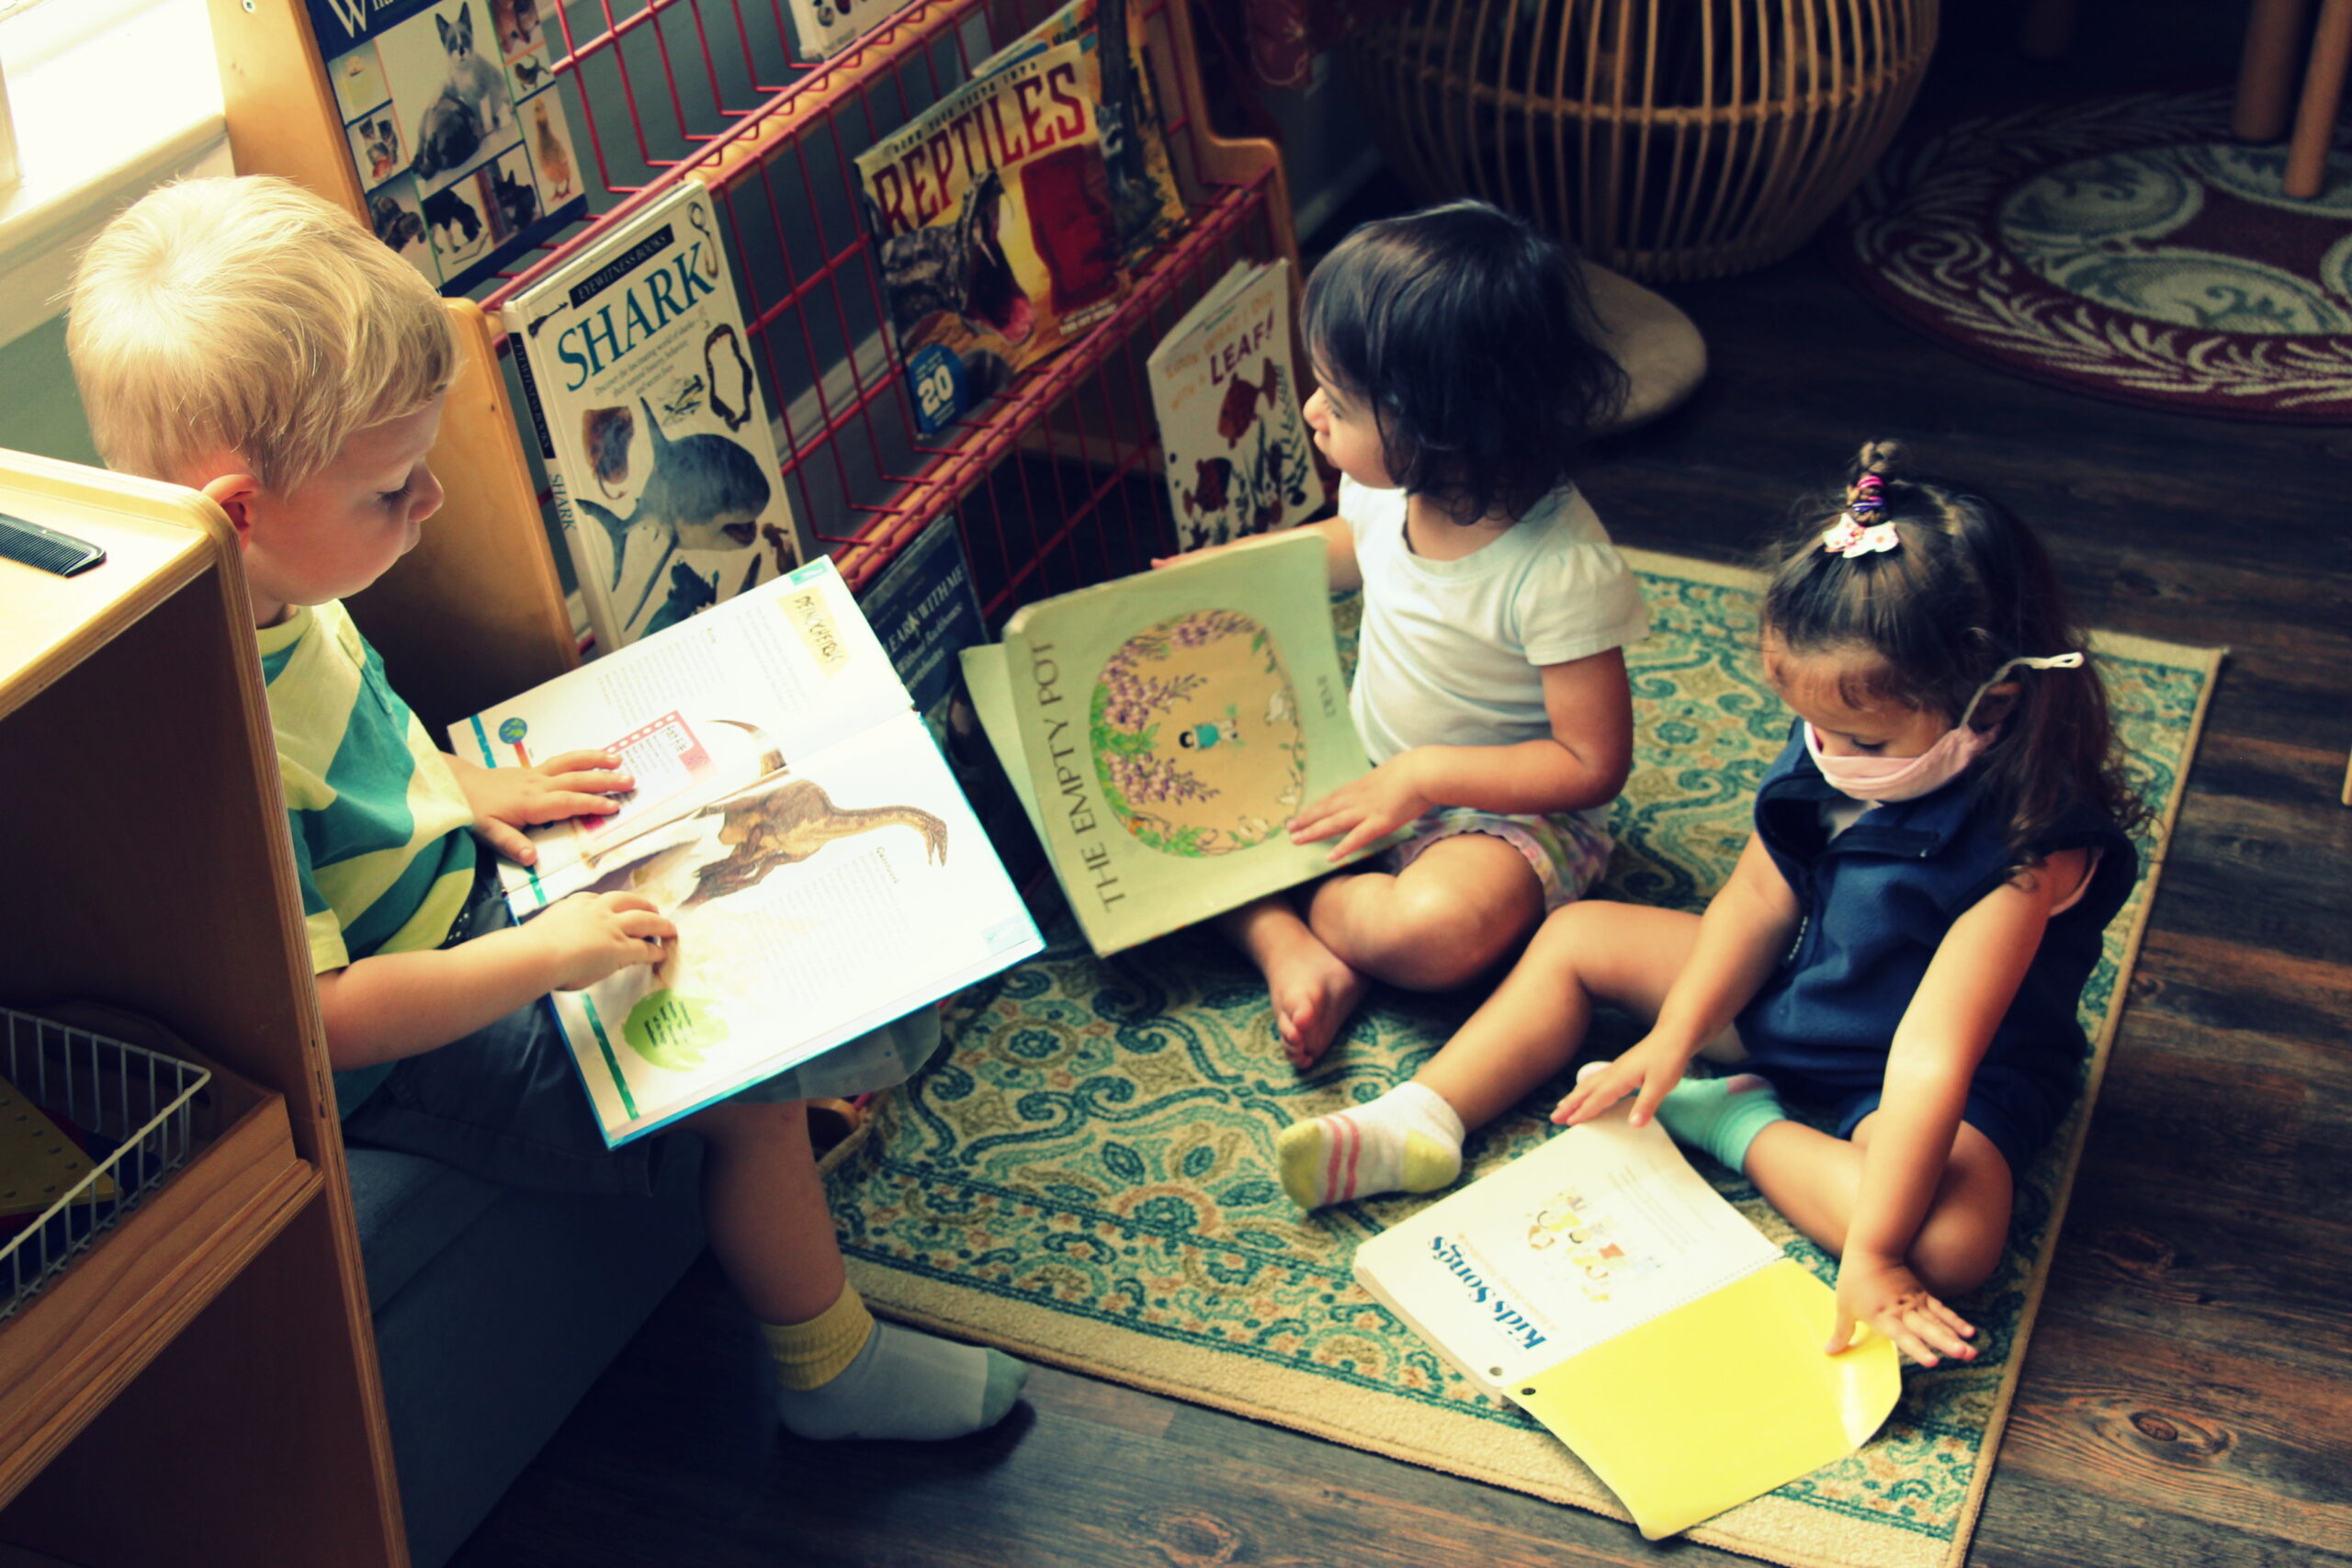
Transitional activities are activities that we offer during our big transition period after the lunch time, beginning just as children are being excused to clean up their lunches and use the restrooms. Since each child is eating and cleaning up at their own pace, transitional activities are offered for children as they wait for everyone to finish up before our last circle time. Everyone usually gets a chance to work on these activities as we like to give at least 5-10 minutes to everyone once they have all finished up. So far, we have rotated through books and wooden puzzles, and we will be adding art activities, building blocks, and more complex puzzles in the near future.


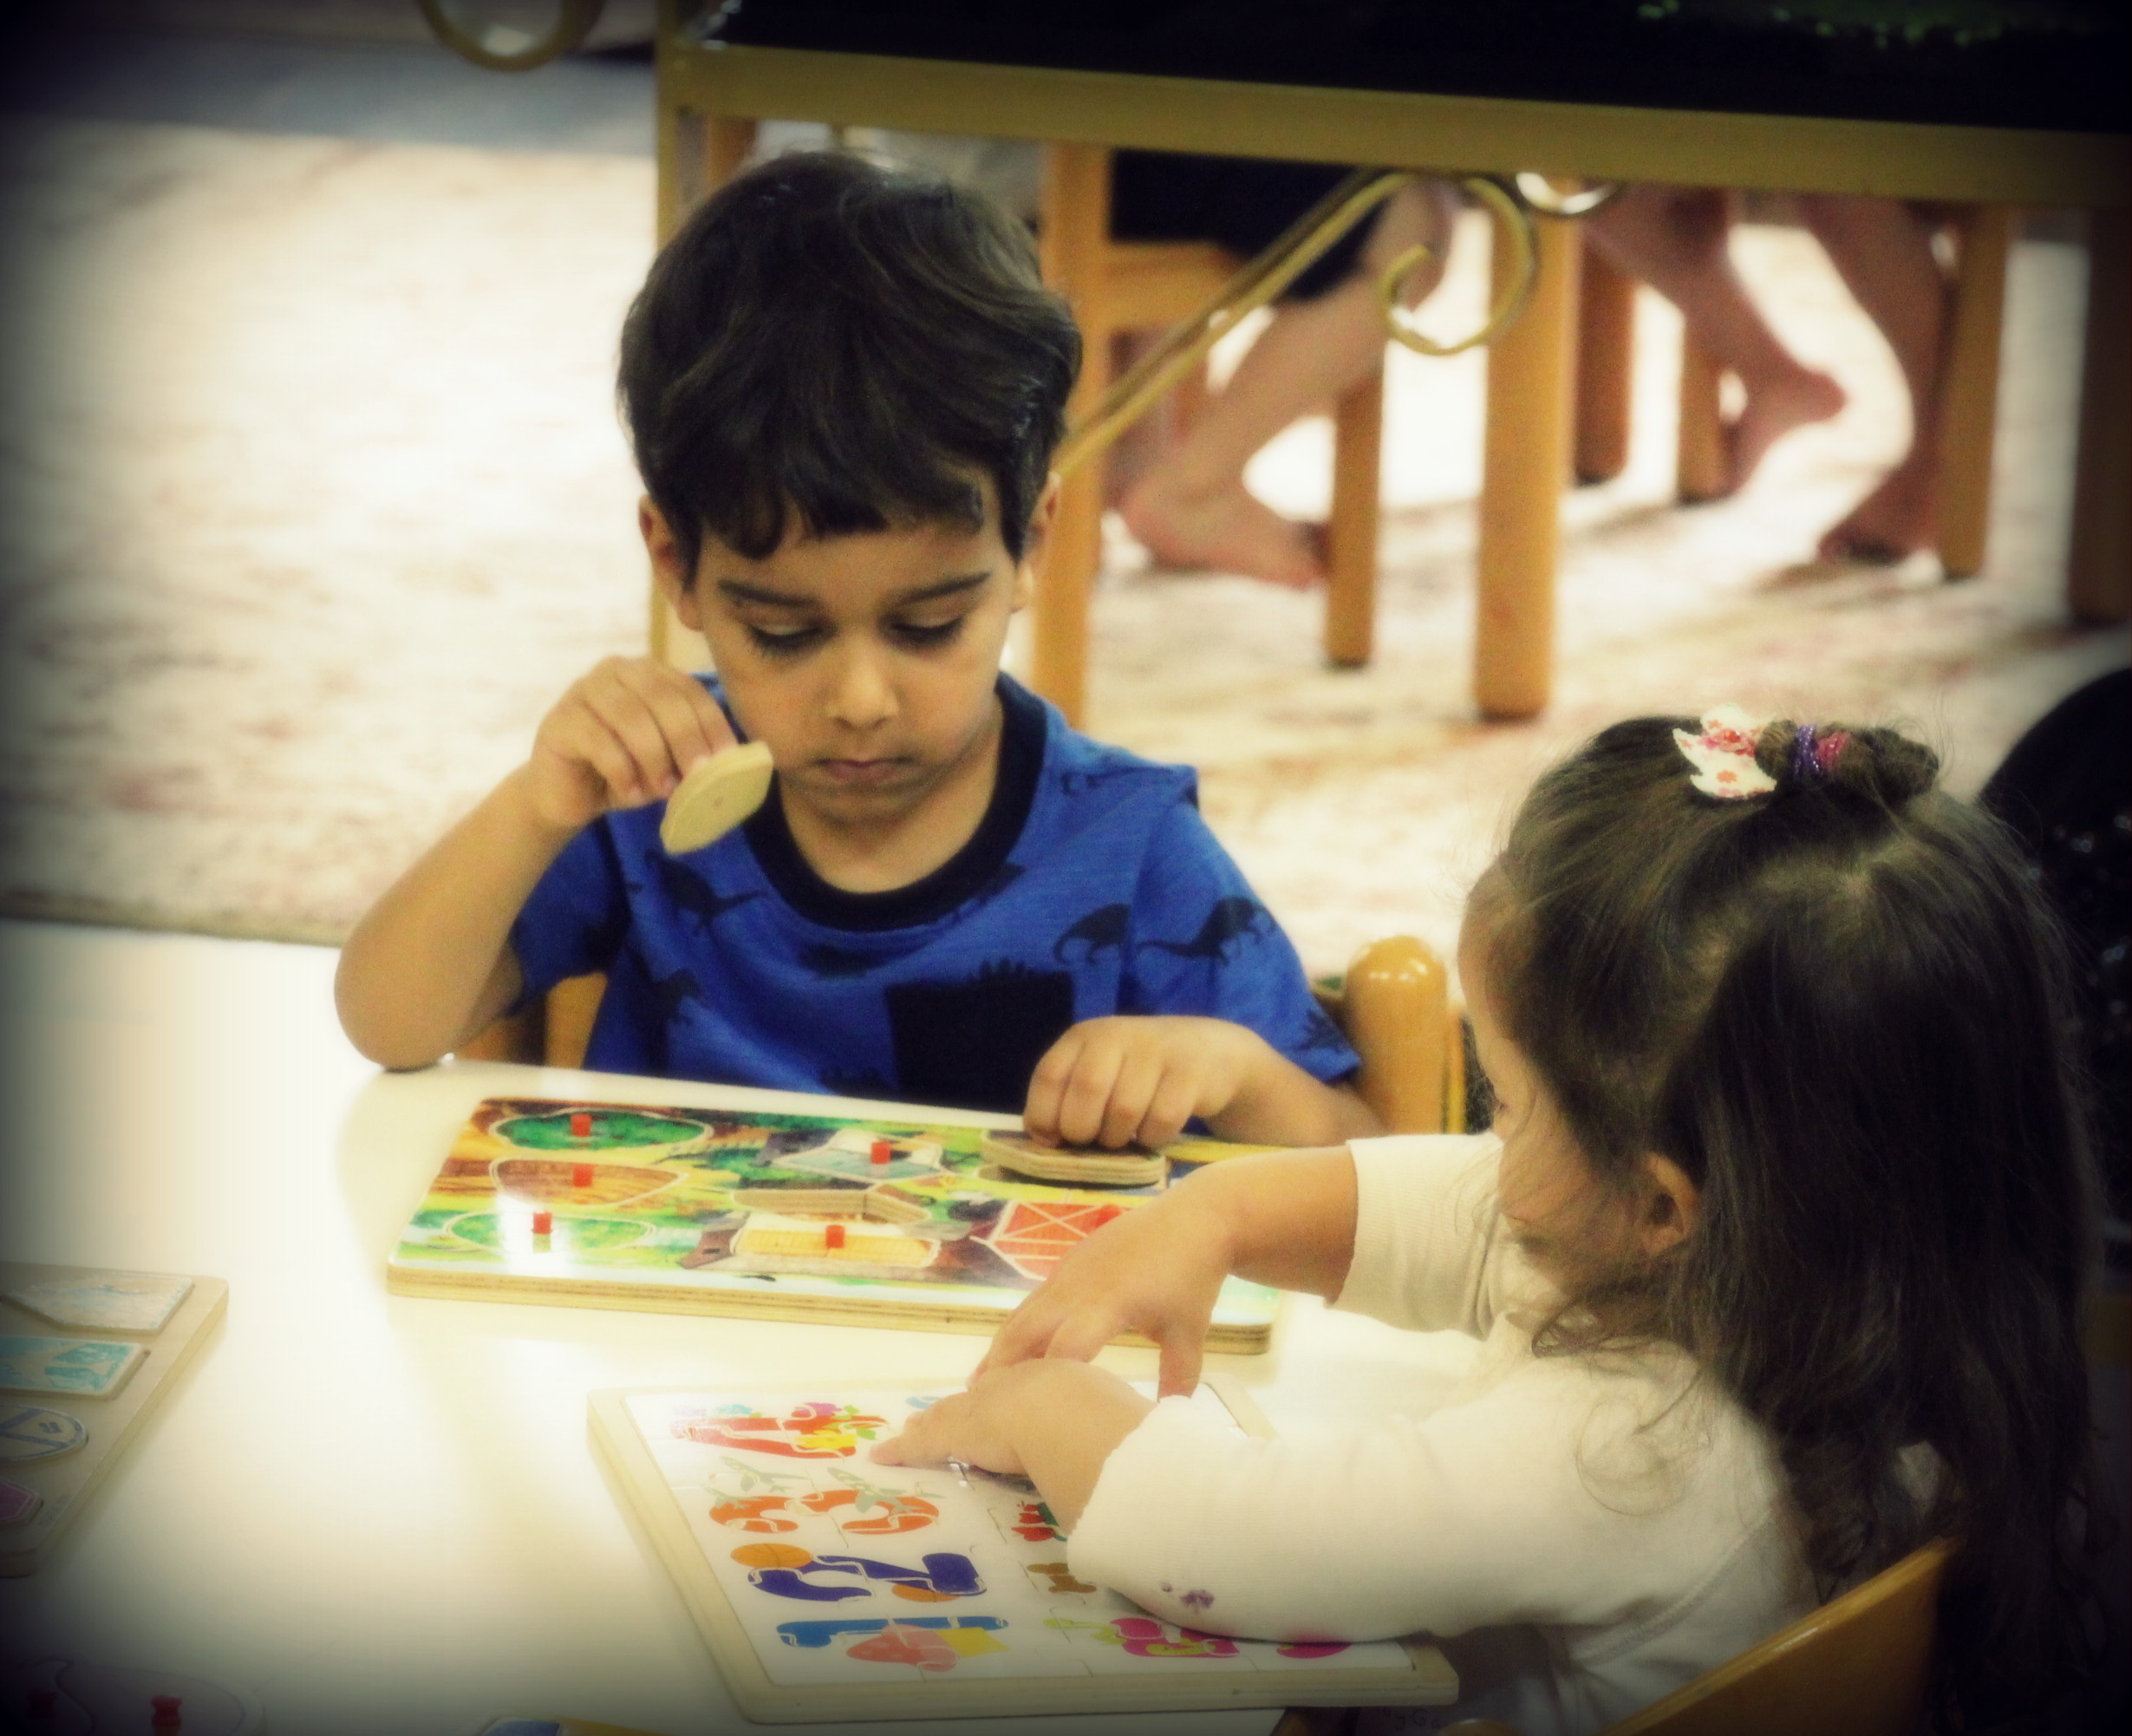
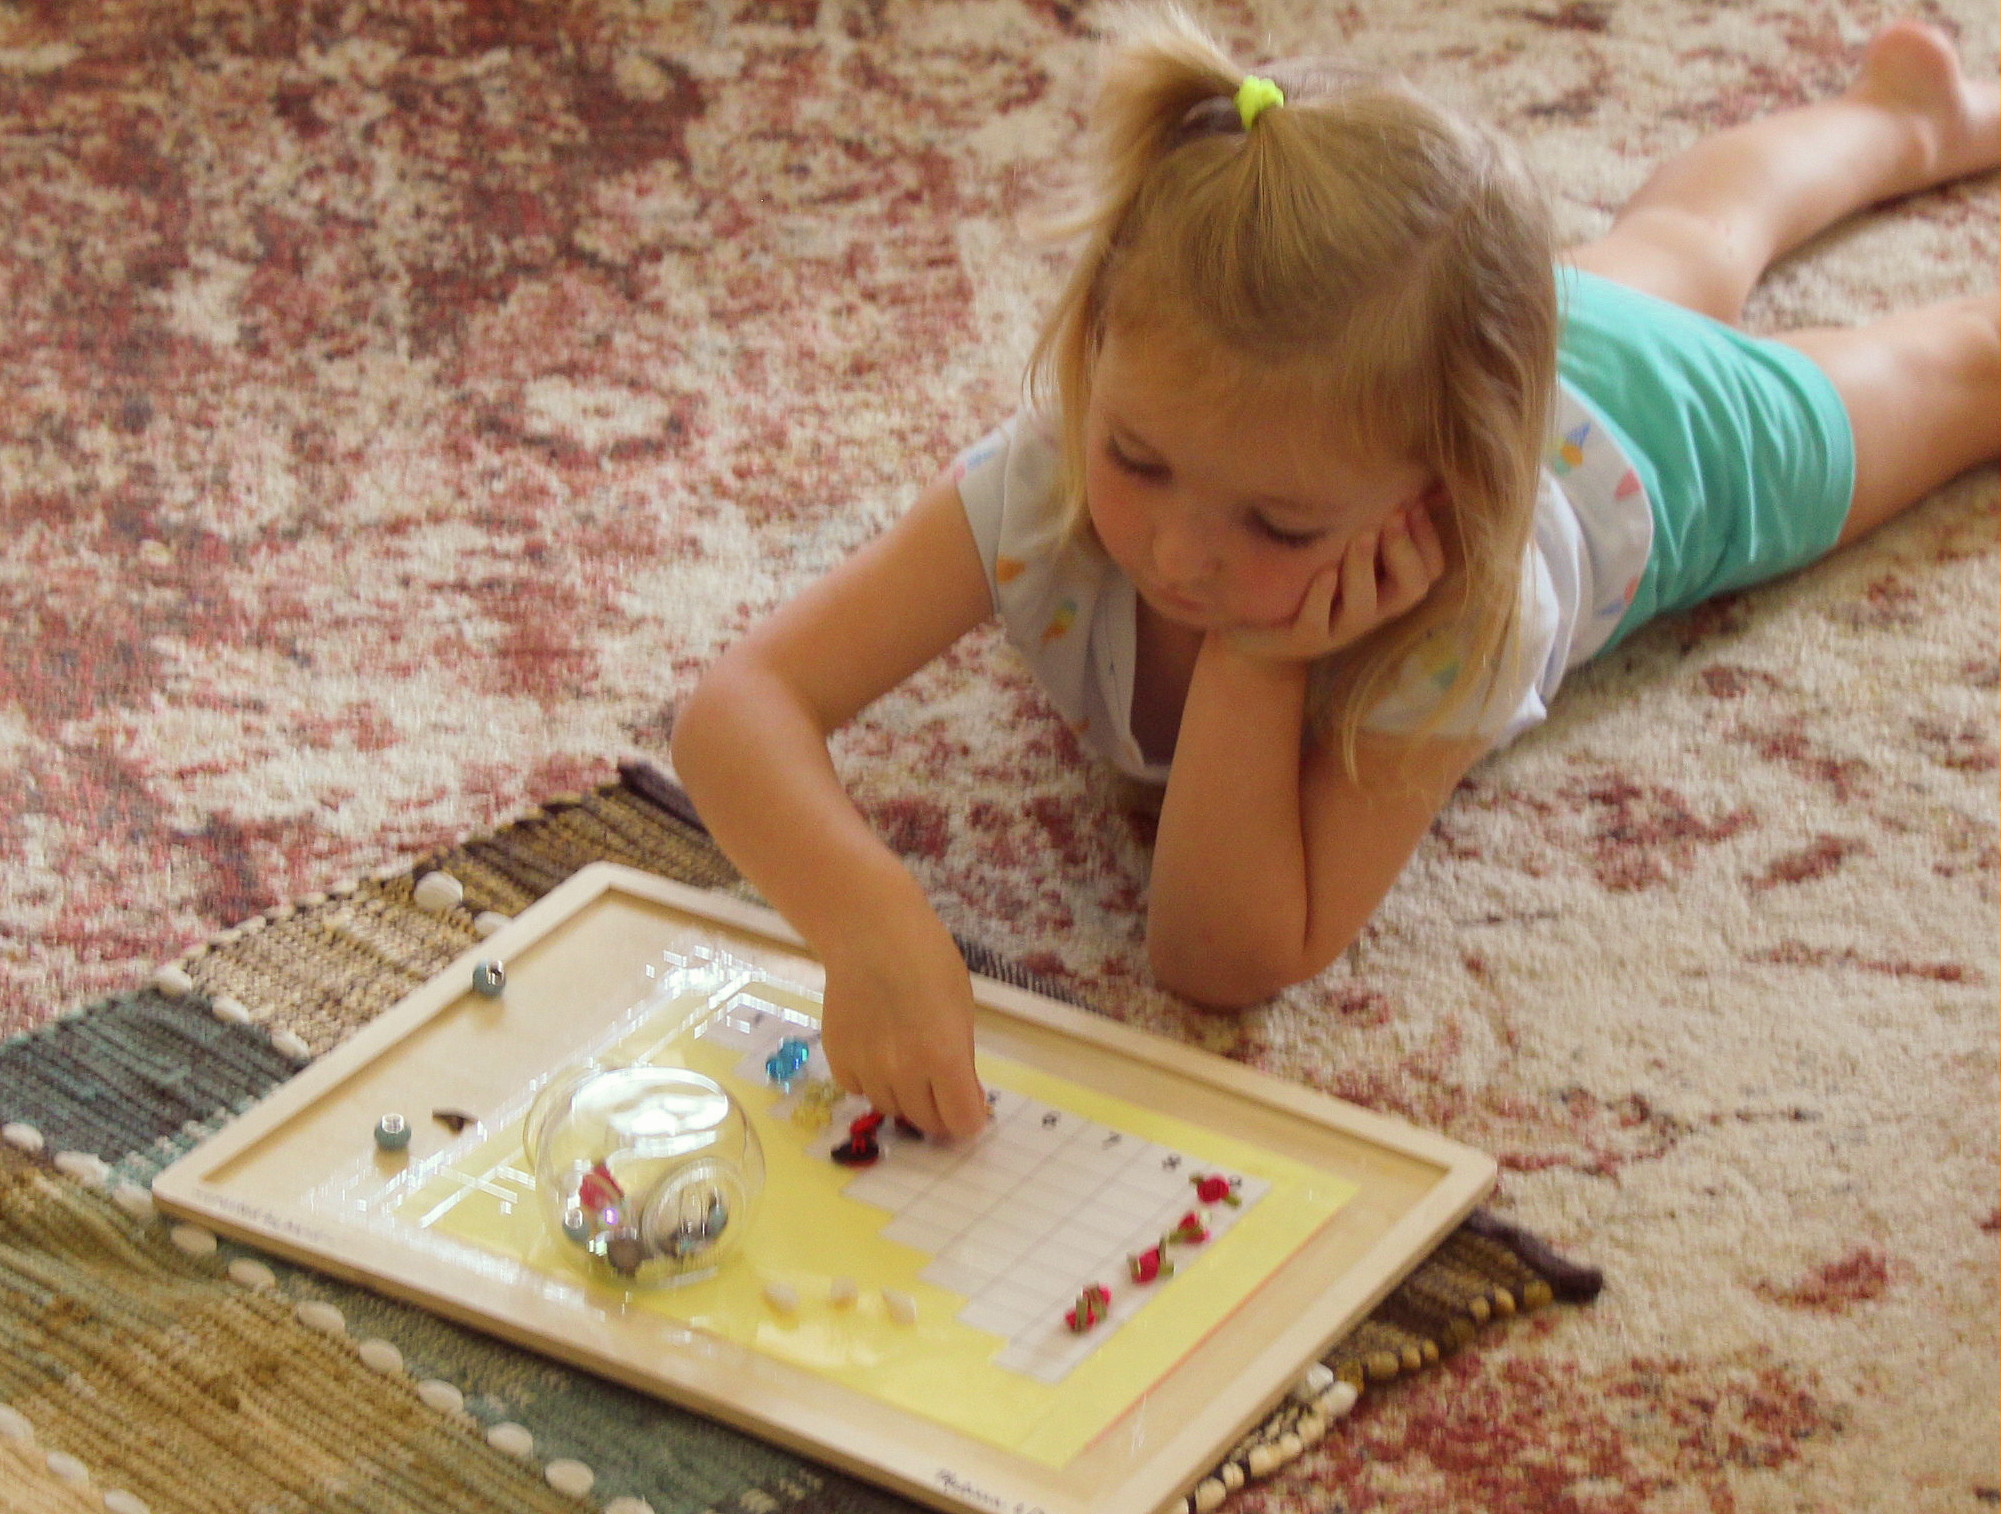
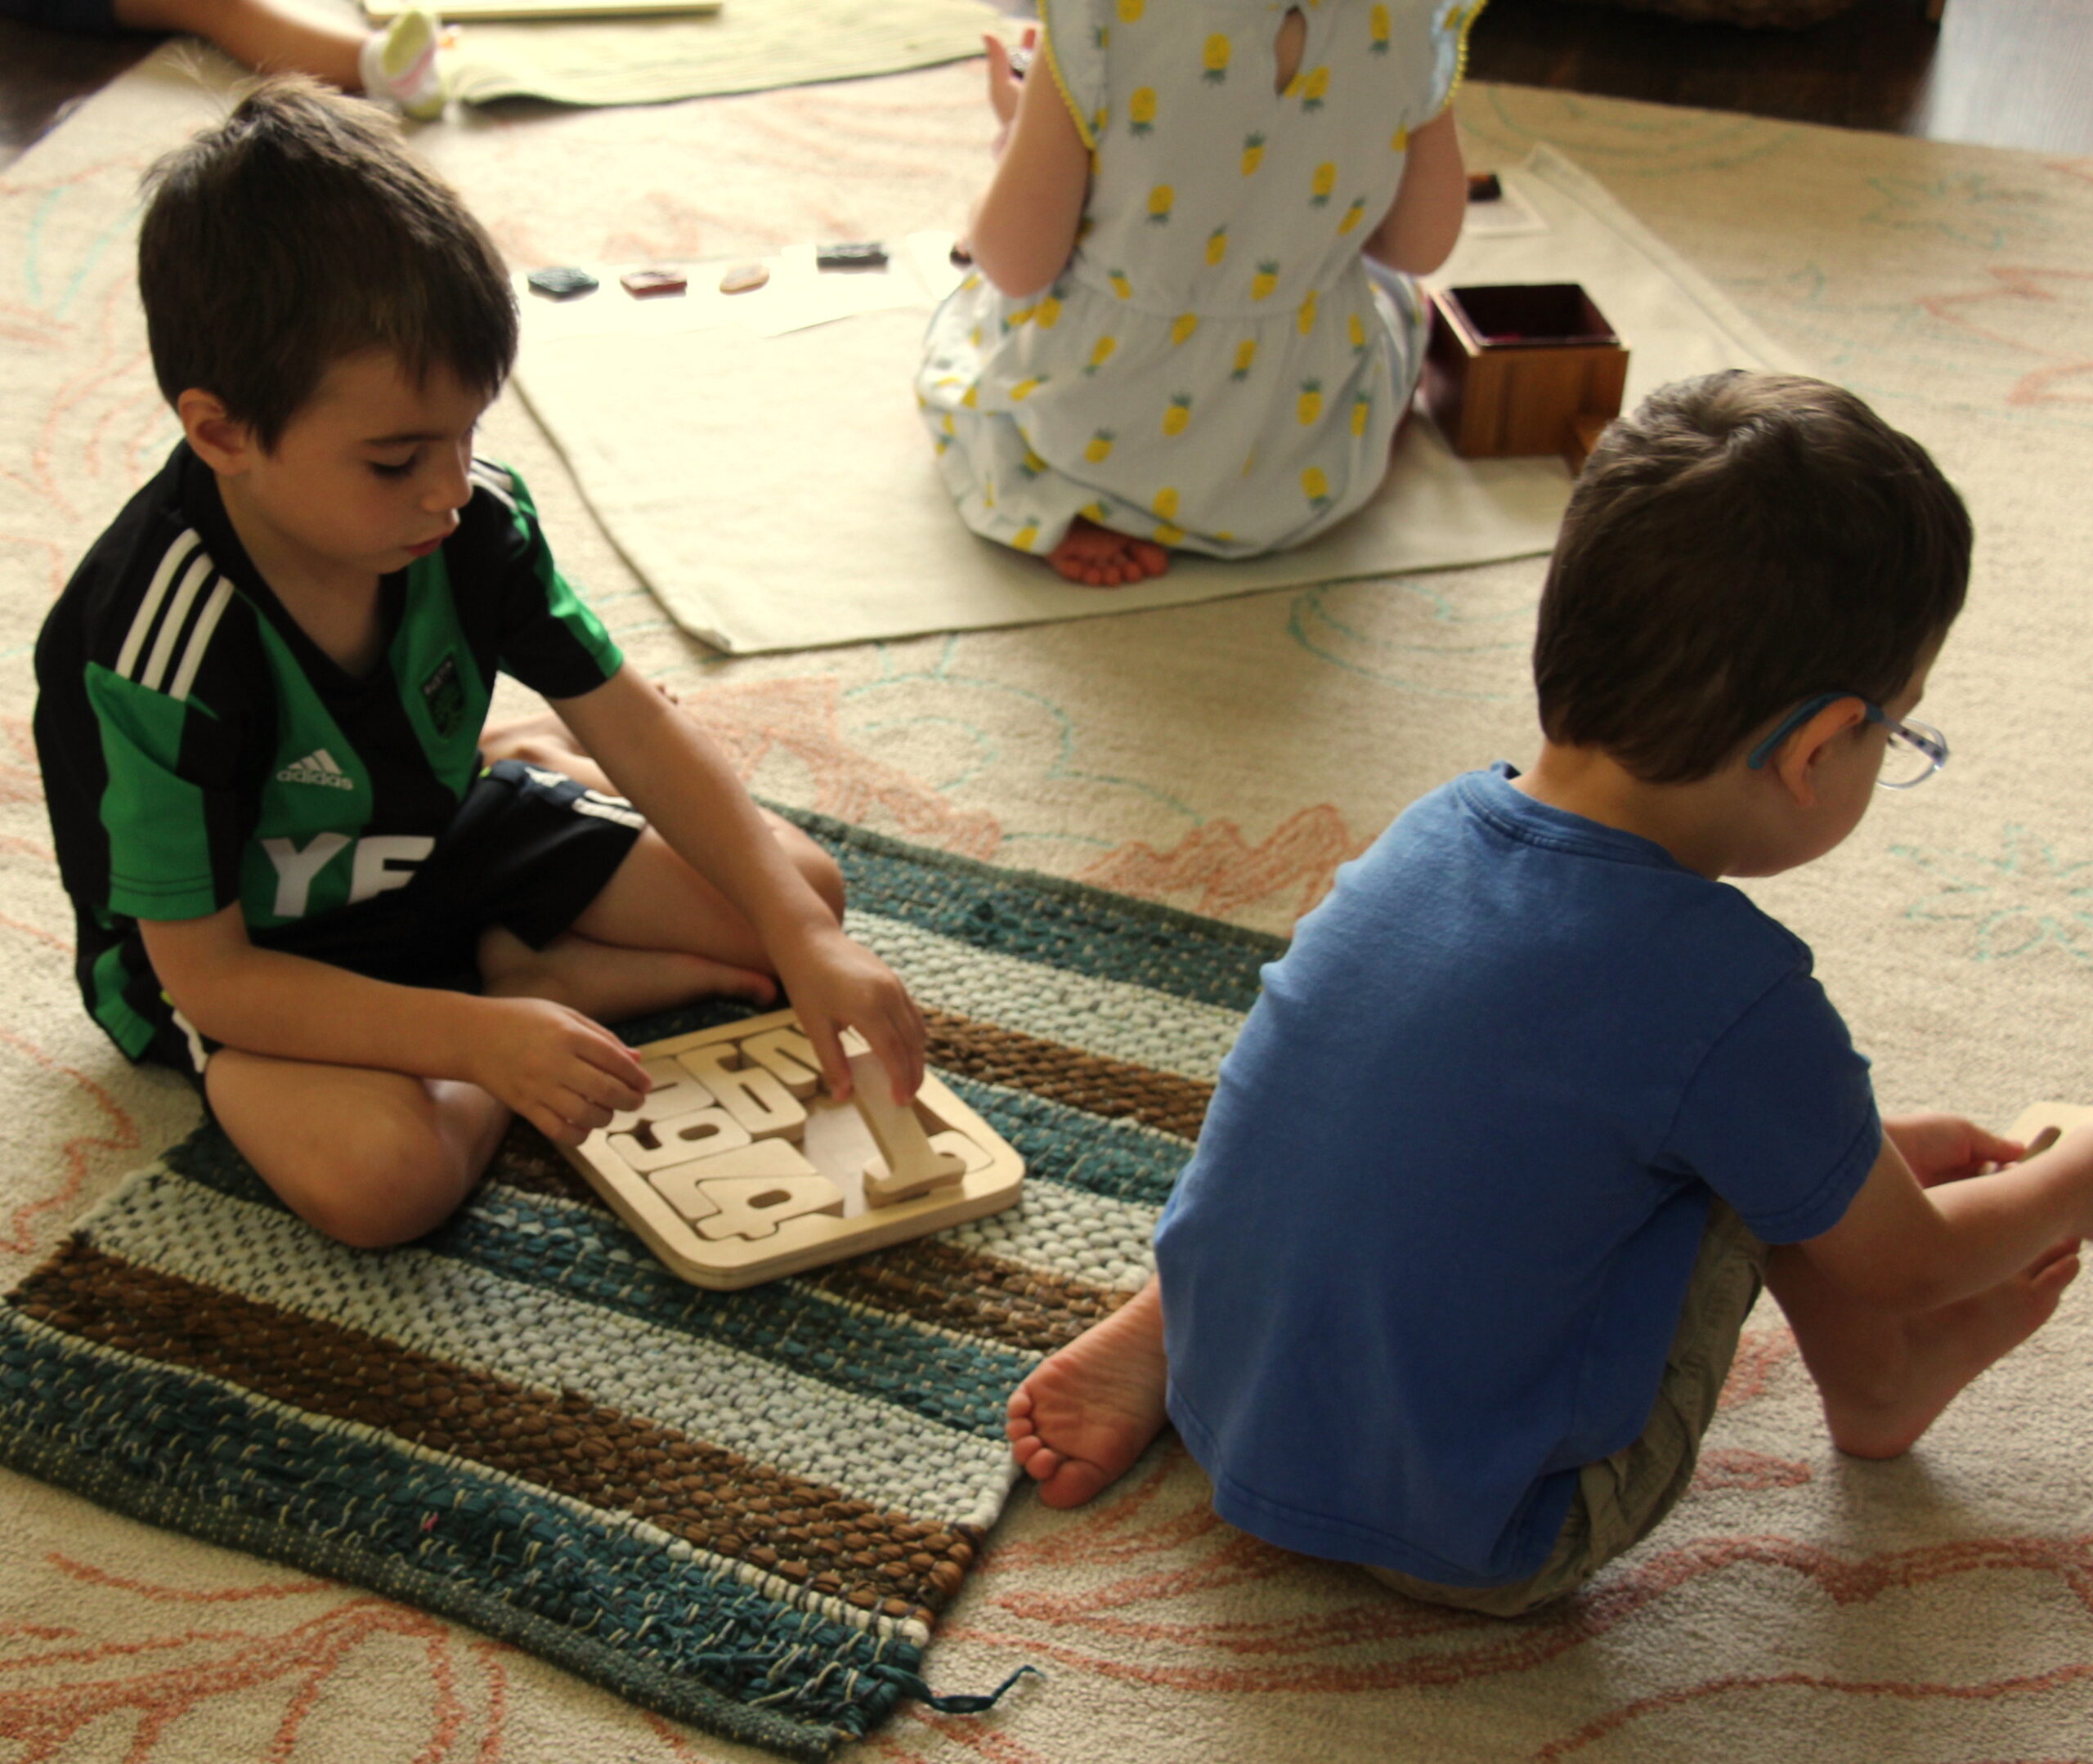
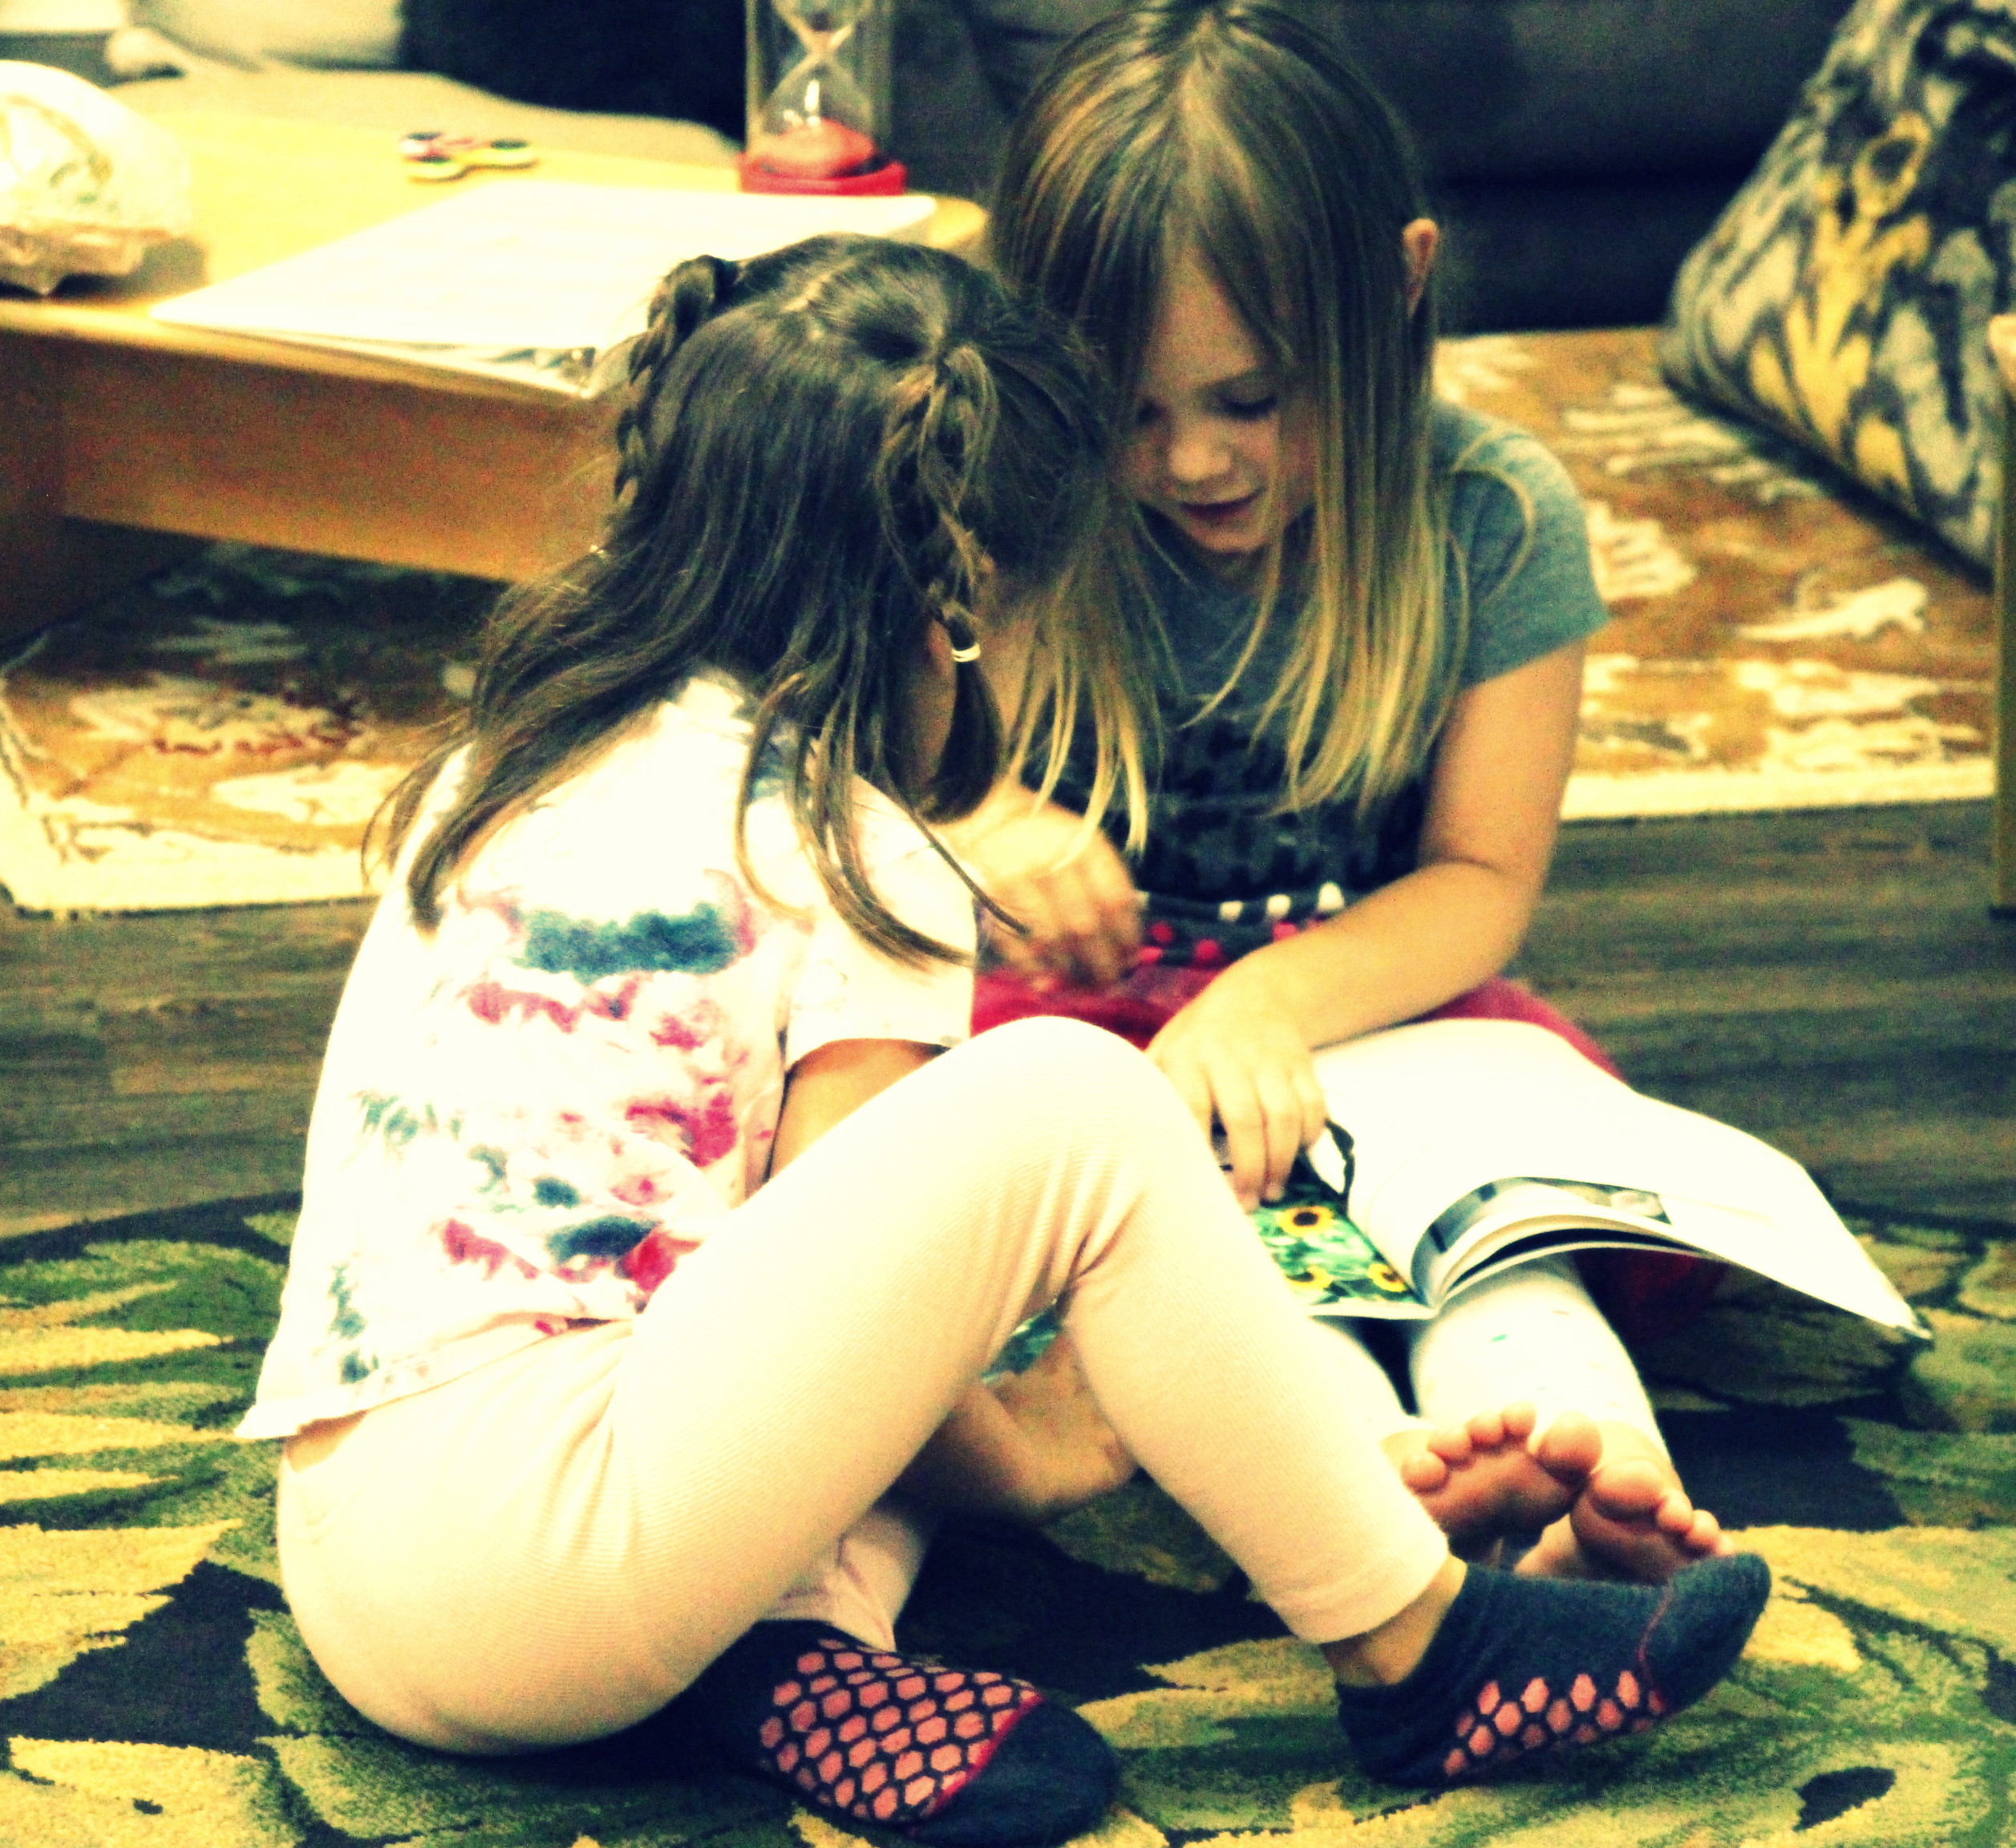
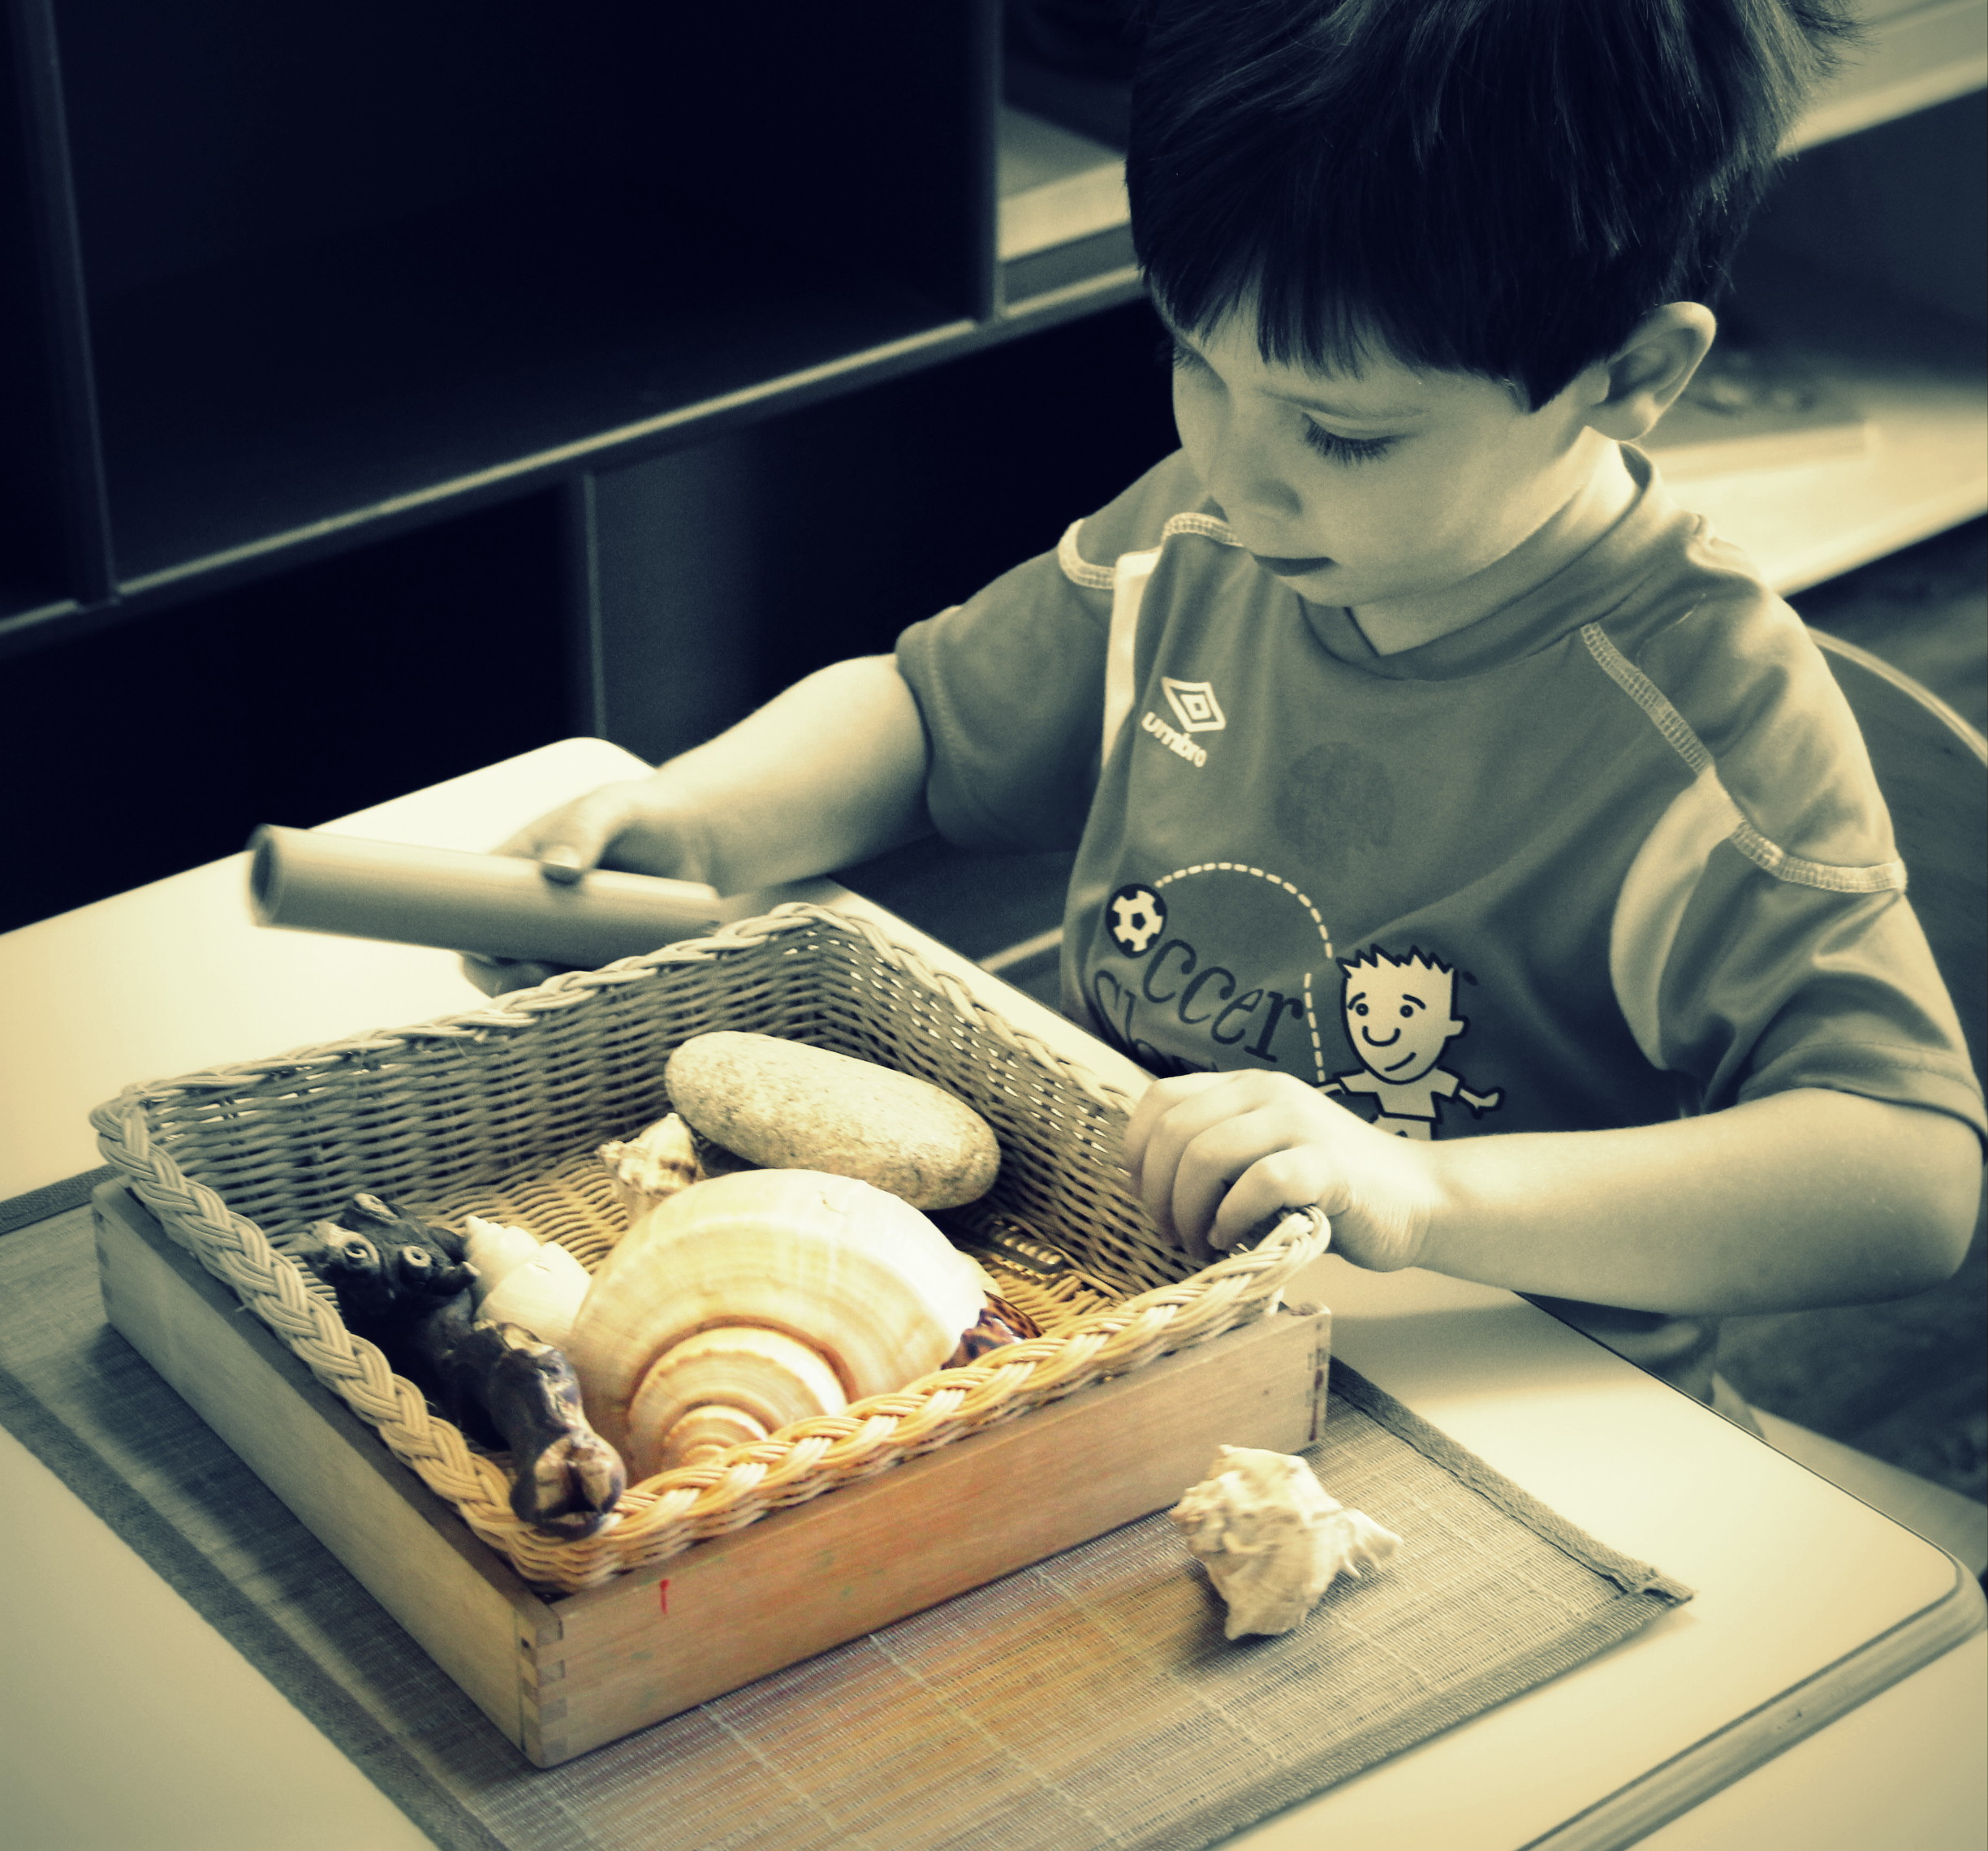
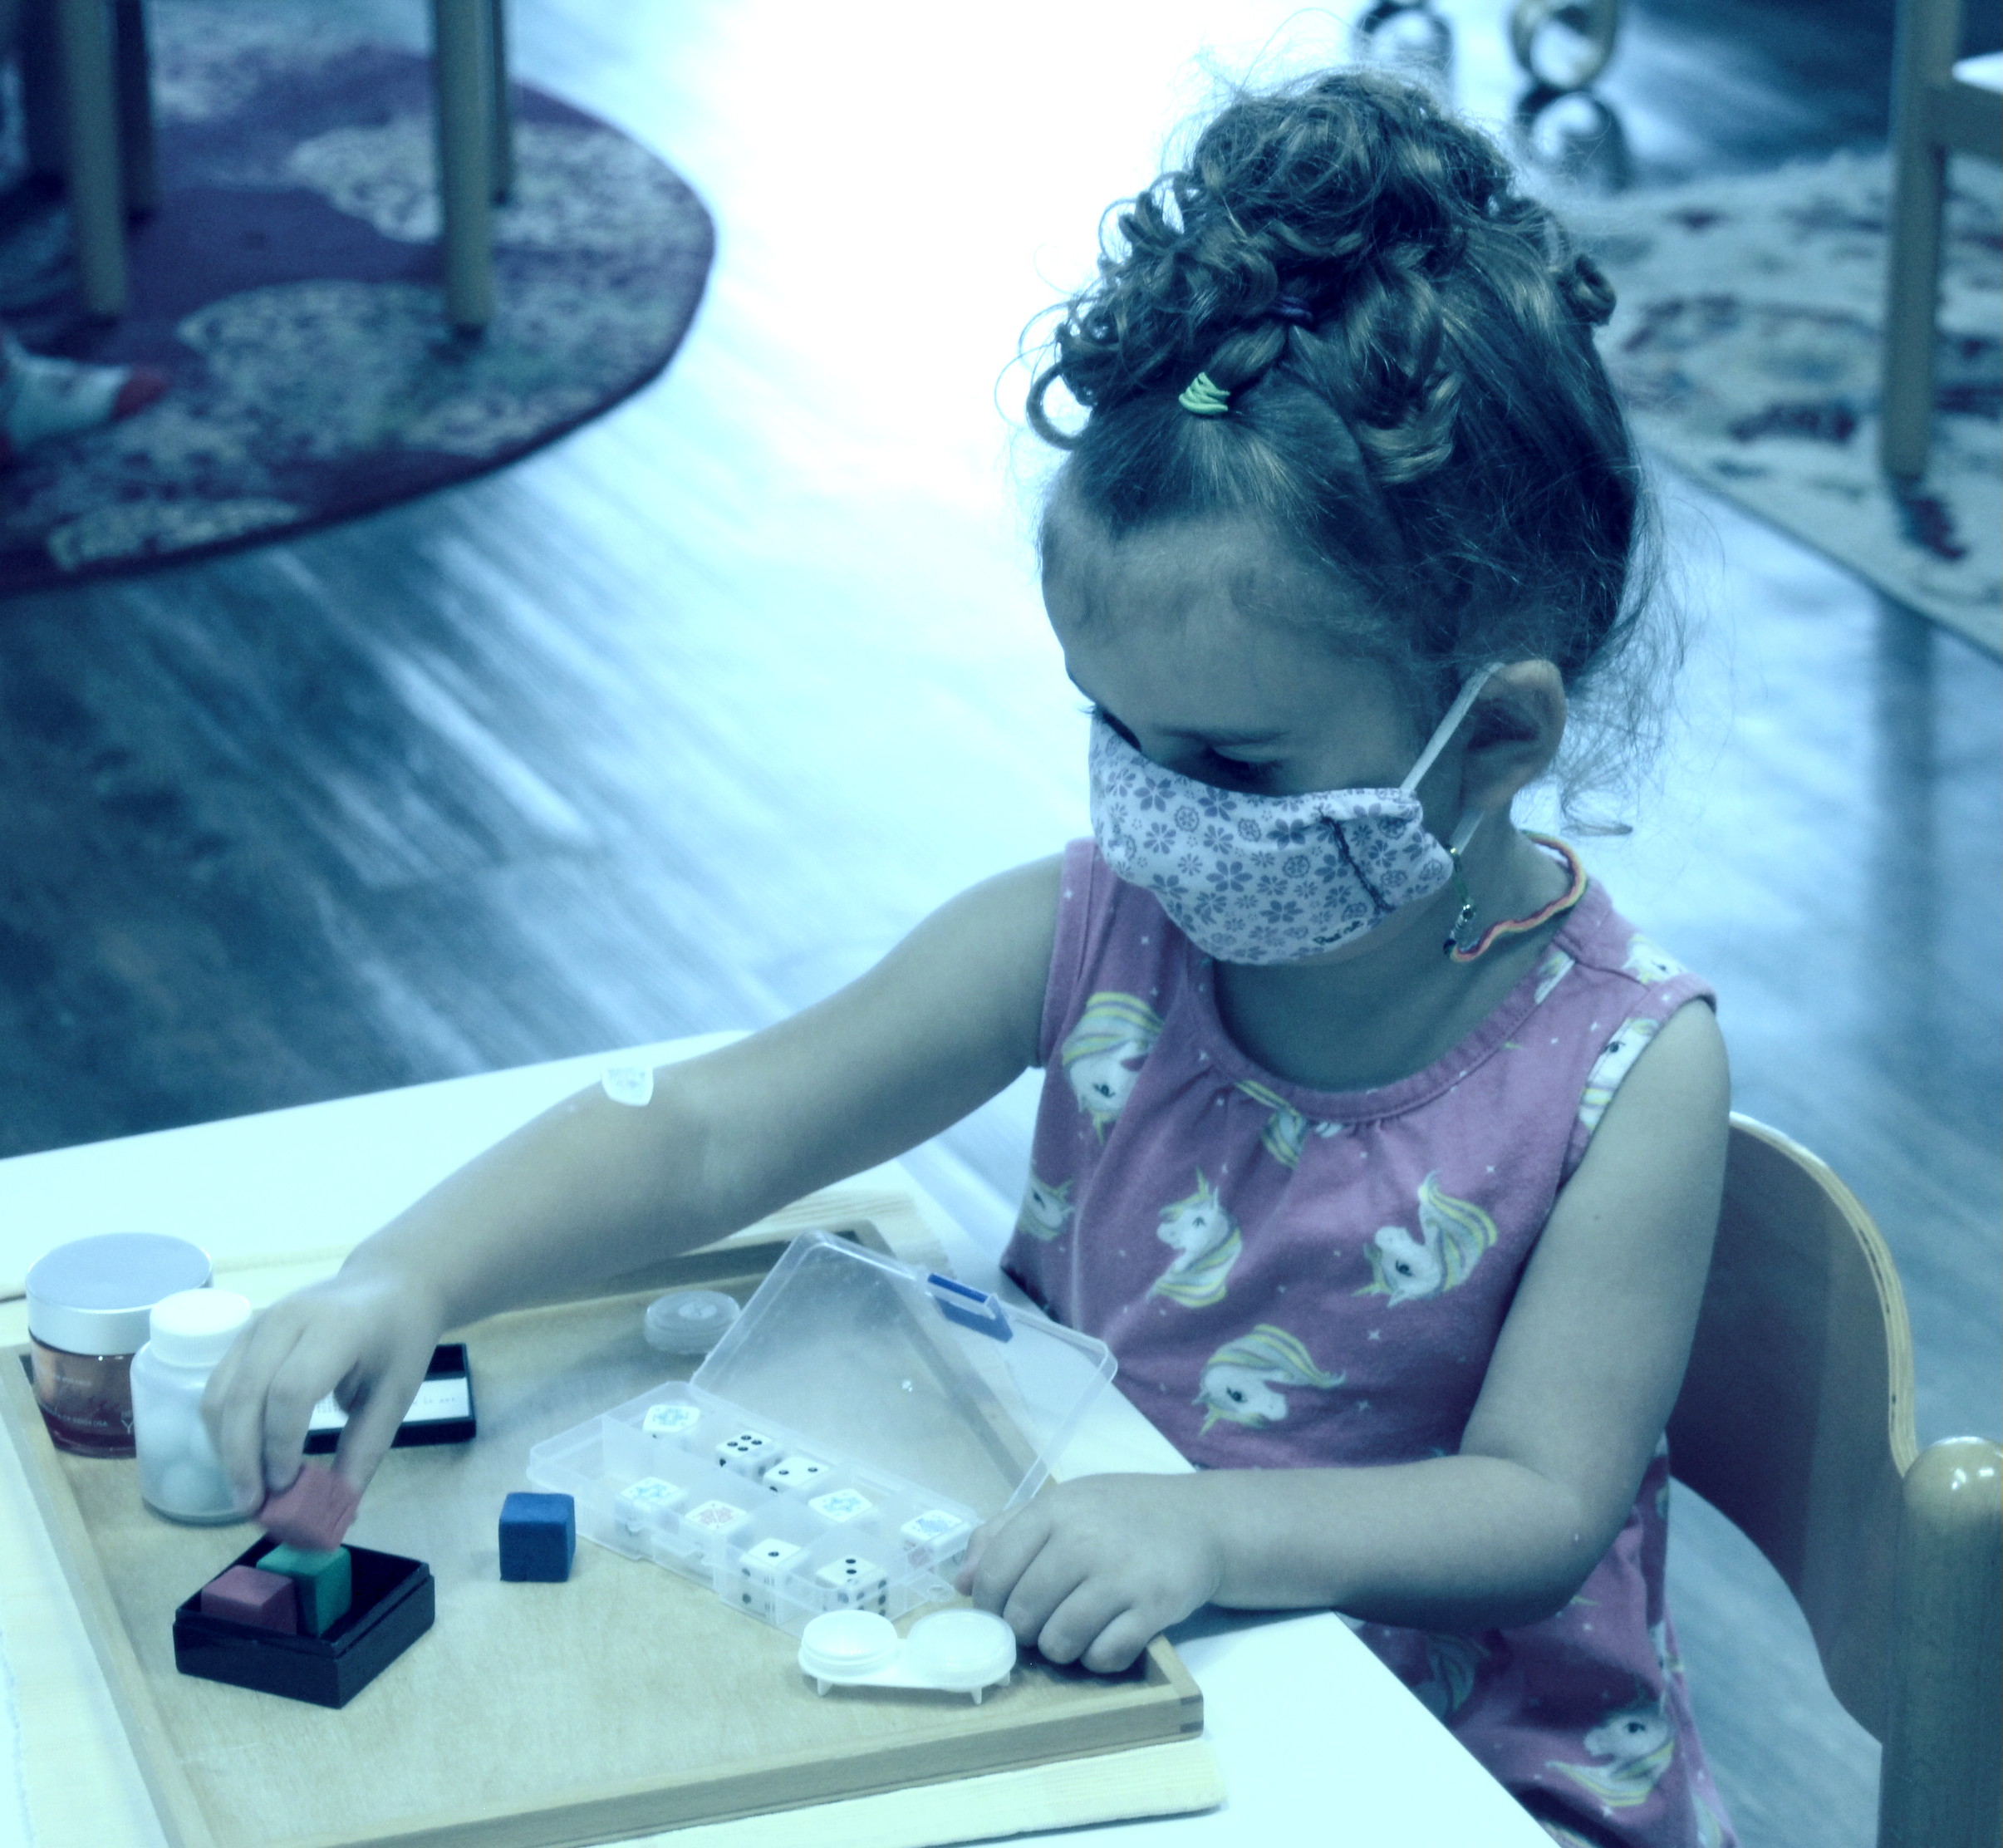
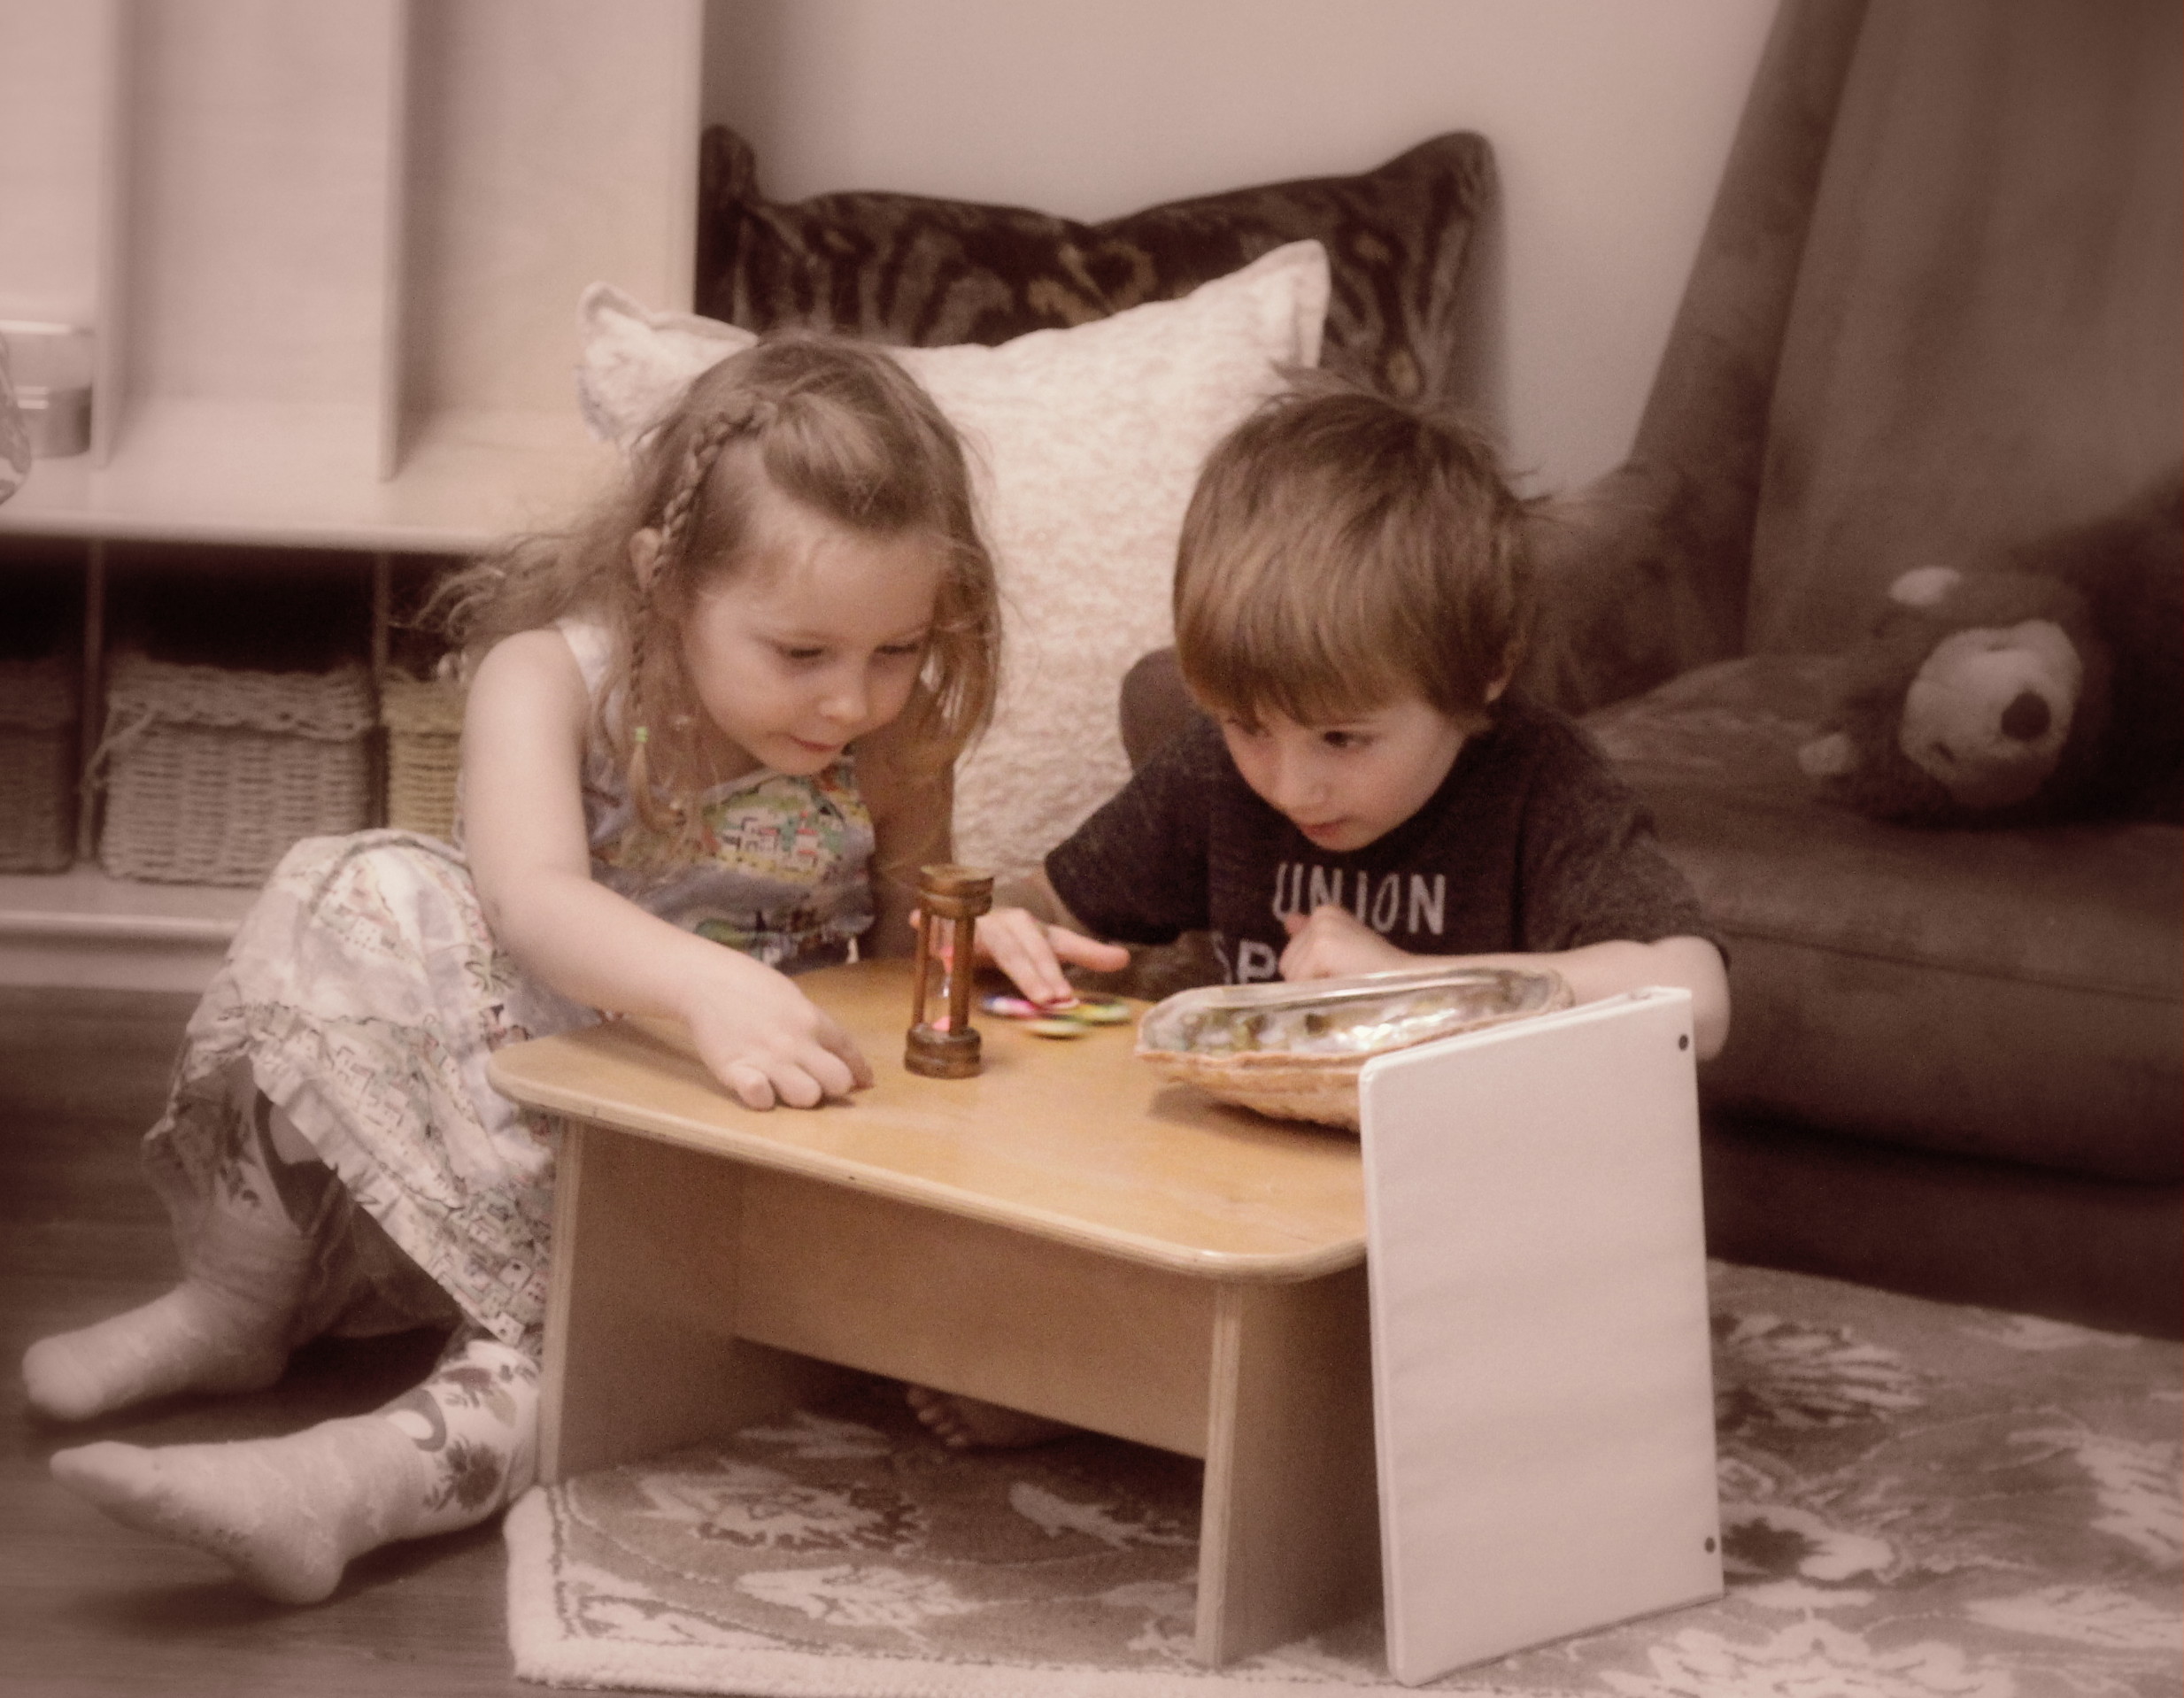
Work Cycles
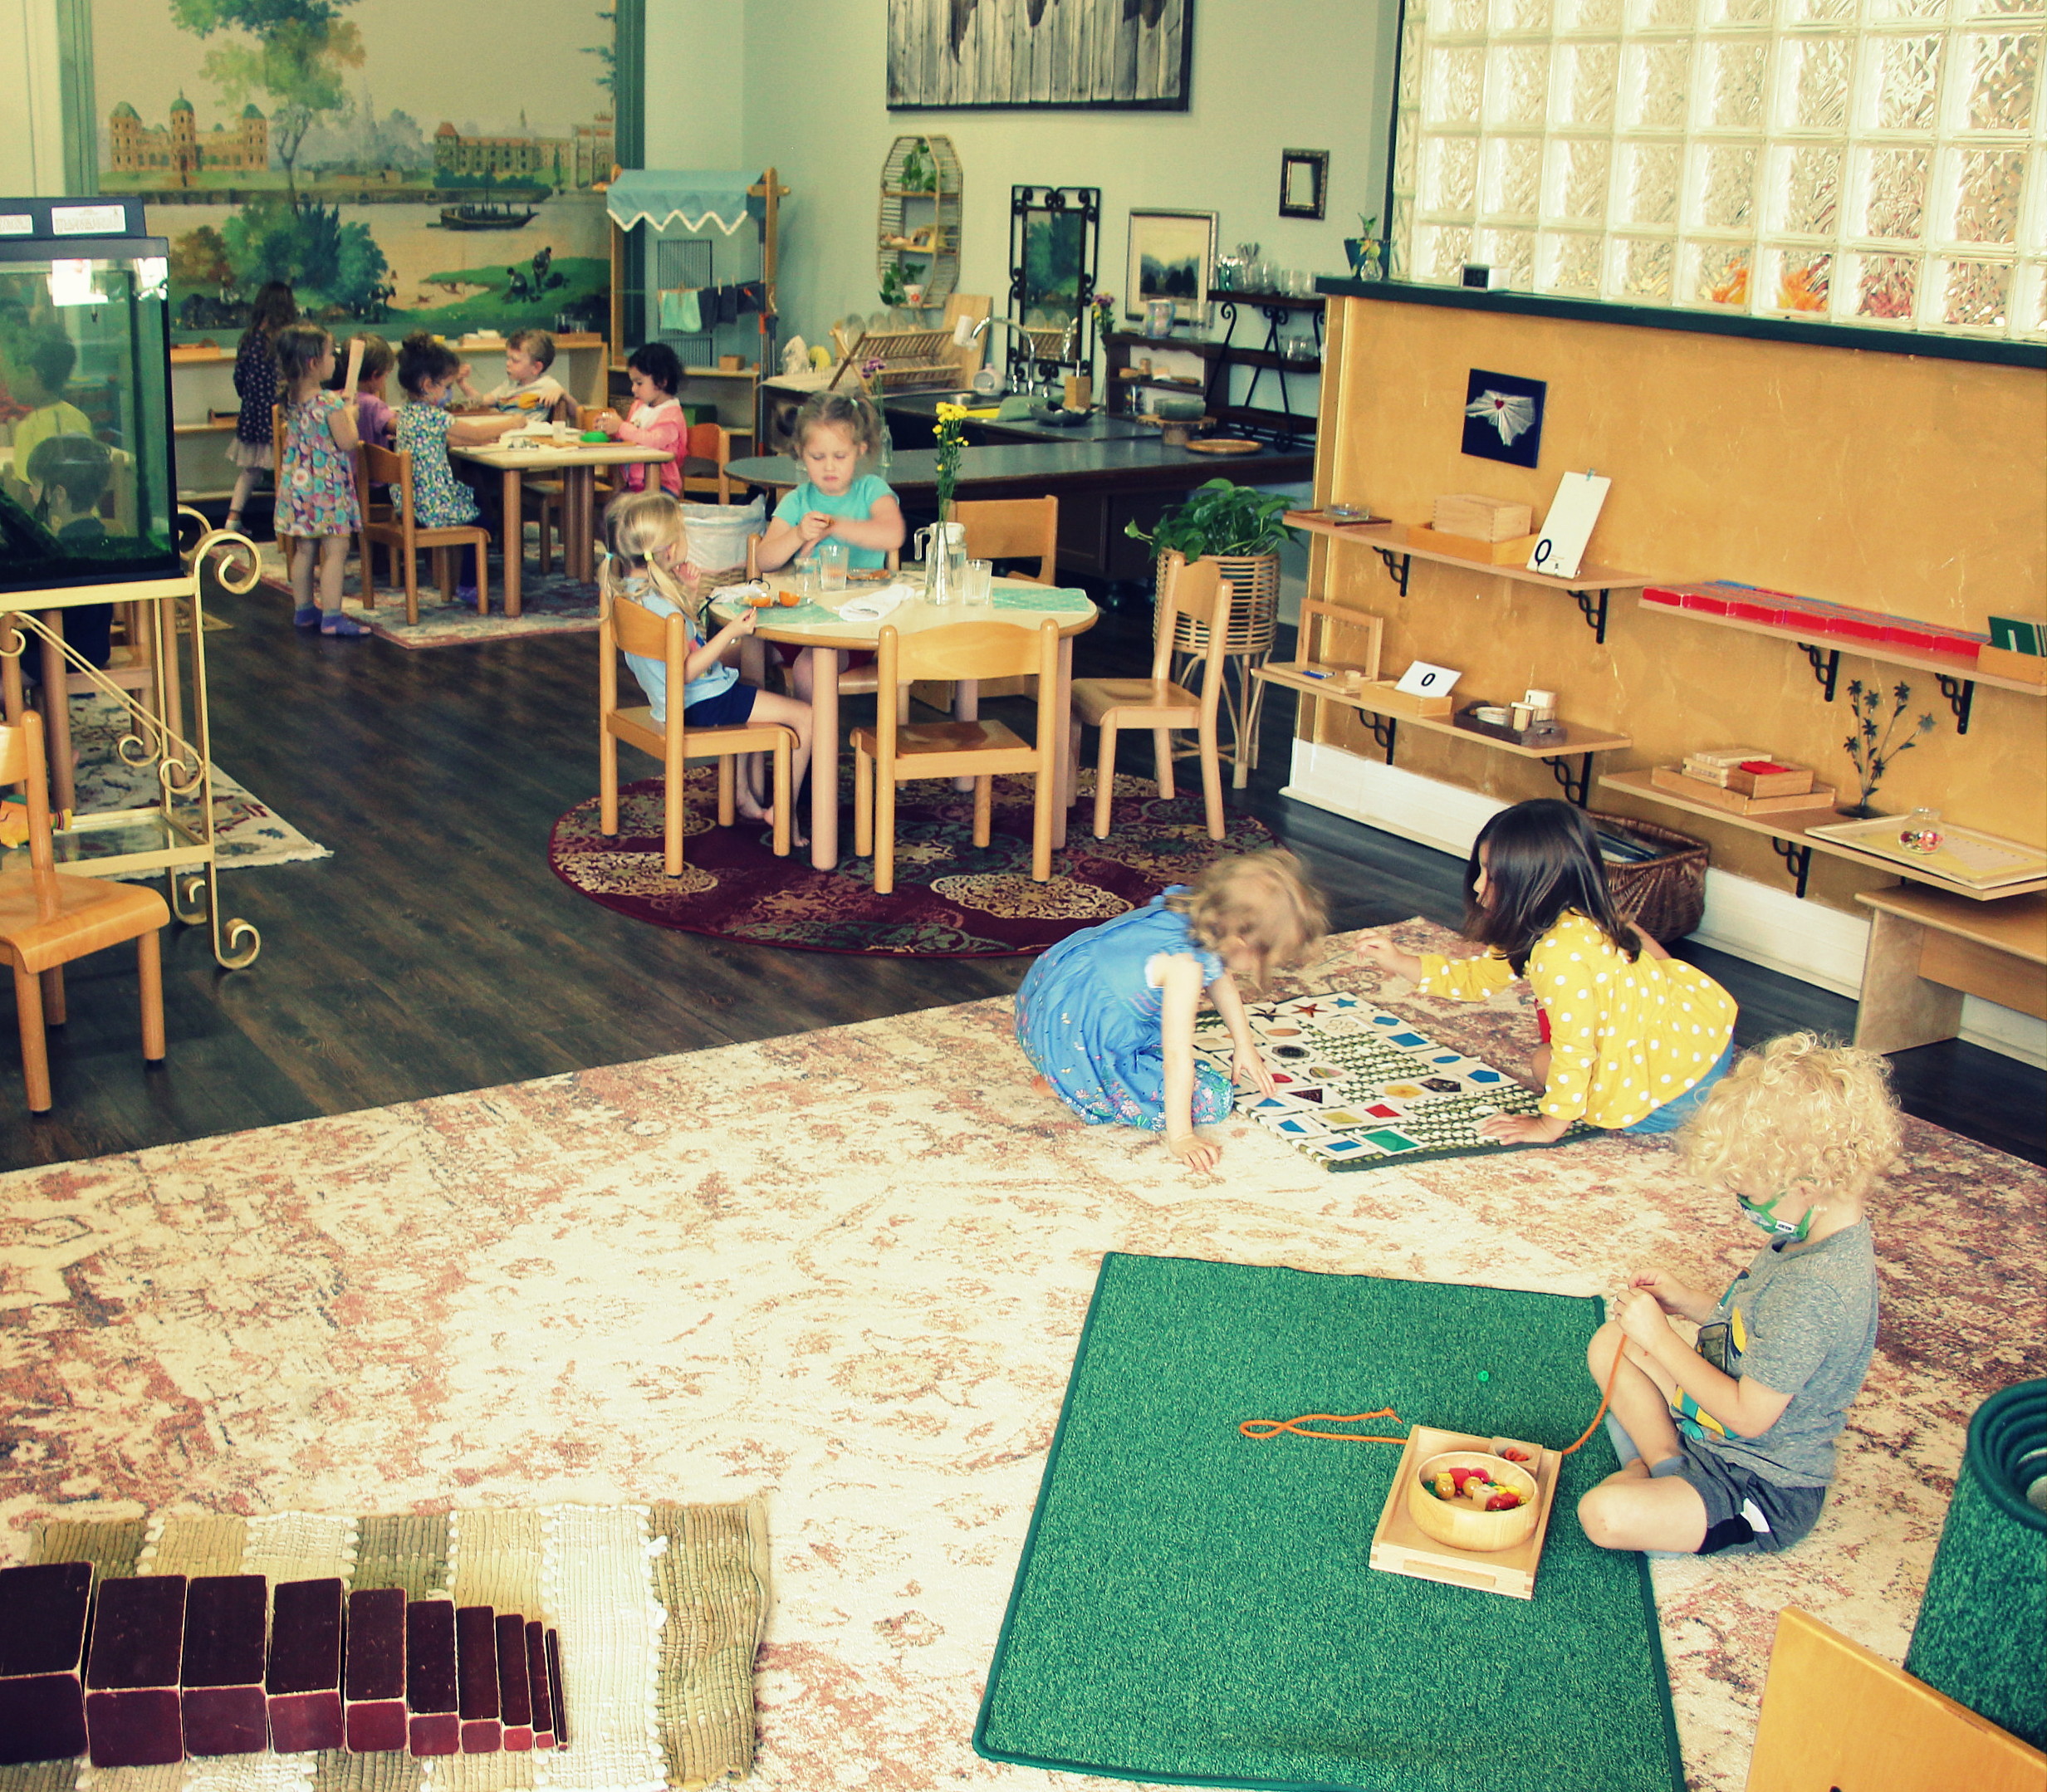
Last but not least, your children participate in 2 – 2.5 hour work cycles on a daily basis. Directly following lessons, students have the opportunity to work on materials and get creative. Below you can find more work cycle and lessons photos. We hope you enjoy the following photos of your children at work! Please find some quality time to share these photos with your children so that they can tell you more about their days at Indigo. If you had a chance to browse through, we would love to hear from you in the comments box below the photos. Feel free to post your thoughts, point out something you enjoyed, or just let us know you checked in. Thank you for learning about our classroom and we look forward to hearing from you!


Thank you for this amazing update!! So cool to see what they’re working on ❤️
You’re so welcome. Glad you enjoyed 🙂
I am amazed at all you are doing. Thank you for enriching these little lives!
Glad to have your sweet child with us this year and for you to finally get to see what we’ve been up to!
So grateful to have your incredibly talented impact on our child. Thank you immensely for the strength and peace of mind you provide daily and for such constant sharing of their weekly learnings and more!
Thank you for such supportive feedback! We do our best to spread our gifts, share our passions, and listen to our students’ curiosities. Glad you see such benefits for your little one in this environment <3
This is amazing to see. Patrick is sooooo happy. Thank you for all you do.
Awe, thanks! He really is so happy! It’s great to have another one of your sweet children joining us this school year. So glad you enjoyed!
Epic blog post! Thank you so much for your detailed explanations of the lessons they’ve been working on and for the sweet photos.
Wow, thank you for the compliment! That means a lot. So glad you appreciated the long-winded version 🙂
So great to read all about what they are doing! Thanks for all you do.
And thank you for the support!
Great to see all these images! Thanks for taking the time to document all the things they are learning. It’s so helpful for us to catch this glimpse into our little one’s day. Keep up the great work!
Believe it or not, it’s helpful for us to document this way as well, so it’s great to hear it was helpful and that you enjoyed all of the images. Thanks for the encouragement!
My granddaughter is fortunate to have exposure to these wonderful learning opportunities.
Thank you for checking in, Carlie! Glad you see it that way 🙂